


Farmhouse Renovation: Month 5
If you are new here, we are in the process of renovating a c.1900 Iowa farmhouse that we purchased about 5 months ago, and to be honest I thought we would be pretty much done with this project by May 1st. Well, as you all know, a world-wide pandemic came along and threw everyone’s plans for 2020 out the window.
I was torn on even writing this update, I mean there are much more important things you could be reading right now. Ultimately I decided to proceed, to try and provide a sense of normalcy for myself and maybe a 5 minute break from reality for my readers.
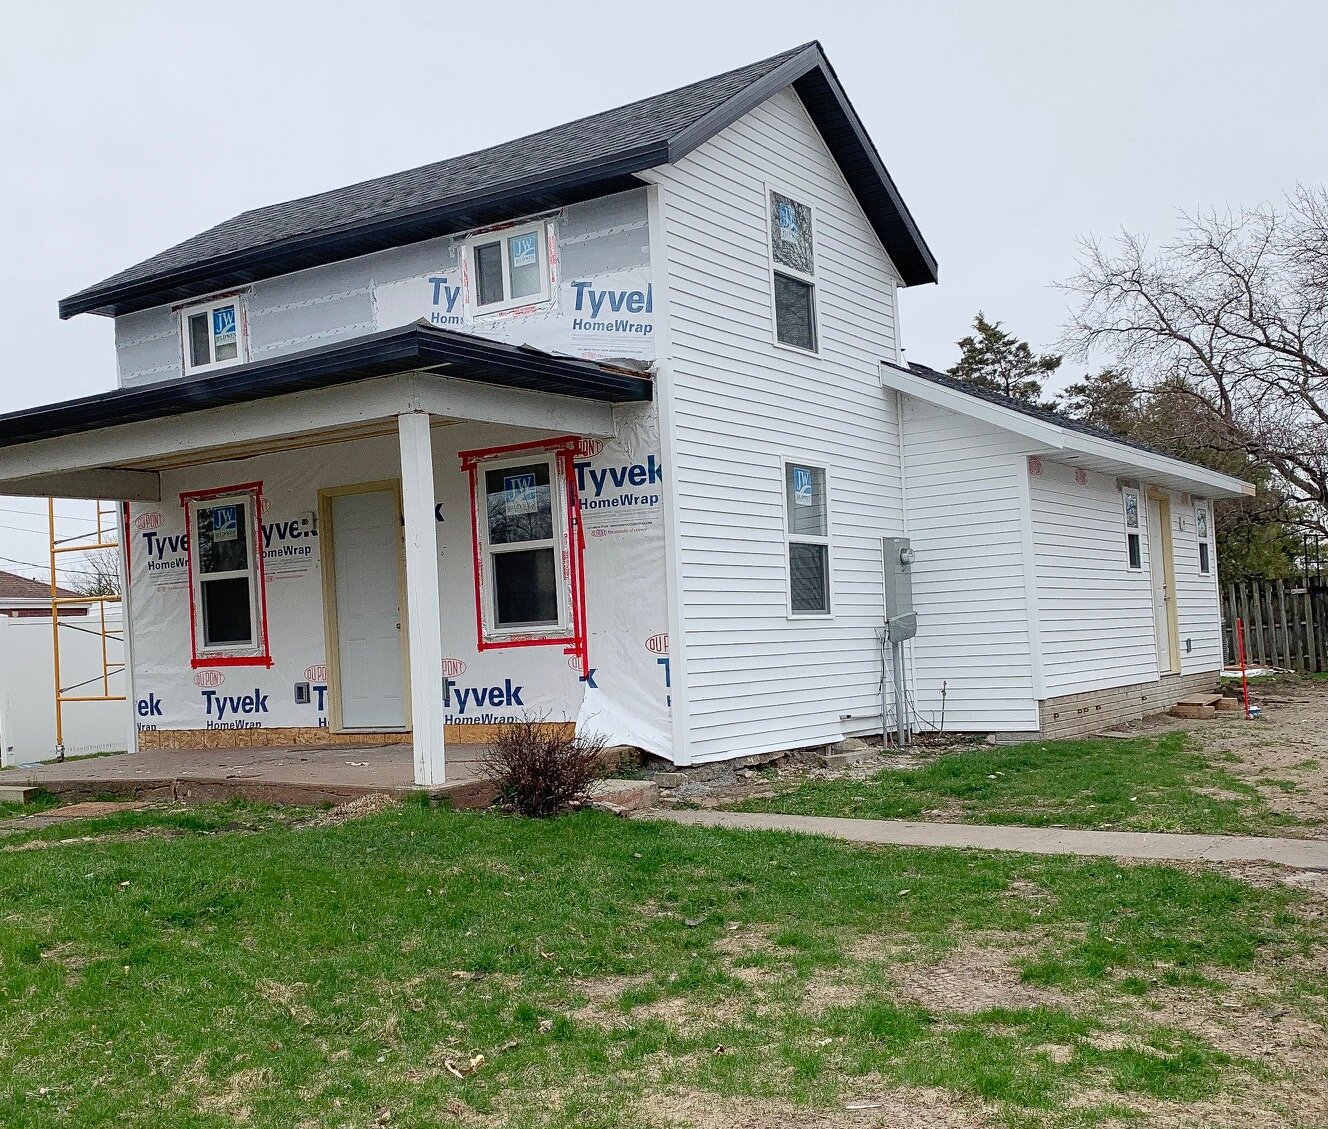
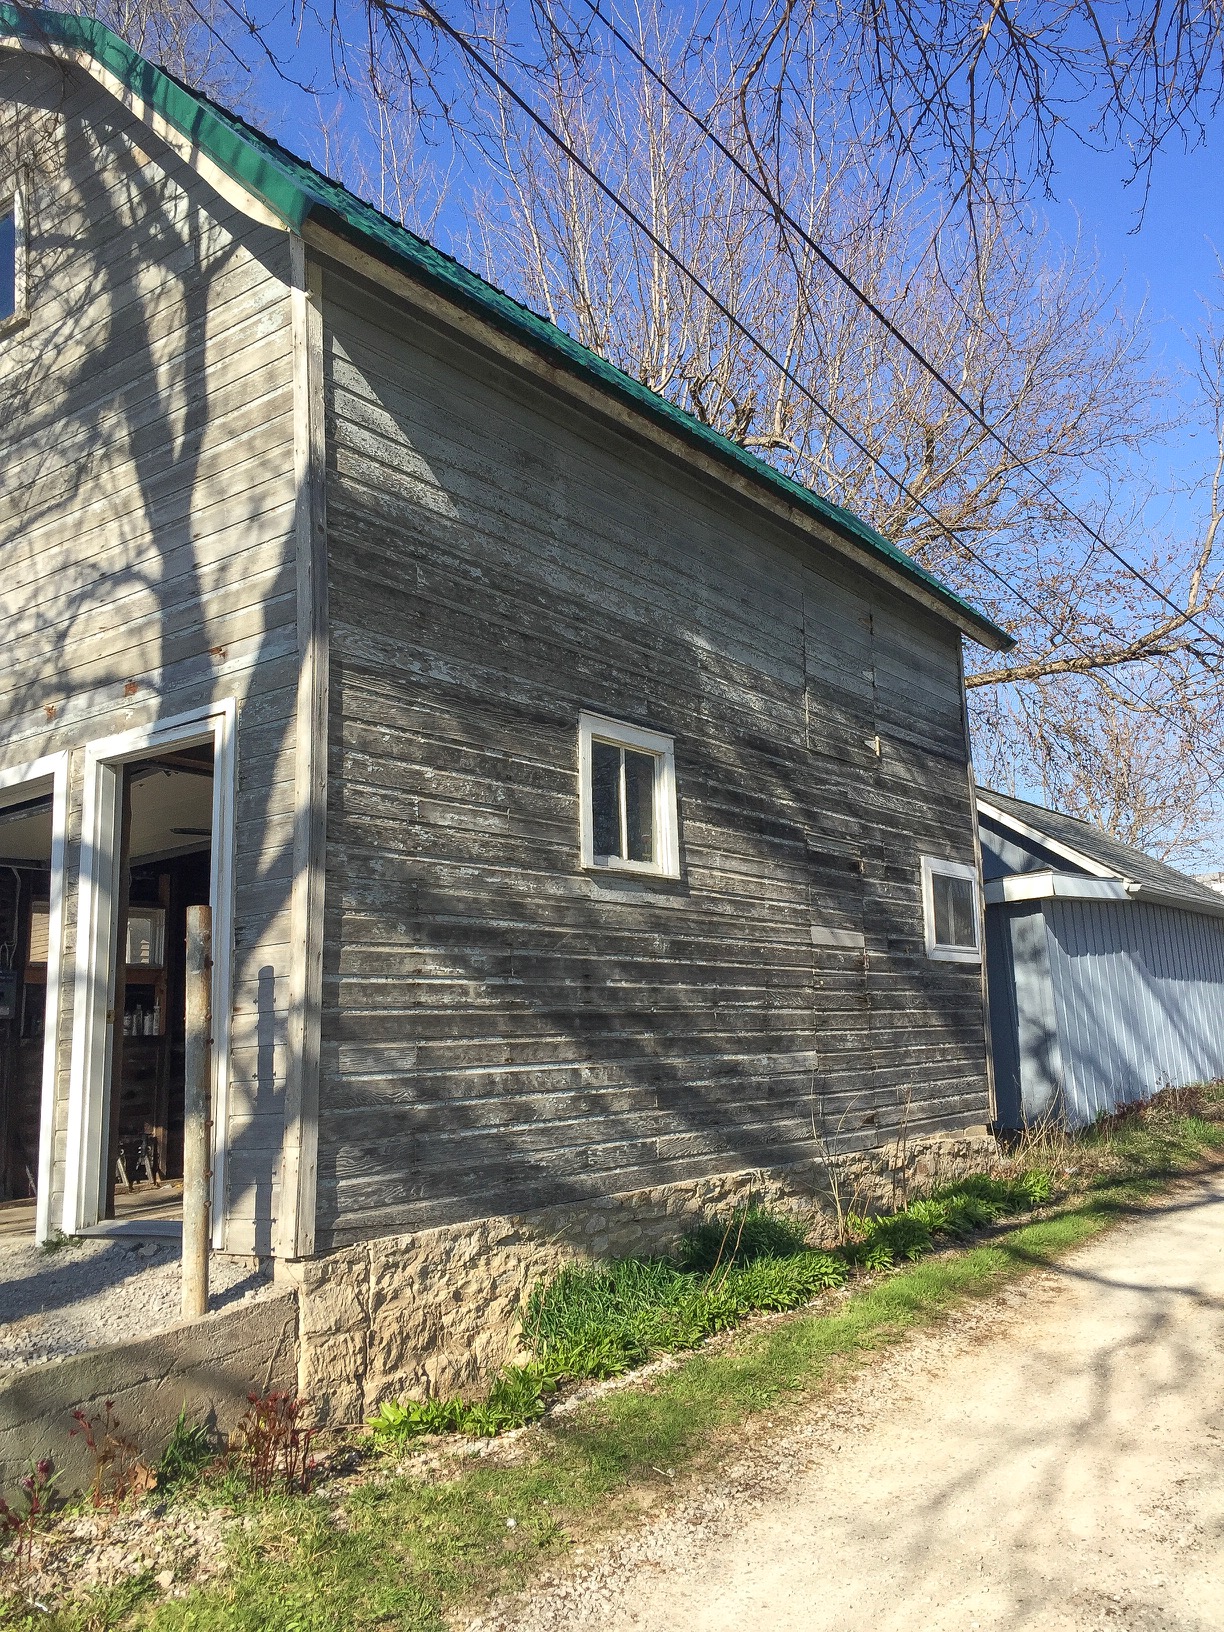
Over the last month, we have made huge progress on the outside of the house, installing new siding, sofitt and fascia. You will notice the black sofitt (overhang of the roof) on the old section of the house, and white on the new section. We also have white vertical siding for the front of the home, which is actually going up tomorrow, weather permitting. Here is a close up photo of the sofitt, so you can see the difference.
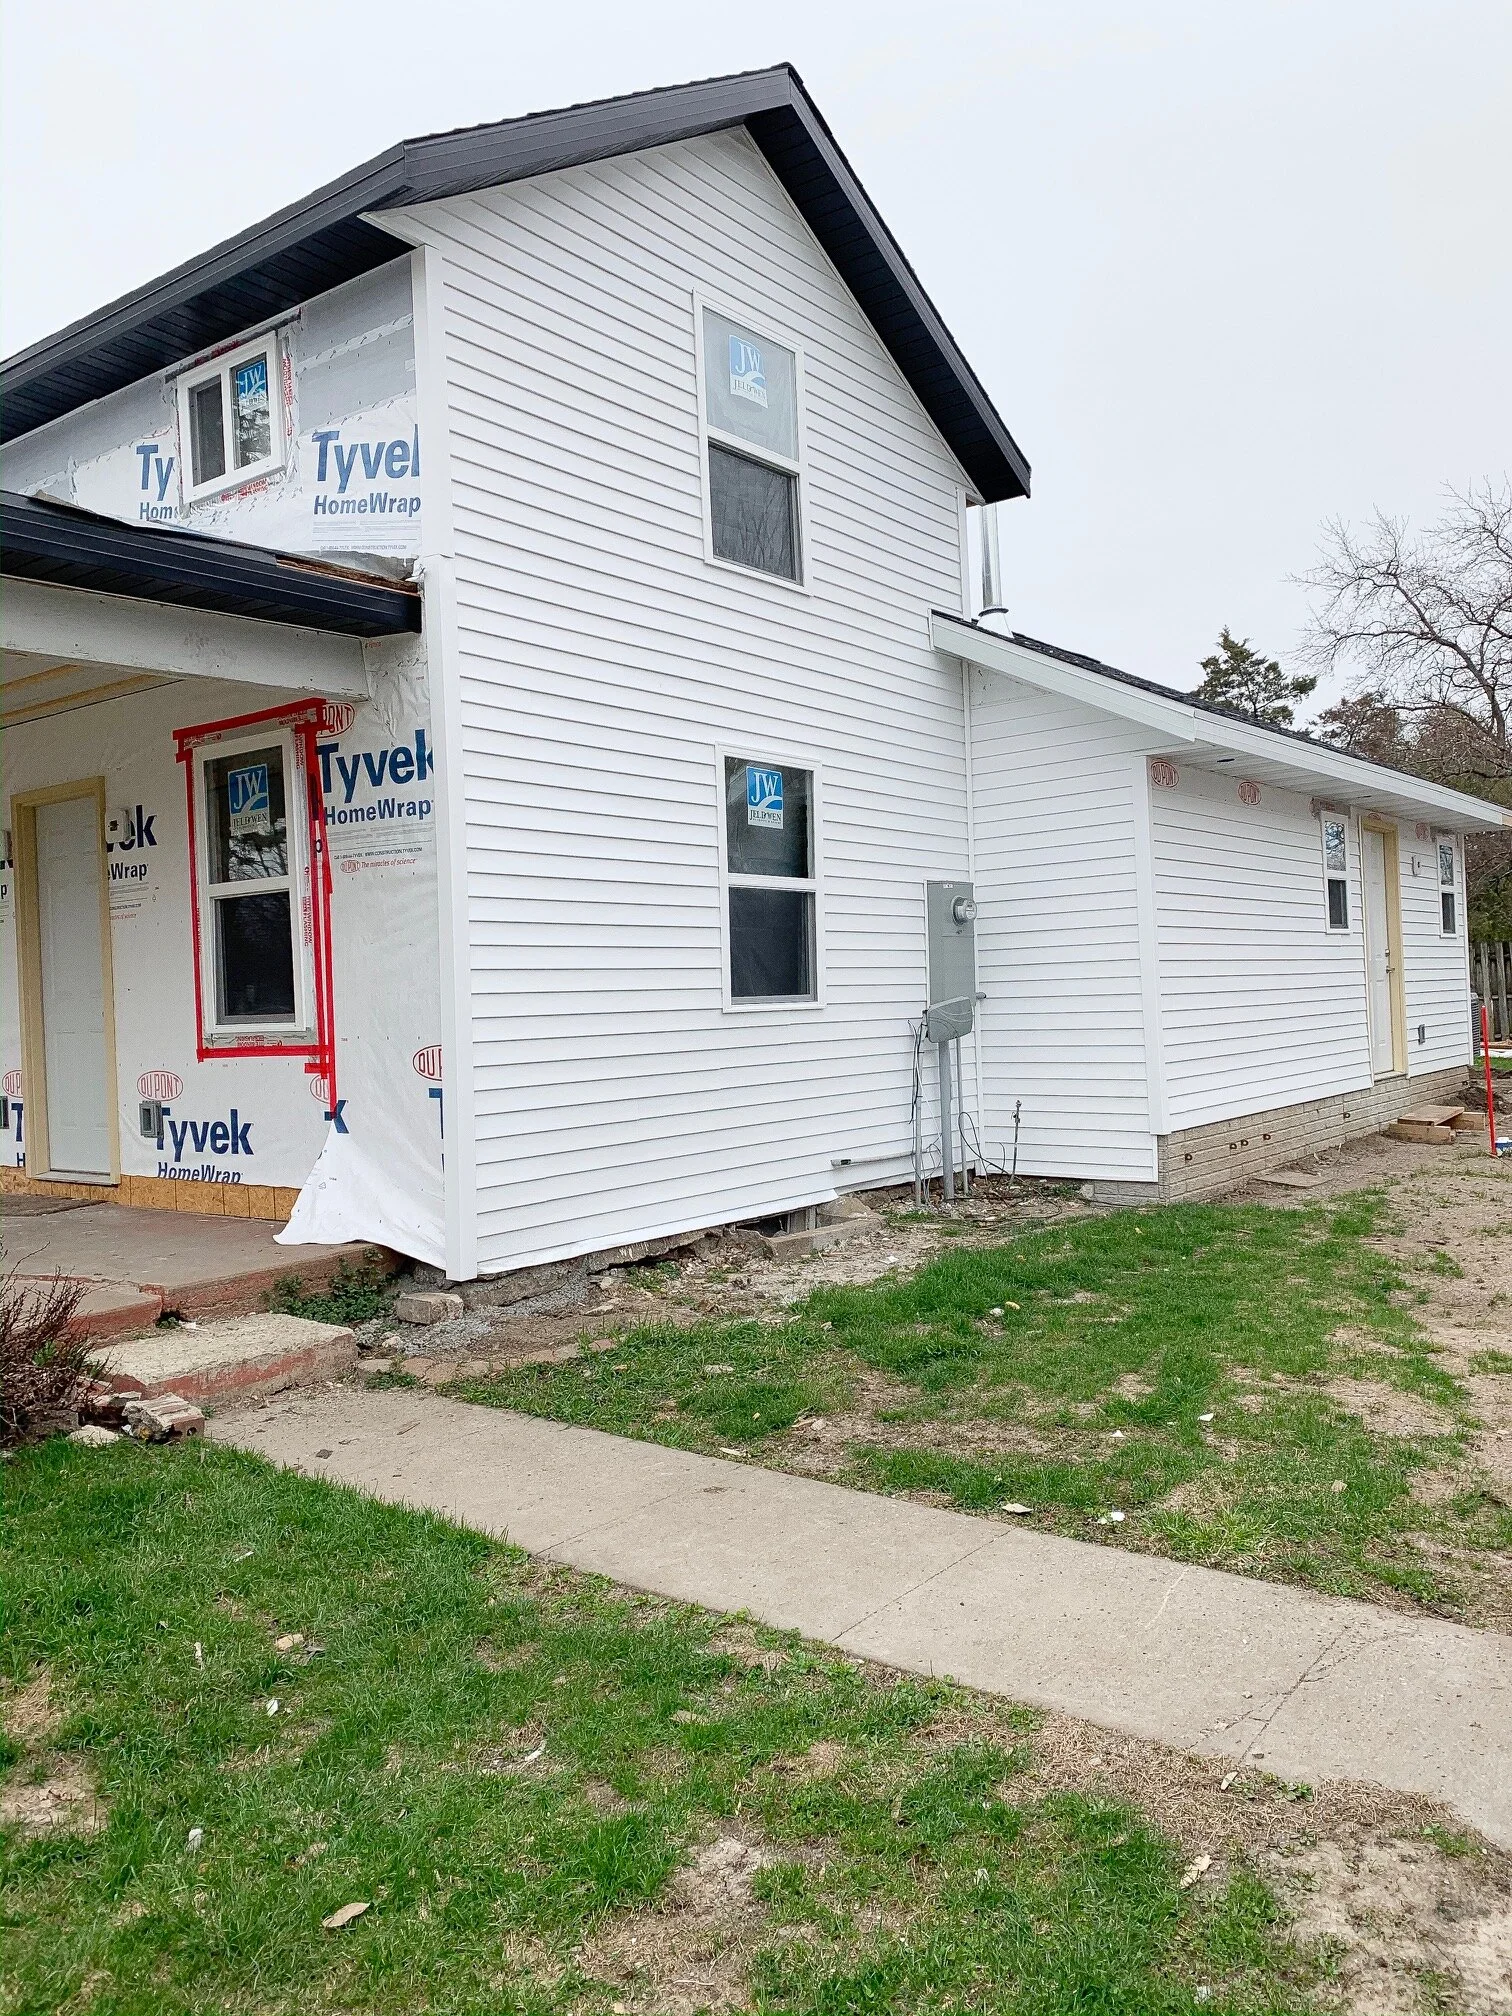
I really wanted to do something different for the original section of the home, to make it stand out, and I think the contrast of the black sofitt is exactly what was needed. I really wanted to install vertical siding on the entire house, but it’s so much more expensive than horizontal, and wasn’t really in the budget. Either way, the home will look amazing with an all new exterior.
In fact, I dug up an old photo of the house that we took right after we bought it and I will add it below for comparison. There’s quite a difference from a few months ago!

This was taken right after we closed on the house!
With the completion of the vertical siding on the front of the house this week, all that remains for exterior work is the front decking and posts. And of course some landscaping, but this is Iowa so we can’t do much of that until late May. Maybe some flower shops will be open by then!
Well that is all i have for this update. Again, thank you for taking time out of your day to stop by the blog, we really appreciate seeing all of your support. Wherever you are in the world, I hope you are staying safe and healthy.
Until next time,
Rachael
The Final Summer Porch Refresh!
If you have been following along you might be aware that sweet corn season officially started this week here in Iowa, and I might be just a teeny bit excited about that! In fact, I had to incorporate the first delivery of corn into my final Summer porch refresh of the year. That’s correct, the next time I redo this space it will be with pumpkins!
But for now, I had to take down the 4th of July decor and I wanted to incorporate a few farming pieces to set up for the future harvest season. As a collector of all things random and old, I happened to have everything I needed stored in the garage (which has kind of unintentionally become my decor locker, just don’t tell Adam). This John Deere seed planter from an old tractor is a great example…

The fresh ears of corn in this photo are from our local CSA/farm share program that is delivered weekly throughout the spring and summer. For more information about farm shares, you can see my full post here.
Here are a couple more photos of this newly refreshed space!
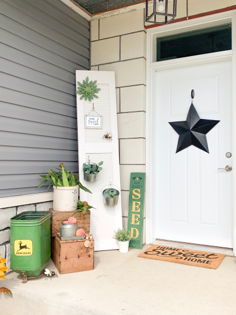
For the other side of the door I snagged some of the decorative grass from my front landscaping that is currently out of control, and stuffed it into an old rusty milk can that i picked up at a garage sale a couple years back. The black metal ‘hello’ sign will stay for now, but I might take it down for the winter months, as it gets pretty cold here and I don’t want it damaged or warped in any way.
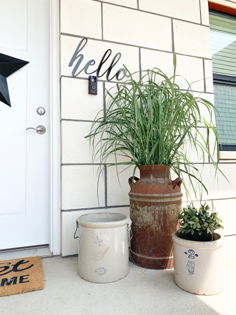
Here’s a front shot of the whole front porch, which is one of my more favorite area’s to decorate at my home. Now, if only I can light a fire under Adam and have him replace the construction door that’s been there for 4 years next month! It’s the little things….

That’s all I have for you today, thank you for stopping by the blog and I hope I have been able to inspire you on your own decorating adventure! As always, feel free to share your projects and questions either here or over on Instagram.
Happy Summer!
Rachael
Farm Share Friday - Week 2
It’s time for #farmsharefriday!
(these posts are not sponsored, just me sharing my personal experience with my local CSA)
We had another wet week here in Iowa, but that didn’t seem to influence this week’s share box quantities! This week contained a nice mix of local items and produce, some that I would have probably not tried/purchased out on my own…which is part of the fun of it!
First, let’s recap recipes from last week that we tried and loved…
Lemon Asparagus Risotto: This recipe is really tasty, however takes a bit longer to cook than I was anticipating, but that seems to just be my unfamiliarity with cooking risotto.


Rhubarb Crisp: A fast and easy recipe, this one is sure to hit the spot!

Avocado/Egg/Radish Toast…1 year old approved!

If you follow along on Instagram, head over there for the un-boxing video on stories! Here are the contents of our share box from week 2:
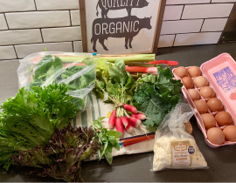
-12 brown eggs
-2 heads of lettuce: green and red
-1 bunch kale
-1 bunch radishes
-1 bag cheese curds
-1 bag spinach
-2 lbs of rhubarb
-1 bunch of fresh honey sticks
-1 bunch fresh mint
I already know I am going to try juicing some of the kale and spinach, I just need to grab an apple at the store this week. Stay tuned for how that turns out! As far as the rest, I will be getting creative on google looking for recipes, and I might need a fresh mint mojito to help me search! Yum!
As always, thank you for stopping by the blog today! If you have any farm share questions feel free to submit them here or track me down on Instagram, I will try and answer them the best I can! See you soon!

Our Re-Purposed Pantry Door
Hi there! I hope today finds you enjoying sunny Spring weather! Today I am sharing a little behind the scenes info on our pantry door that received so many questions on Instagram the other evening. Here is the photo I posted in case you missed it.

This pantry door is from an old carriage house that we had to tear down due to irreparable wind damage. The structure was two stories tall, with an attic/loft above the area that held the horses and equipment. Here is a photo I found of the carriage house that I took right before we took it down.
The wind damage is not visible from this angle, but this building had such a lean to it that it was no longer safe. I did venture inside for a quick photo of the ceiling, which served as the flooring for the loft area and appeared to have already been re-purposed.
Here is the photo :

We tore down the entire structure and have reused the materials to make all sorts of things. For example, these 2x4 beams (shown horizontal in photo) are what we use to make our custom farm tables and gas pipe shelving units. Now there’s some history to talk about at the dinner table!

This next photo isn’t the best quality, but it’s an action shot of Adam cleaning out the second story of the structure before demolition could begin. Side note: this door that you see is often featured on my front porch!
Unfortunately, I do not have a photo of our pantry door before it was removed, but it served as the door between the first and second floor, as a ‘hatch’ of sorts at the top of the stairs. The metal ring on the front of the door was used to pull it open from the second story. I lifted the ring on the next photo so you could see what I am talking about. The hinges are also original hardware.

We attached the door, using the original hinges, to the custom frame we had built with unaltered barn wood we had previously obtained from a different structure. I really enjoy the barn wood door frame in it’s original state, showing nail holes and chipped paint of both red and white.

Well, there you have it! I hope this post answered your questions and provided a bit of history along the way. As always, thanks for stopping by the blog today and I look forward to interacting with you again soon!

Entryway Table Refresh
Hi there! I’m writing to you from a cold and rainy day here in Iowa, but it’s just for one day so I can handle it. If you follow me on Instagram, you know I have been stalking my plants to see when they will come out of the ground and they have made some progress the last couple of days! There is finally hard evidence we are at the end of this epic long winter, and all this anticipation just makes it that much more enjoyable. It’s seriously like Christmas for me, I cannot wait until the weather permits me to be outside full time.
In celebration of all things spring, its time to refresh the entryway saw horse table. I’m not sure why I dread styling this table, maybe because it is such a focal point to the interior of my home and I always want it to be perfect. Or it could be that I just need more things in the epic huge entryway so it doesn’t seem like it’s the only thing to look at. EITHER WAY, I tackled it yesterday and wanted to share it with you all.
As you know, I usually divide this long table into sections, which I highly recommend if you are trying to style a large piece. My husband Adam always pokes fun at me moving things around 100x until I get them right, but if I start small and build on it then this usually eliminates at least 50% of the rearranging. Anyway, here’s the first section I completed, which is the left side of the table.
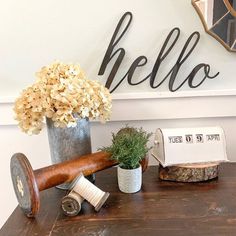
I went back and forth on using books in front of the large spool, a lot, but here’s the version without them. These are all things I gathered up around my house and took out of my decor stash. I am a firm believer that you don’t need to buy new things and spend a ton of money to decorate your home, just collect over time and reuse the same items.
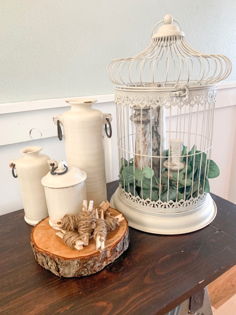
Here we have the right side of the table. I am a huge fan of this vintage birdcage and try to incorporate it into every season’s decor. Check out my post on the DIY clothespins here, if you want to make some of your own.
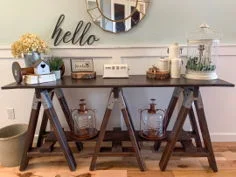
And here is a photo of the entire table! I moved the copper lanterns down below for this photo, but they are glass and not conducive to being played with by a 1 year old, so they had to be moved out of reach. I am happy with how this table turned out and now I need the weather to cooperate so I can give some spring vibes to the front porch.
Soon. Very soon.
Until then, I want to thank you for stopping by the blog today and I hope you were able to gleam some inspiration for your own homes. I’m off to finish my list before nap time is over!

Bring it, 2019!
I have never been a person who makes resolutions for the new year, but recently I have caught on to the idea of having a ‘word’ for a focal point behind fresh ideas and goals.
This year, i’m going with the word ‘visibility’.
For those of you who may be new to our community, 2018 was a big year for APS as we branched out into the tech world and constructed this fancy website that you are currently viewing. While APS Construction and APS Design are not new businesses, the idea of documenting and publishing content to a website was (and still is) very new to us.
The suggestion to create a website came up about a year ago, and to be honest I tried to ignore it for as long as I could, as the thought of taking the time to learn the behind-the-scenes technical details seemed daunting. But the need for a way to organize and showcase our work to better serve our clients was not going to go away, so in August I tackled this project head on. And while this website is still a work in progress and receives almost daily updates and tweaks, it certainly is nice to be able to send a client here to view past projects instead of trying to scroll through thousands of photos on a phone.
We have some big plans in store for the coming year, and increasing our visibility will be in the background of all of them. Soon you will be able to find APS Design’s ‘blog’ portion on Apple News, I will share the official link for anyone interested when everything is done being approved by Apple.
I can also share that I am in the final stages of developing a ‘commerce’ portion of this site, where customers can easily purchase the personalized book sets that you might have seen on our Instagram or Pinterest accounts. This should hopefully streamline the process and make things easier on both ends, but first I have to get through the legal side of things and draft ‘terms of service’ and register to collect state sales tax and all of that fun stuff.
As other activities become more finalized I will be sharing them, and as always I will be posting our current client and DIY projects to give you some inspiration for your own farmhouse. We don’t know all that 2019 has in store for us, but we are ready to work hard and see where this journey takes us.

My Entryway Sawhorse Table
Hi Friends! I’m slowly getting my home ready to go for Christmas, and I love decorating this fun sawhorse table in my entryway each and every season. My husband made it several years ago, and it continues to be a focal point in our home. I thought I would share what I did with it this year so you can get some ideas or inspiration for your own home!
I had these random steel buckets from a thrift store, a DIY Christmas garland that I made, and some jingle bells and other random items that I wanted to incorporate.

I love this old spool and jingle bells!

DIY Fabric Garland, click for instructions!
Here is how it all turned out, I love all of the different textures (metal, fabric, etc) along with the black and white and plaid holiday colors. Can you tell I am loving buffalo check this year??

My Saw Horse Entryway Table
Repurposing old items is one of my favorite decorating hacks! These hooks that hold up the lanterns on either side of the table are from an old carriage house/barn that had to be torn down due to storm damage. Just think of all of the horse and carriage equipment that hung on these hooks for decades, now they are continuing their work in my home! (I’m a history nerd, I know!)
Well that is all I have for you for now, stay tuned for the rest of my décor in my personal home as I get it completed!
XO,
Rachael
PS. I put together a simple (budget friendly!) guide to adding buffalo check to your home’s décor, and if you are stumped or need ideas feel free to check it out by clicking here!
(Note: The above link contains affiliate links and you can read my full disclosure here)
Coffee, Tree Trimming, and Christmas Decorating
Hi! Can you believe next week is already Thanksgiving? I still cannot wrap my brain around it. Either way, Christmas decorating is in full swing at my house and while I’m not quite ready to share what I have done so far, I did help a dear friend decorate her home yesterday over some much needed Starbucks, and wanted to quickly share what we did in case some of you are planning on whipping out your holiday items on Thursday night.
You all know I love everything budget friendly, and holiday decorating is no exception. While I do often buy a small item here or there, I reserve most of my décor shopping for after the holiday (or season) to take advantage of those steep discounts. As a result, I often forget what I have from the year before when it’s time to dig it all out of storage again, and this is why I prefer to get all decorations spread out in one place before beginning to place them throughout my home. I often reuse items in a new way than the year prior, or simply put them in a different room to give the illusion of ‘new’, without going over budget.
Ok, lets get to it!
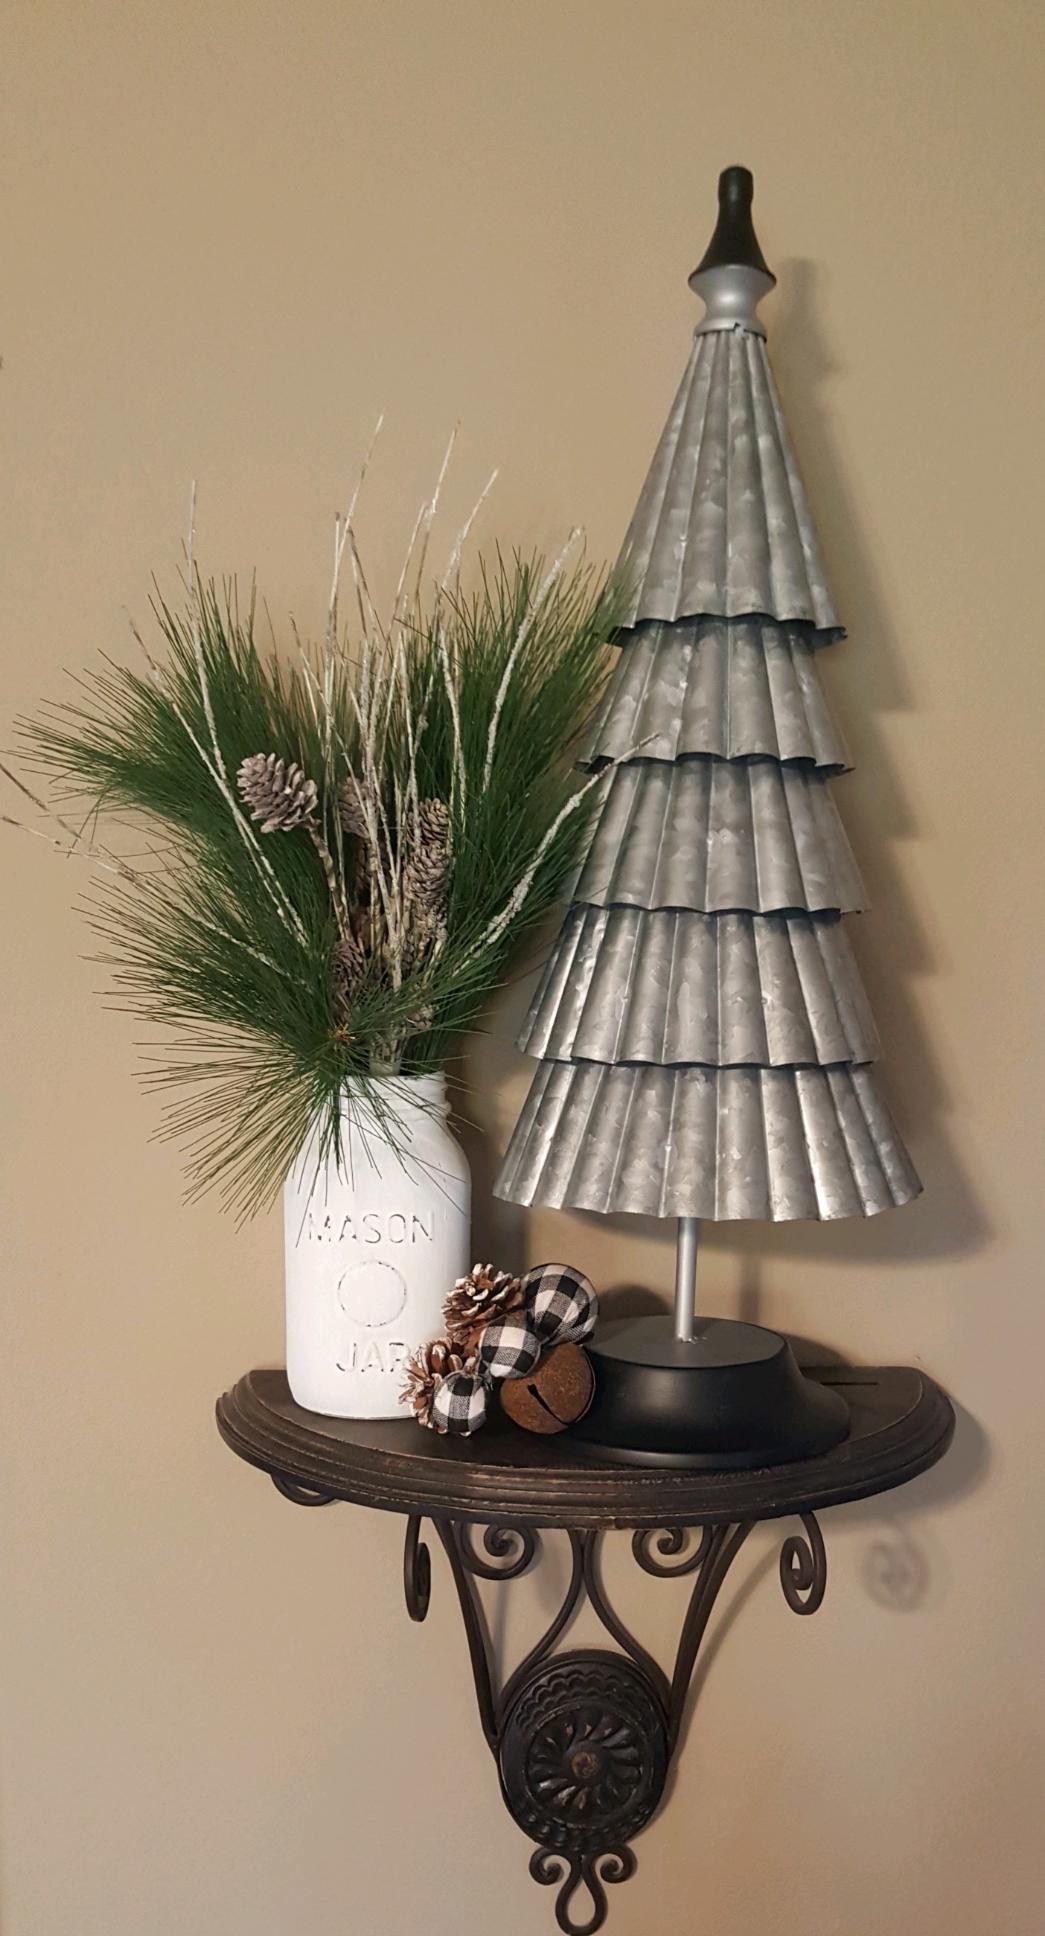
Having an infant on the move, my friend wanted to utilize some higher spaces in her home to place décor that her baby could not get into. She had two shelves on either side of her fireplace/tv area that she wanted to fill, and we also needed to figure out something for her tree to make it somewhat baby friendly.
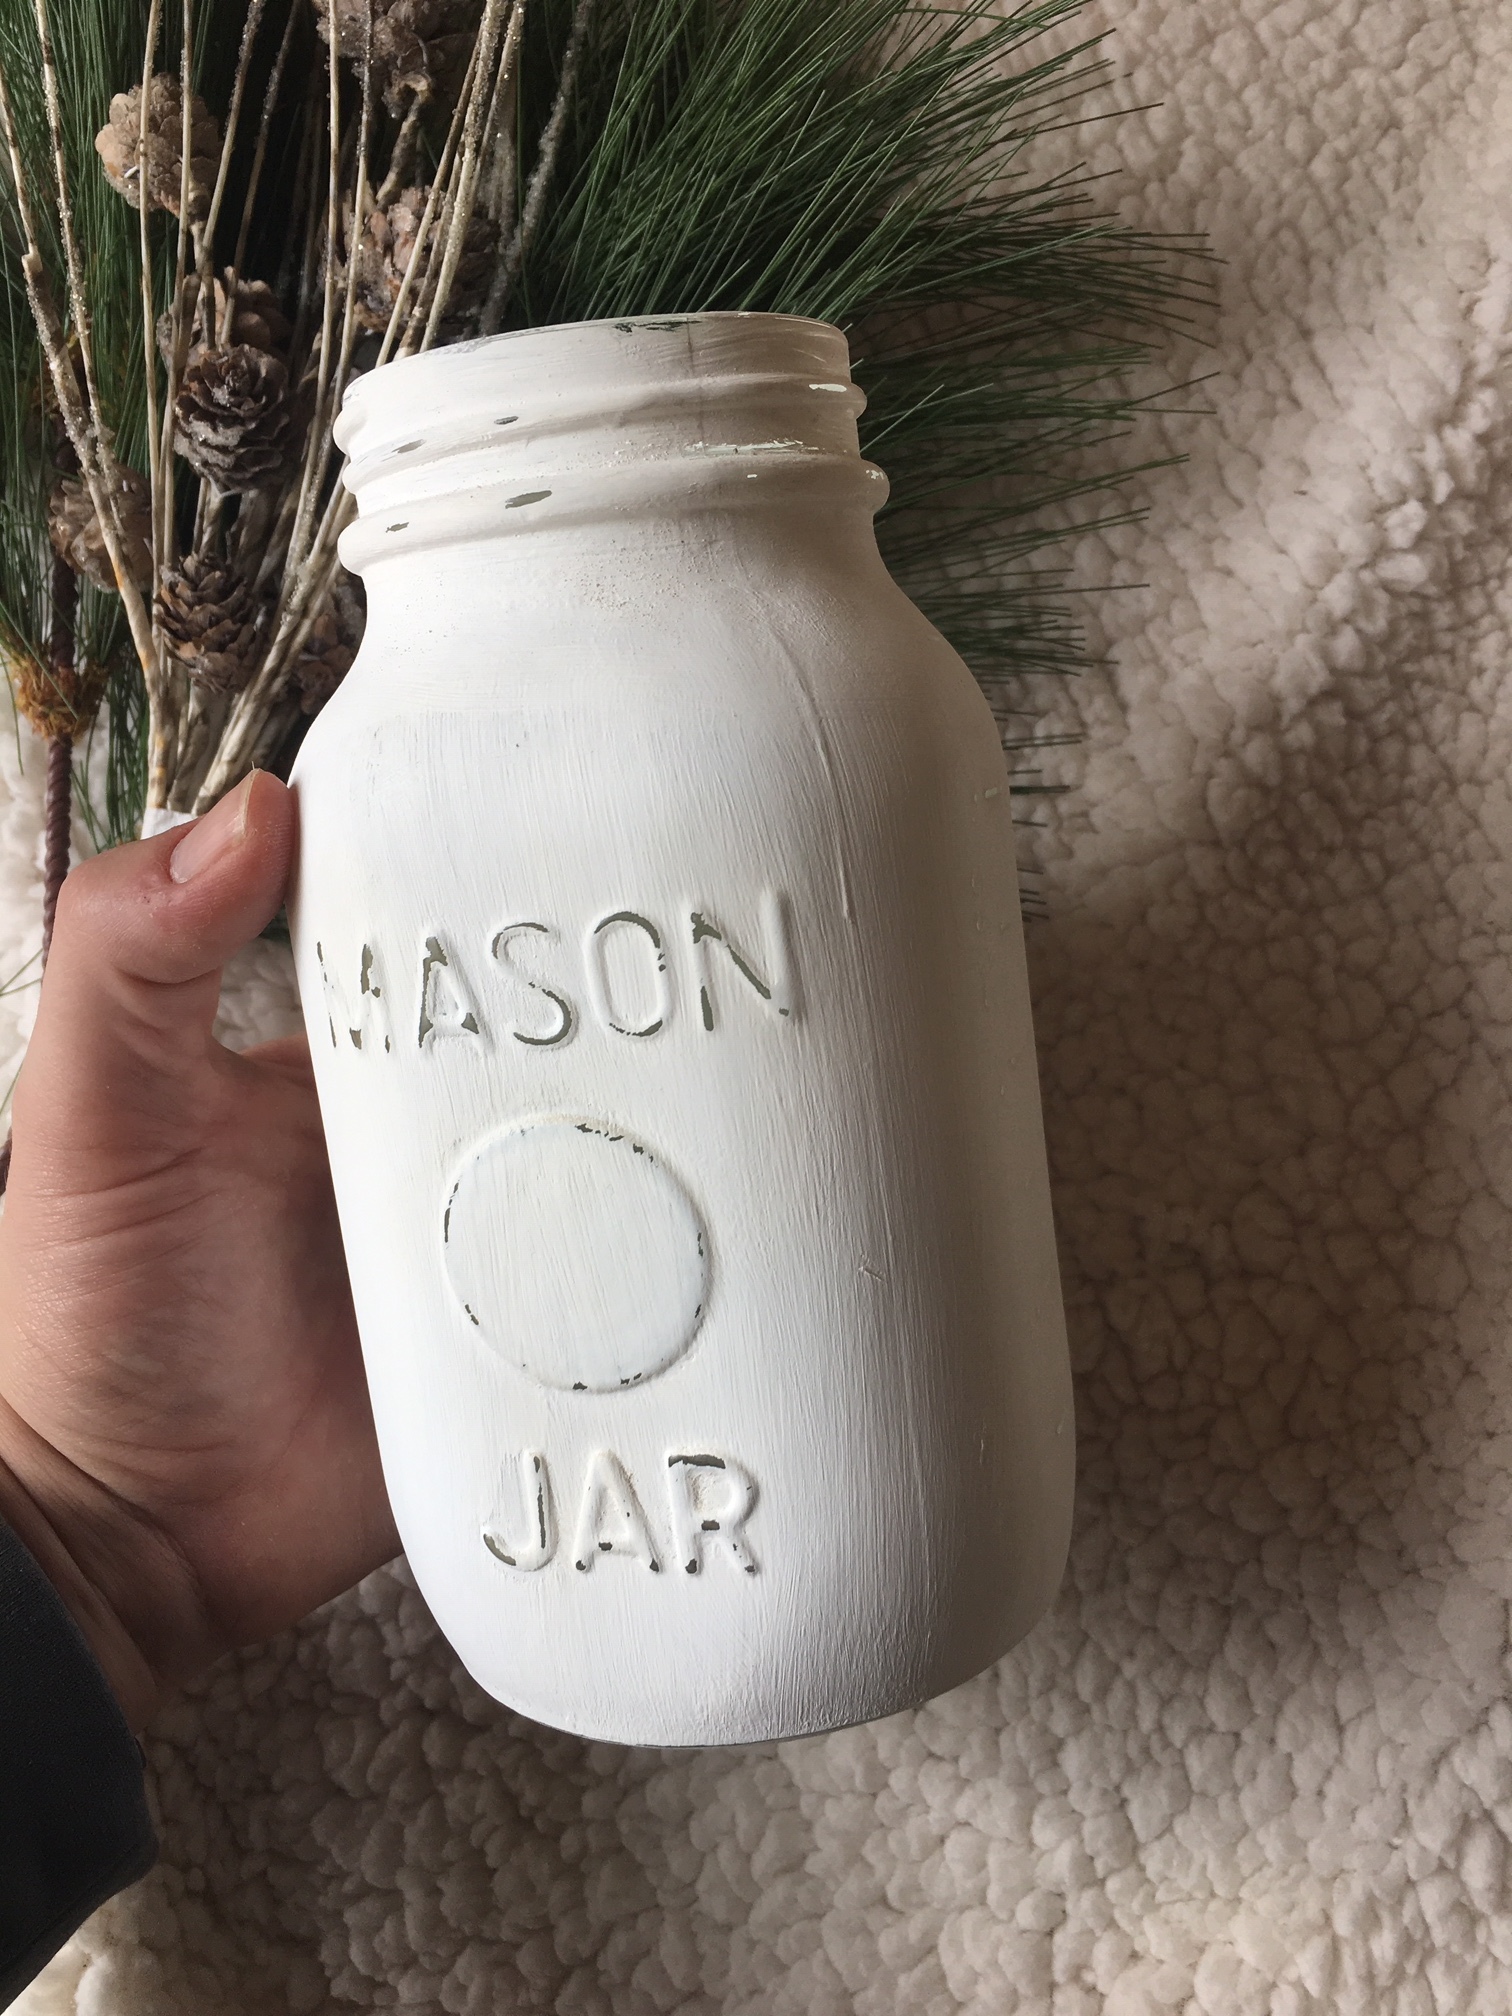
We tackled the shelving first, and to do so we needed to paint a few mason jars white to go along with her Christmas theme this year. If you need a DIY tutorial on how we did it, click here.
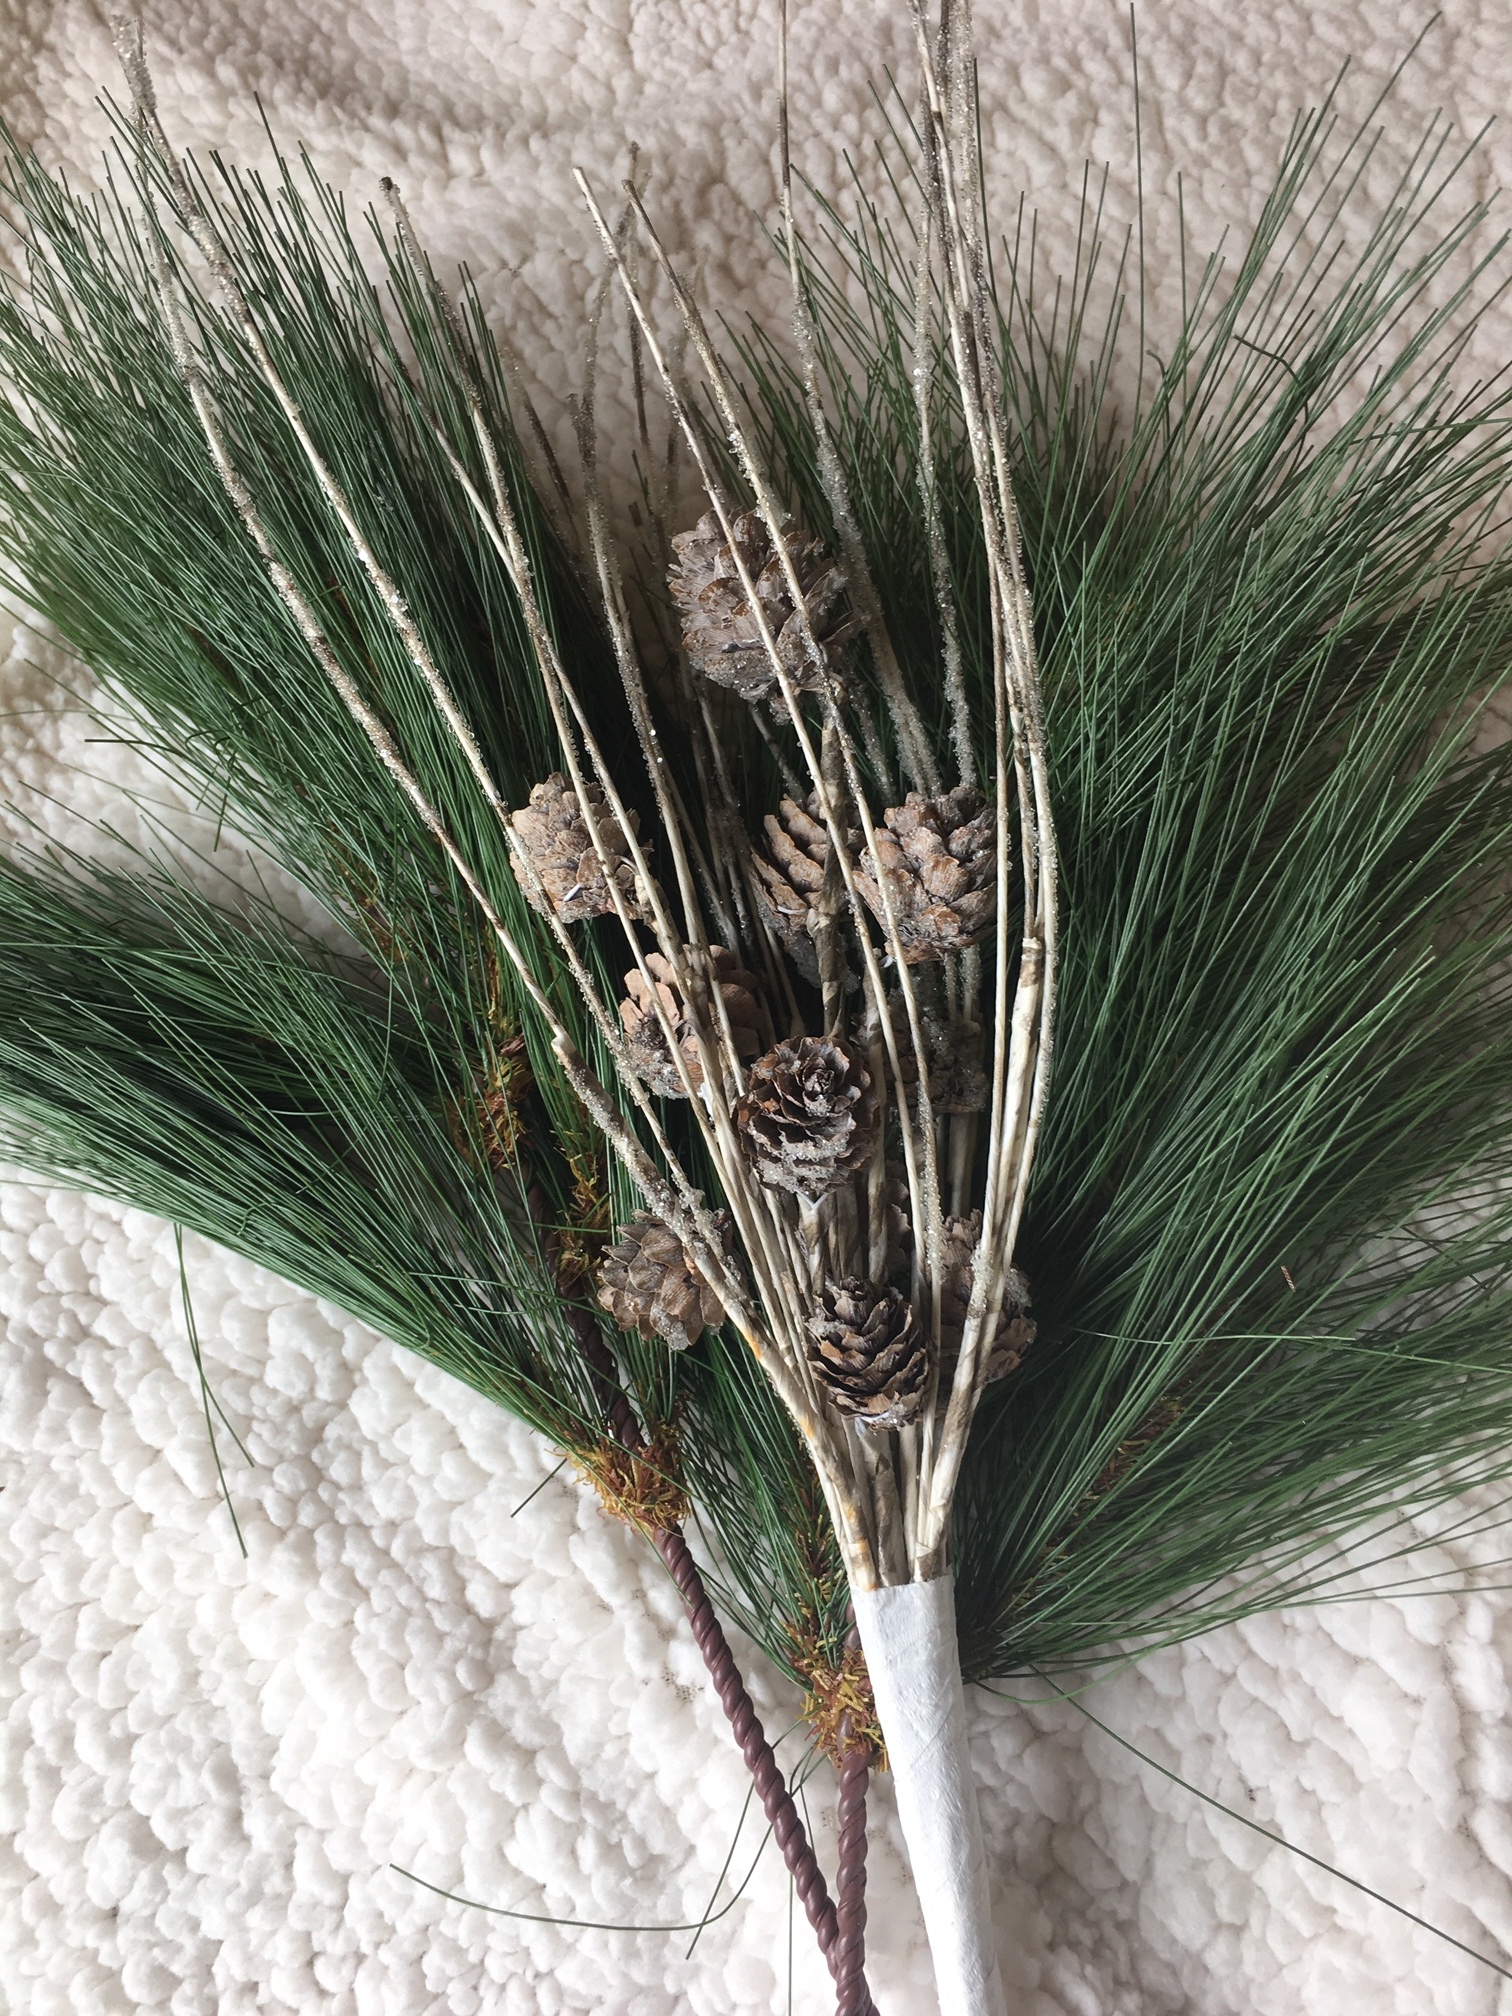
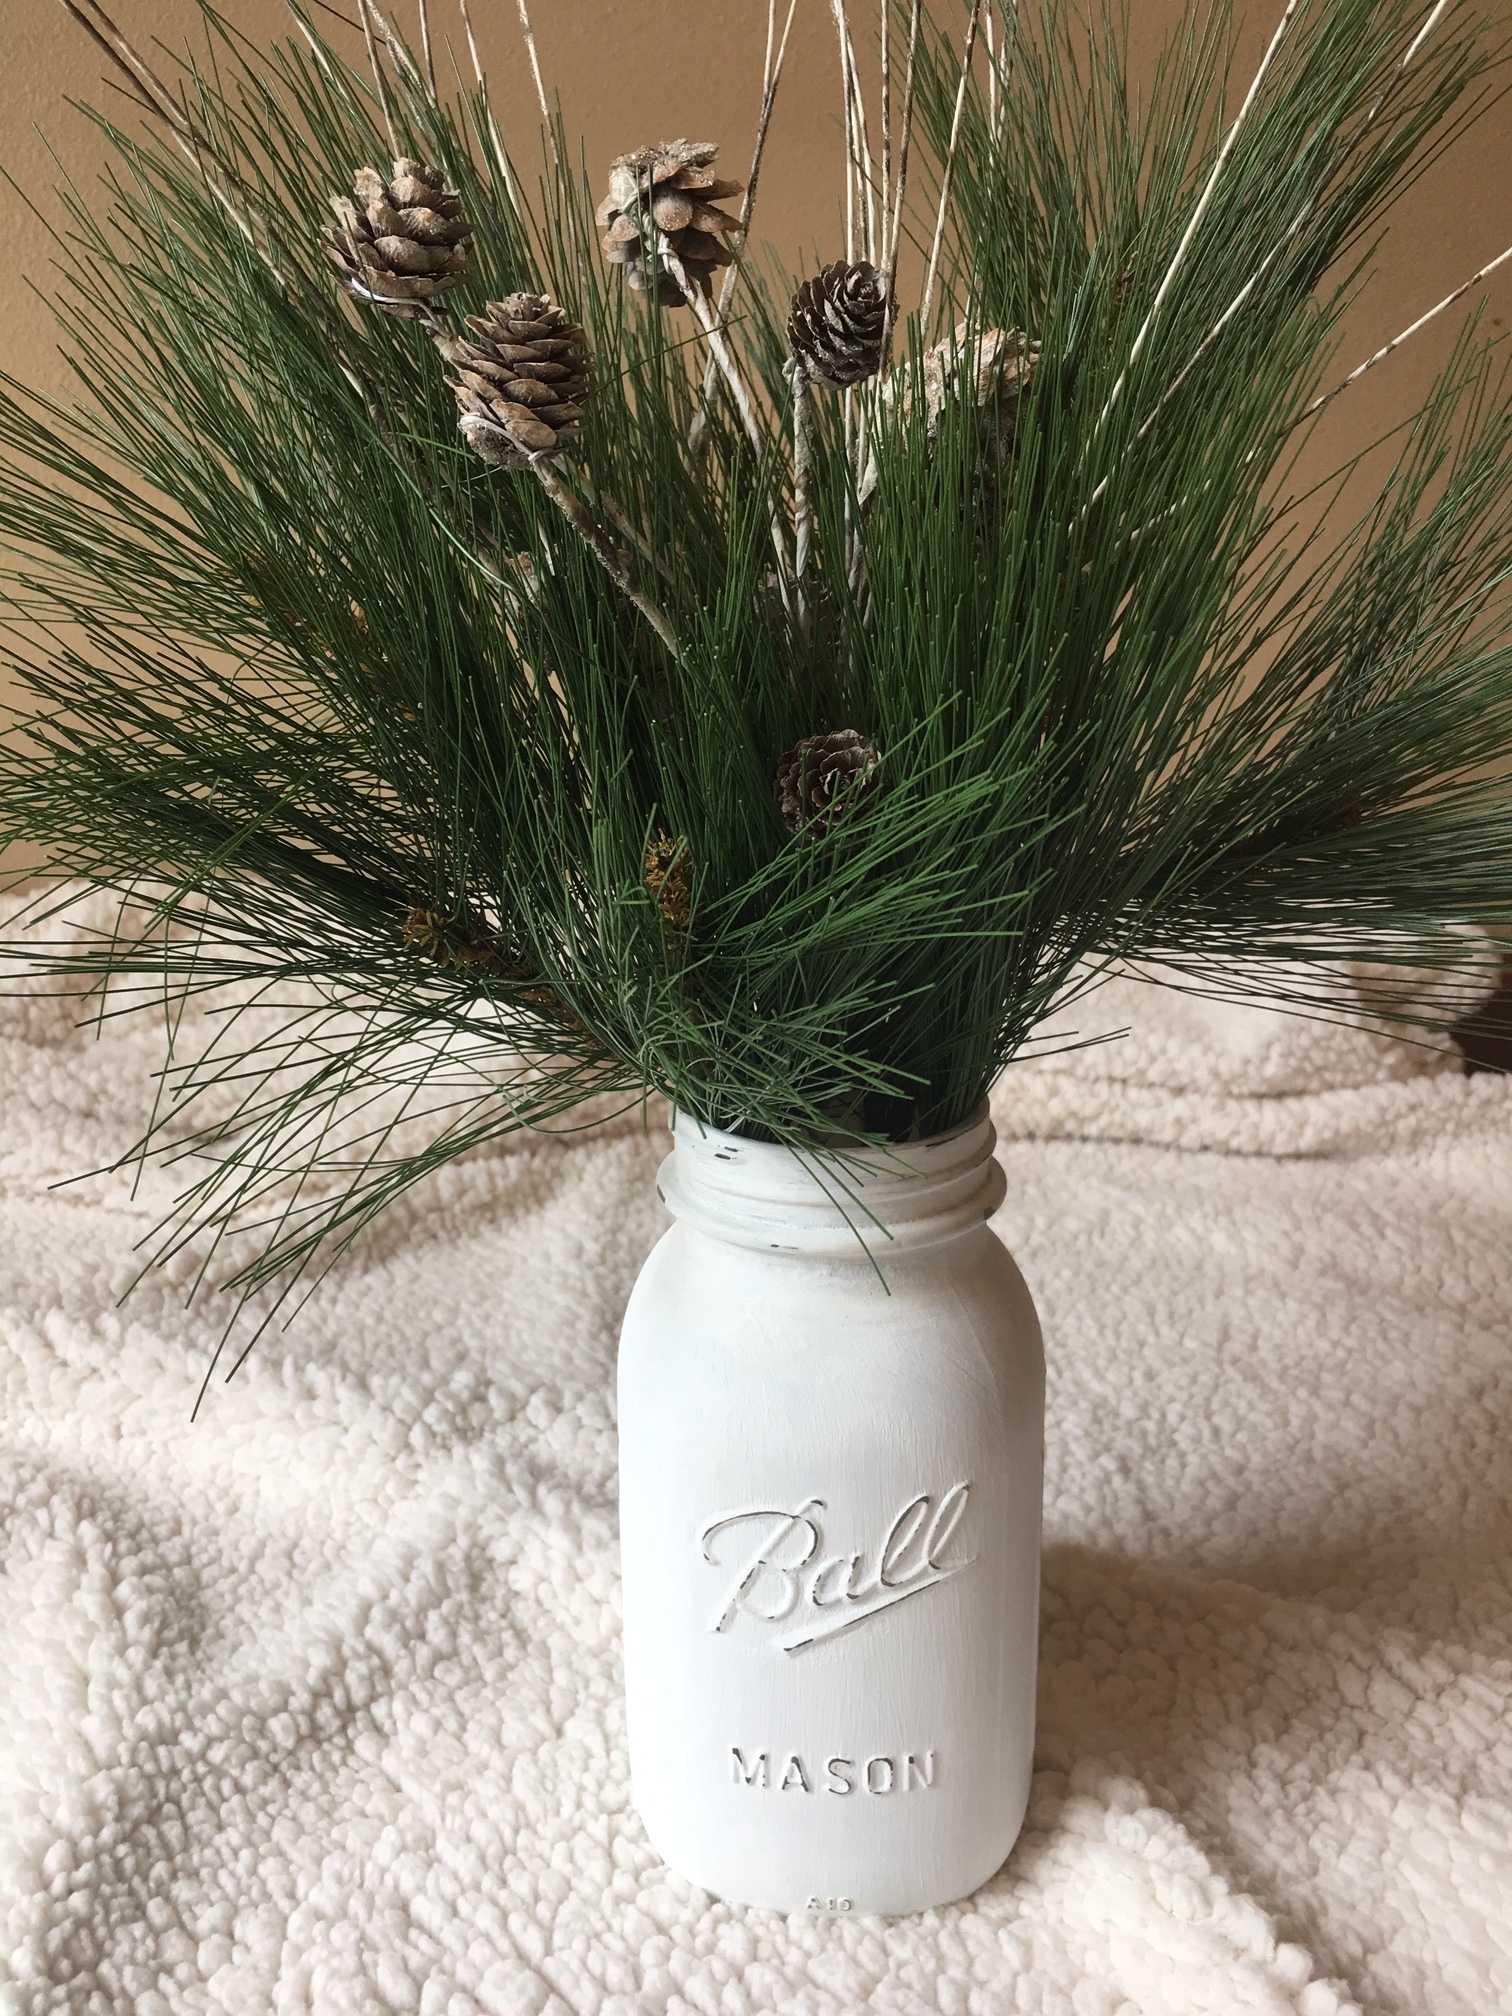
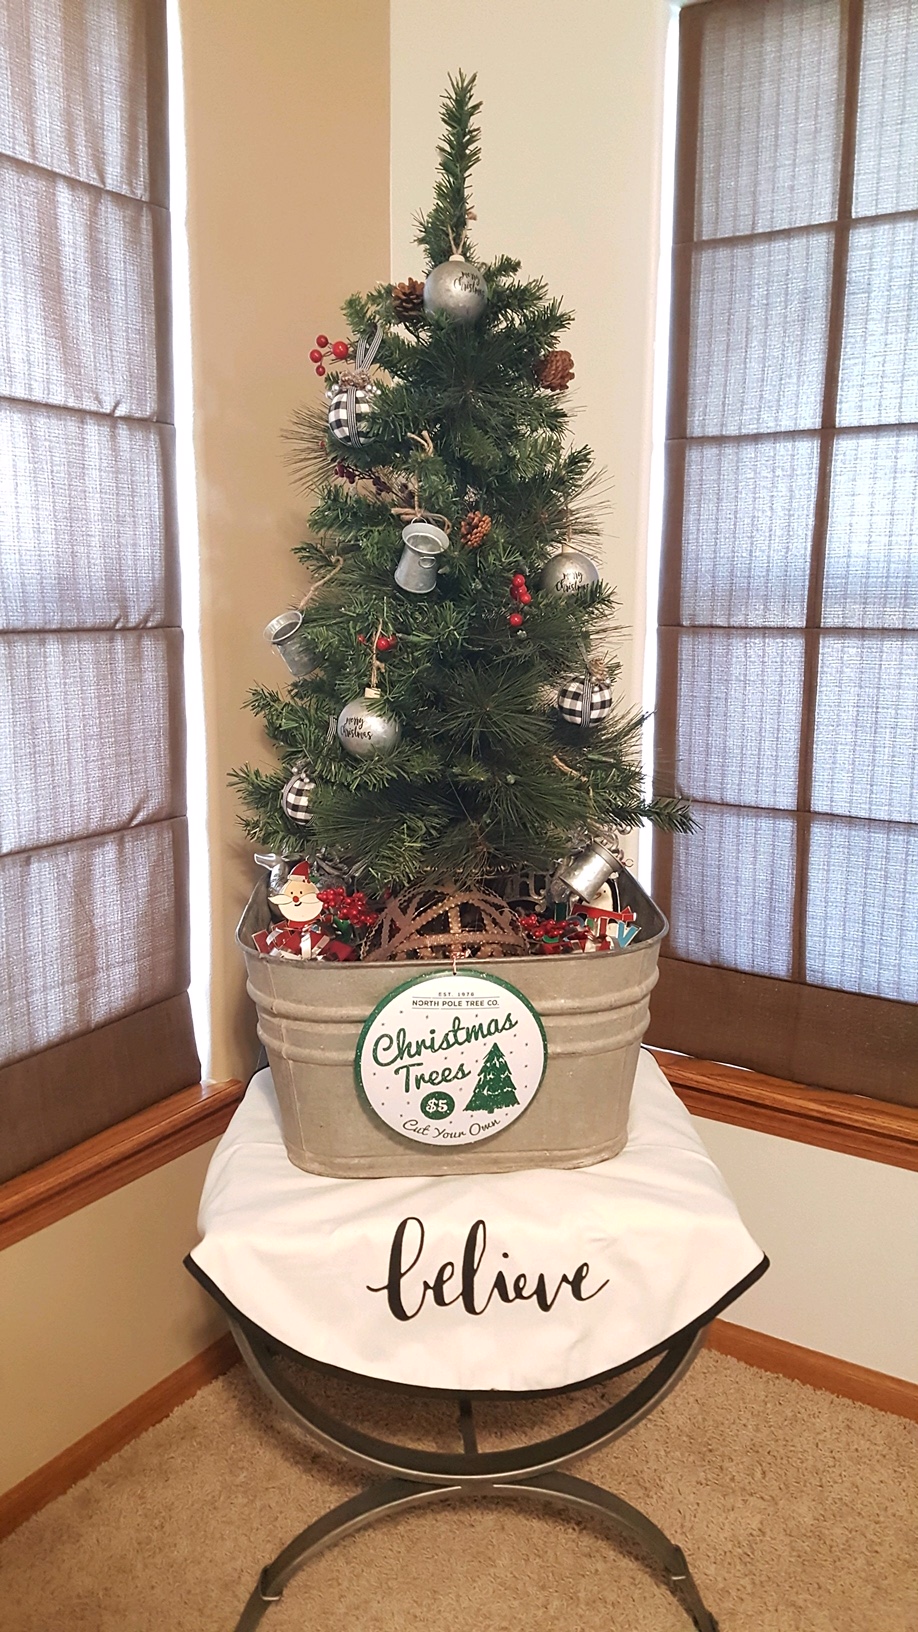
Next, we needed to figure out how to keep the little one out of the Christmas tree. To do this, we used a smaller, 'planter’ style tree that would normally be used on a front porch or as an accent tree. I trimmed most of the red ‘berries’ off of it, since red wasn't really in the color scheme this year. We snagged a $3 tree skirt from the Target dollar spot, an old metal tub that I had laying around, and got to work!

The tree base looked a bit ‘empty’ in the large wash bin by itself, so we gathered up other items (ornaments, stocking holders, random things) and filled the wash bin until the base of the tree was no longer visible.
We placed the whole thing on top of an end table, out of reach of little hands.
We finished the look with a metal Christmas tree sign, which was another Target dollar spot deal.
The dollar spot is on point this season!
We had a great time decorating while catching up and spending some time with each other, after all, that's what this season is all about!
Here are some pictures of our finished products! Happy decorating!
1st Annual Budget Friendly Holiday Farmhouse Decor Guide
*Note: This post uses affiliate links, click here to see my full disclosure.
It’s the most wonderful time of the year, and that means all things plaid, burlap, and little red truck inspired!
It’s November, and at this house the Christmas décor has started to creep out of the basement. I haven’t dug deep into it yet, I have just been going through things and seeing which lighted items no longer work or need new batteries and so on. However, I did bust out the red paint, and if you missed my DIY Christmas Lantern craft you can find it HERE.
If you are an overachiever and have everything decorated and the cookies out for Santa, (can you believe I already received a Christmas card?) then this post is probably not for you!
HOWEVER, if you are like me and want to get started decorating but also want to keep things easy and budget friendly, then you will want to grab some coffee and a notepad (or pin this post for later)!
I love amazon for many reasons, but most of all for their vast assortment of affordable farmhouse and vintage décor! Here are my top picks under $25 for this year (and these make great gifts too!)
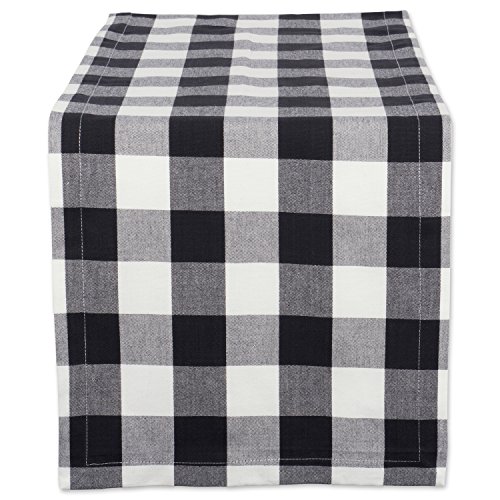
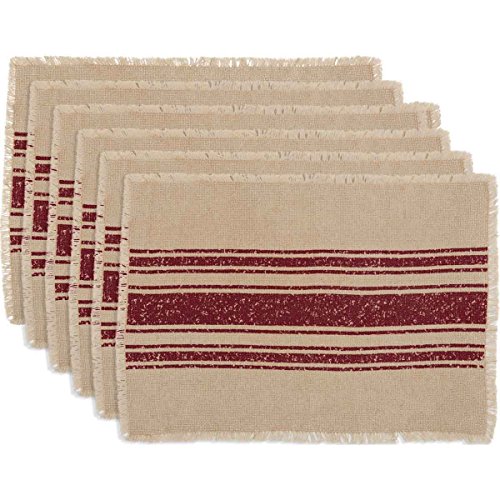
Pillows are so easy to decorate with, and these covers are not only affordable, but they are super easy to store since they lay flat and don’t have the bulk of whole pillows. Added bonus, the black and white buffalo check can be used for fall too!*


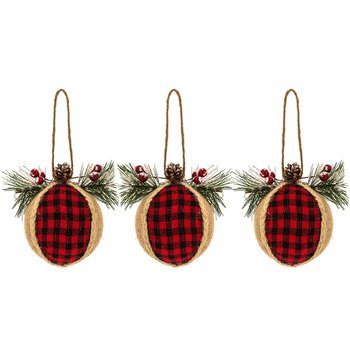
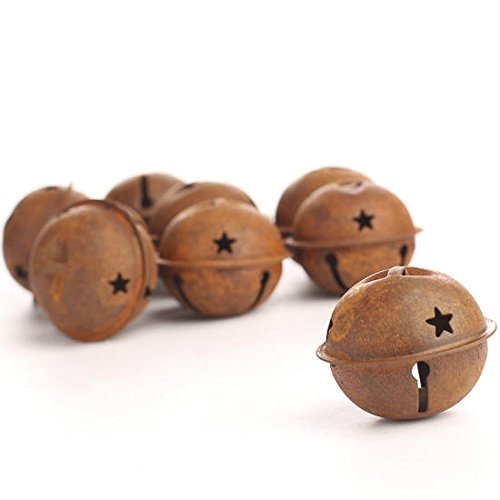
I love using ornaments as a package topper, or just giving them as gifts themselves! Here are a few cute examples.*
PS. If you are stressing about gift wrapping already, have no worries I will be posting a simple and cute how-to guide soon!


Next, lets talk table décor!
Arguably the focal point of your holiday decorating, aside from your tree of course, your table décor should flow with the rest of your house but on a more subtle scale. I have always been a fan of the ‘less is more’ phrase for the table, as there is nothing more annoying then having to move decorations so that guests can see each other when seated.
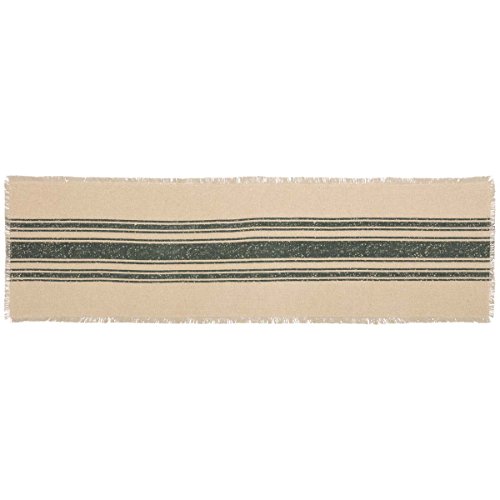
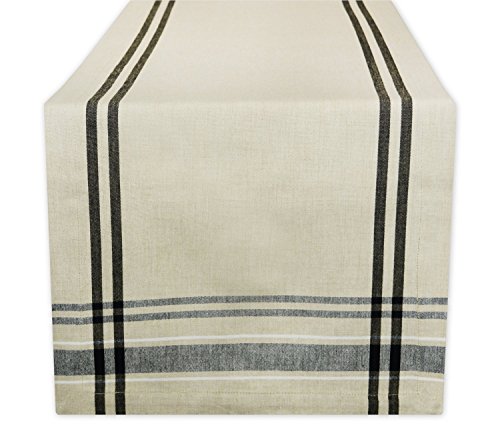
Personally, I just have a simple runner with a short tray (its actually an old metal chicken feeder) that I put down the center of the table and I fill it with different items for each holiday/season. For the holiday season (fall and winter) I use a simple black and white buffalo check runner.
Ok, enough chatter, let’s get to the good stuff.*
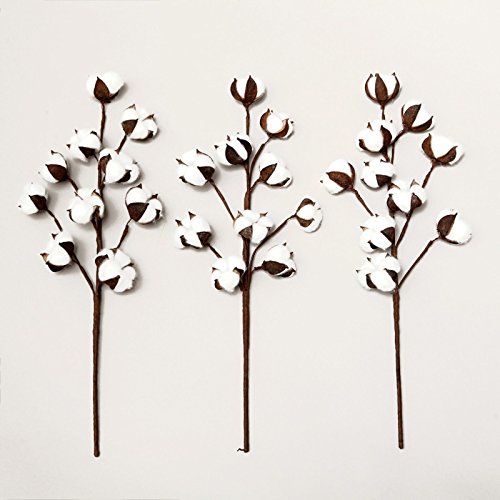
Finally, the finishing touches. These are items that don't necessarily go with a particular collection in your home, but pop up now and then on a bathroom counter or laundry room floor or anywhere you like to add a little touch of Christmas. Personally, I like to purchase a couple of these ‘random’ items a year, that way I can build my Christmas décor and also stay on budget!
I have put together several of my favorite items below, and remember everything in this post is under $25!*


Note: If you are looking for an easy guide to chalk painting these unfinished candlesticks, check out my tutorial here
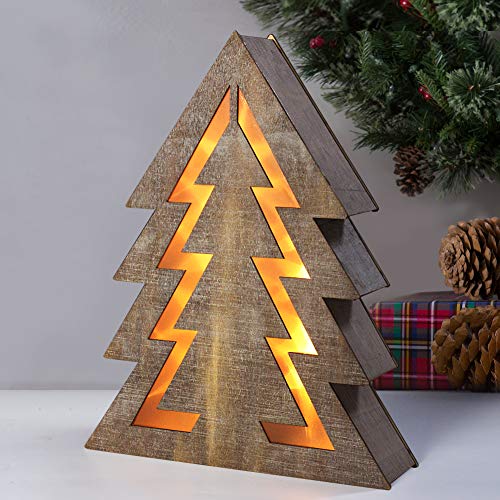
Ok, you might be thinking where are the Christmas trees? Garland? Wreaths?
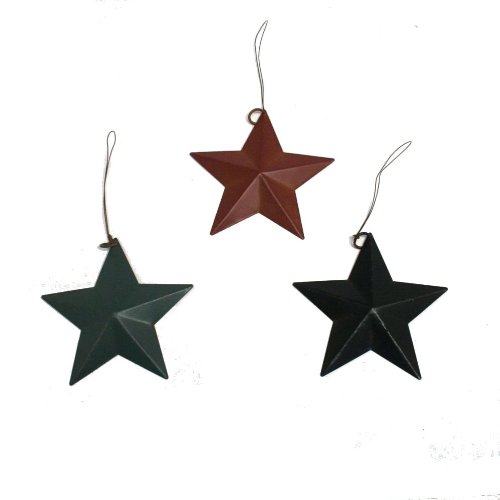
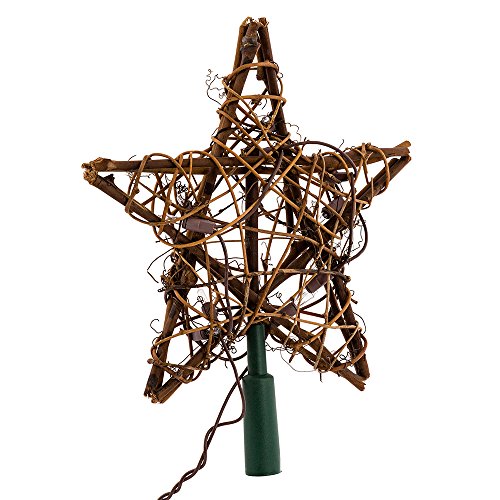
Well it turns out I have expensive taste in those items, but I will link a few of my favorites below for those of you looking to splurge on an item or two.
*Remember, these are affiliate links, and you can read my full disclosure here.