


It's a Farmhouse Christmas!
I cannot believe it’s already December, and here we are just a few short weeks from Christmas. Maybe it was the wonky weather, or the fact Thanksgiving was so late this year, but either way I found myself quite unprepared for December’s arrival! I did (finally!) finish getting my house decorated and photographed, minus the front porch, and I am here today to share these with you!
If you are feeling behind in decorating and want some quick inspiration, this post is for you!
Here’s a quick dining room tour!
I love all things budget friendly, and Christmas is no exception! While I do purchase a couple things each year, they are always marked down or on clearance. I mostly just use the decor from previous years in new ways or in new places, and that always makes it seem like a fresh new look. For example, this garland on the table is tucked into my re-purposed chicken feeder that I frequently have on display here, and I added a couple candles and pine cones that I had on hand. Ta-Da!


I made this ‘Merry Christmas’ printable last year and took it to a copy and print shop to have it enlarged and printed on cardstock (for $1). If you would like the file for a quick download, shoot me a message!


Linking our personalized book sets here.
This corner of the dining room is new this year, since I picked up this vintage sewing table super cheap on marketplace. I also grabbed these mint bells from the Target dollar section this year, can’t go wrong with over-sized bells!
On to the kitchen!
I did a whole post on the kitchen that I will link here, but if you just want a couple quick ideas here are some photos from that post!


Next up is the entryway table, and if you have been following along for a while you might remember that I have a terrible time decorating this long table. I strive to keep it uncluttered, but it seems to just collect things on its own!

I am really feeling the ‘woodsy’/tree farm/greens and whites vibe this year, and that is new for me from previous years. I am not entirely sure why I gravitated toward this style this year, but I embraced the challenge to incorporate what I had on hand and decorate this table.
And, the tree
let’s just ignore the un-decorated shelves on the flag wall in the background. This pencil tree was new to us last year (hello Michael’s clearance!) and this nook in the railing is about the only location we can put it at the moment, as we have to tether it with twine to secure it won’t fall over. Our 2 year old has never tried to pull the tree over, but i am sure the moment I didn’t have it secured she would give it a try. Kids just know when you are taking a shortcut!

As you can see, I have a bit of a Starbucks ornament collection going, and soon I will need my own tree just for them. For now, I will just hang them out of reach of little hands.
Also, our tree skirt is just a burlap sack from our local farm store, Theisen’s. They sell them for roughly $1, and while they do shed a bit I like the rustic look they bring to the tree.
Well, that’s all I have for inside decor this year. I have yet to finish my front porch, as I am waiting on something to be delivered that I bought the day after Thanksgiving. Hopefully I will have that post ready sometime before Christmas!
In the mean time, I hope I was able to bring you some decorating inspiration and as always, thank you for stopping by the blog today! All of your support really means a lot to us! I’m going to sign off for now and get back to the farmhouse remodel, big changes happening this week so stay tuned for that!
Cheers!
Rachael

The Easiest Decor DIY Ever!
Hi there! I’m writing to you from sunny Iowa, and while 40 degrees might not be warm where you are from, it’s certainly a welcomed sight in this region! Today I have a super easy and quick DIY ready for you, perfect for filling in those small spaces in your home.
You will need:
Twine
Clothespins
Scissors
That’s it!
Let’s get to it!

I picked up these clothespins and twine from Lowes
Now that you have everything gathered up, take the scissors and cut a 2 to 3 foot section of twine and begin to wrap it around a clothespin, with no particular pattern. I like to choose varying lengths of twine and make some clothespins ‘fatter’ than others, so they all appear different when piled up together. Repeat this process as many times as you desire, and you can either hot glue the ends or simply tuck them in.
These little twine clothespins are great fillers for any decor, since they are neutral and not specific to a season. Here are a couple photos of how I used them just today.


This project was also very budget friendly, I think the grand total was around $7. For those looking for clothespins, I found them in the cabinet organization section at Lowes (don’t ask me why they keep them there, I never understand how that place is organized).
Well, I am headed back outside now that all of my winter decorations are officially unfrozen from the front porch….it’s time to clean that area up!
As always, thanks for stopping by the blog today!

Spring Faux Greenery Guide
Hi all! I know you might read the title of this post and think to yourself it’s January and too early to decorate for spring, and while I certainly agree, I do like to add a pop of greenery to my winter decor to keep things fresh. Iowa has a habit of being brown, with the exception of snow, for months on end and I personally prefer a hint of green to keep me plugging away until spring!
First, let’s discuss where I like to shop for faux greenery.
I get a lot of questions about where I find my stems and it varies by season. For example, I like to shop at Hobby Lobby for fall and winter stems due to their extensive selection and great prices on seasonal items. For spring or year round items I prefer Target or Amazon, due to their rock bottom clearance prices. Target usually has more of the style of faux greenery I prefer, and there is the satisfaction of seeing it before you purchase, however Amazon reviews can often times answer any questions you might have prior to buying and it helps they have a hassle free return policy on most items.
Next, lets take a look at the types of faux greenery available.
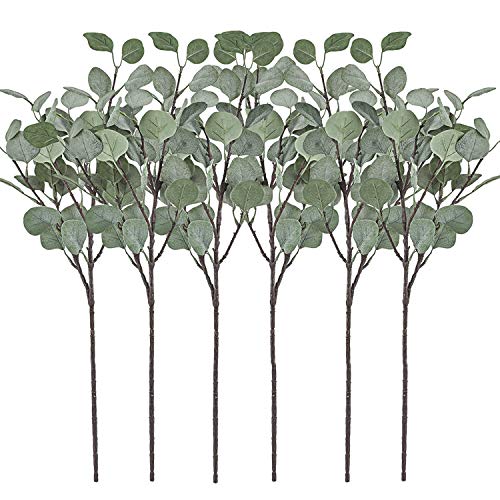
Below you can see a couple different examples of greenery currently in my home. The left photo shows more of a softer look with muted tones and a ‘fuzzy’ texture. I prefer this type of greenery for any stand alone plant that I decorate with, as it matches the softer tones throughout the rest of my home.
The photo on the right shows a mixture of large matte eucalyptus leaves with a smaller, more ‘shiny’ plant. When creating a display with multiple plants, I prefer to use different textures so the individuals stand out.

Softer, ‘fuzzier’ look

Matte vs Shiny
Here is another example of how the matte, softer looking plants work well with the decor already in my home.

This greenery is from Target. Book sets available here
Here are examples of mixed textures with multiple plants in flower boxes that I have in my dining room. I did add a hint of color to these displays, and I plan to continue to add to them later on in the season. I like how each type of plant stands out from the bunch.


If you are looking for a few greens to get started with, I rounded up a couple options below from Amazon. You just can’t beat the bulk pricing and quantities!
Note: These are affiliate links, and you can read my full disclosure here.


Well, that’s all for today! I hope this post was able to provide some inspiration for your own decorating!

The Friendship Fireplace Project!
Hey all, one week until Christmas Eve! Are you ready? (It’s OK, I’m not either!) I’m not too stressed about it either, there’s plenty of time left for that! All of that aside, I am excited to share with you a client project we recently finished up called ‘The Friendship Fireplace’. The street address for this home contains the word ‘Friendship’, thus that is how the project name was developed. We do a number of fireplace/mantel projects and have to keep them straight with unique titles!
The fireplace is often the focal point of the living room as well as the backdrop for family photos, and this homeowner wanted a total remodel of this space to bring it out of the 1970’s. To do that, we first had to start with a clean slate!

Aside from the fireplace itself, there was not any part of the original design that was worth keeping…it all had to go.
And as you can see we made a huge mess, but it was worth it!
Progress photos after some new framing, insulation, and cement wall board.


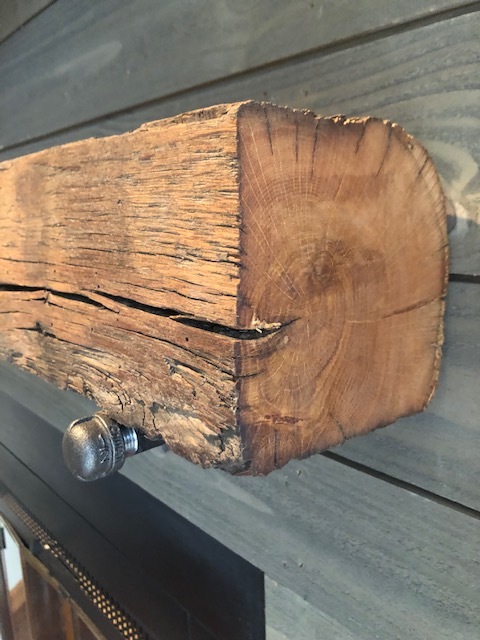
We needed to redefine this space, and the easiest way to accomplish that was to add a new texture or wall surface. The homeowner chose rough sawn weathered shiplap, which is pictured below. It’s a gorgeous light grey, and really makes this space ‘pop’!

These barn beam mantels are always my personal favorite. Every single one is unique, bringing a different century-old story into each home. This one was mounted with simple gas pipe wall plates and fittings.


And here’s a full length view, complete with fresh tile at the base of the new wall. This family will have a fresh new space to take all of their family photos and the mantel will surely be a talking point with guests for years to come!
We really appreciate the homeowner choosing our business to complete her fireplace remodel!

The fireplace insert remains in original condition, as the homeowner has plans to resurface that herself
And some bonus mantel pictures, because I can’t help myself!


My (No-Cost) Holiday Front Porch!
Last week I wrapped up my decorating for the year by completing my front porch, and it was a challenge! If you follow me on Instagram (@aps_design) you already know that I posted the whole process on stories that day, attempting to do the entire porch with items I already had at home, no purchases!
This was a personal challenge I came up with because I know I have a ton of items at home that I should be creative with and use for decorating, but I usually forget to do that and just purchase what I need instead. But, in the spirit of budget friendly, I went with a no-cost front porch this year! Now I will admit, I have a large collection of random items that helped make this task possible, but I did have to get creative in using them and some of these methods could inspire you as well!
Lets get to it!
I worked on the right side of the porch first, collecting items and putting them in a wagon that I found in my garage. I had made some ‘presents’ out of blocks of wood earlier this season and decided they would go well together in the wagon. The crock that is also in the wagon could probably use some greenery but in the spirit of not buying anything for this porch decor, it remains empty.
The large rusted milk jug is a staple piece for my front steps, so it always stays out there in some capacity. This season I gave it some height by positioning it on top of an overturned wooden apple box.
I piled the wood slices up in front of the wagon to add more of a woodsy/rustic/tree farm feel to the picture.

The left side of my porch was a bit more challenging, as I did not have any Christmas lights on green wire, but in the evening hours when the tree is lit it’s not as noticeable. I simply put the tree in an old wash bin and stacked some wood slices in front of it.
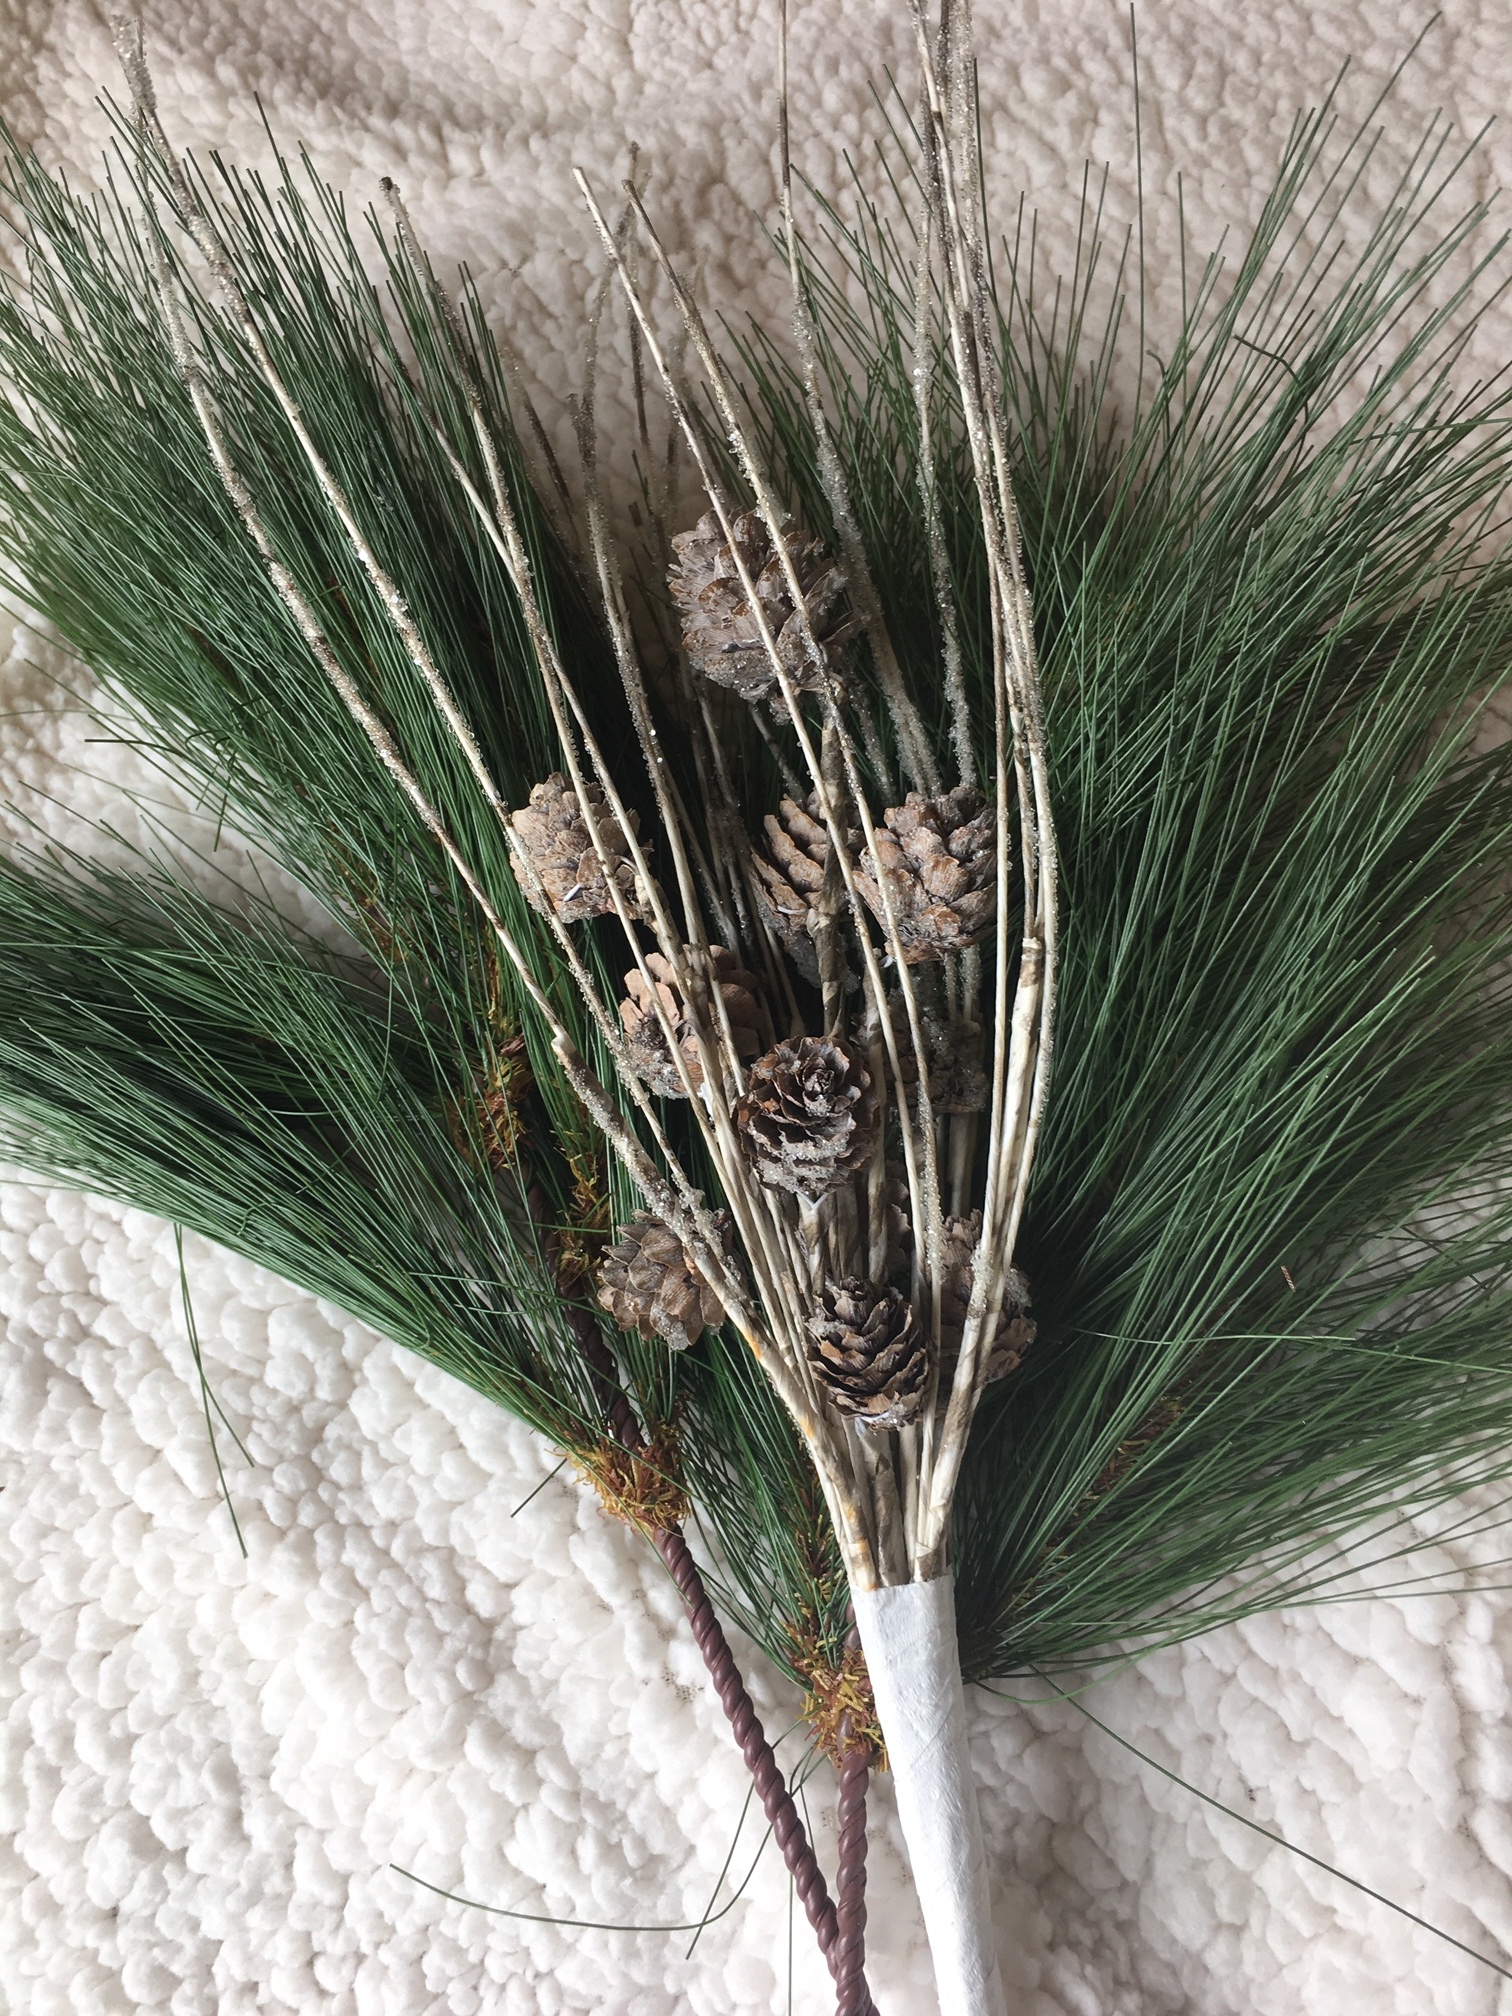
During my scavenger hunt in the garage, I found this beautiful vintage sled and half barn door that I had previously forgotten about. I grabbed a little greenery and tied it to the sled. Ideally, I would find some old ice skates to pair with the sled, if I wasn’t doing a no-cost challenge!


Here’s the final look!
Again, I would have done things a little bit differently if I wasn’t doing this little personal challenge of not purchasing anything for the front porch, but this did force me to look through things I already had and be creative in using them. I hope this can provide some inspiration with your own budget friendly decorating! Merry Christmas!

My Entryway Sawhorse Table
Hi Friends! I’m slowly getting my home ready to go for Christmas, and I love decorating this fun sawhorse table in my entryway each and every season. My husband made it several years ago, and it continues to be a focal point in our home. I thought I would share what I did with it this year so you can get some ideas or inspiration for your own home!
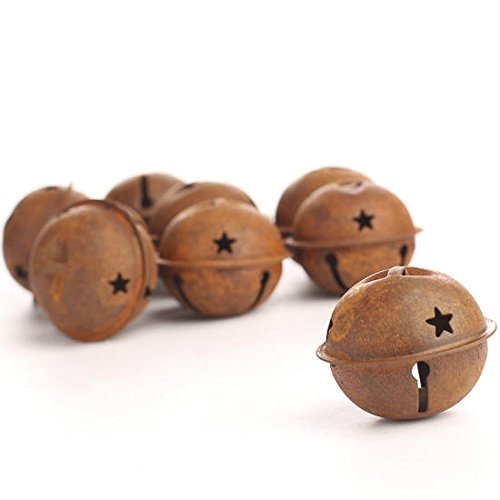
I had these random steel buckets from a thrift store, a DIY Christmas garland that I made, and some jingle bells and other random items that I wanted to incorporate.

I love this old spool and jingle bells!

DIY Fabric Garland, click for instructions!
Here is how it all turned out, I love all of the different textures (metal, fabric, etc) along with the black and white and plaid holiday colors. Can you tell I am loving buffalo check this year??

My Saw Horse Entryway Table
Repurposing old items is one of my favorite decorating hacks! These hooks that hold up the lanterns on either side of the table are from an old carriage house/barn that had to be torn down due to storm damage. Just think of all of the horse and carriage equipment that hung on these hooks for decades, now they are continuing their work in my home! (I’m a history nerd, I know!)
Well that is all I have for you for now, stay tuned for the rest of my décor in my personal home as I get it completed!
XO,
Rachael
PS. I put together a simple (budget friendly!) guide to adding buffalo check to your home’s décor, and if you are stumped or need ideas feel free to check it out by clicking here!
(Note: The above link contains affiliate links and you can read my full disclosure here)
Coffee, Tree Trimming, and Christmas Decorating
Hi! Can you believe next week is already Thanksgiving? I still cannot wrap my brain around it. Either way, Christmas decorating is in full swing at my house and while I’m not quite ready to share what I have done so far, I did help a dear friend decorate her home yesterday over some much needed Starbucks, and wanted to quickly share what we did in case some of you are planning on whipping out your holiday items on Thursday night.
You all know I love everything budget friendly, and holiday decorating is no exception. While I do often buy a small item here or there, I reserve most of my décor shopping for after the holiday (or season) to take advantage of those steep discounts. As a result, I often forget what I have from the year before when it’s time to dig it all out of storage again, and this is why I prefer to get all decorations spread out in one place before beginning to place them throughout my home. I often reuse items in a new way than the year prior, or simply put them in a different room to give the illusion of ‘new’, without going over budget.
Ok, lets get to it!
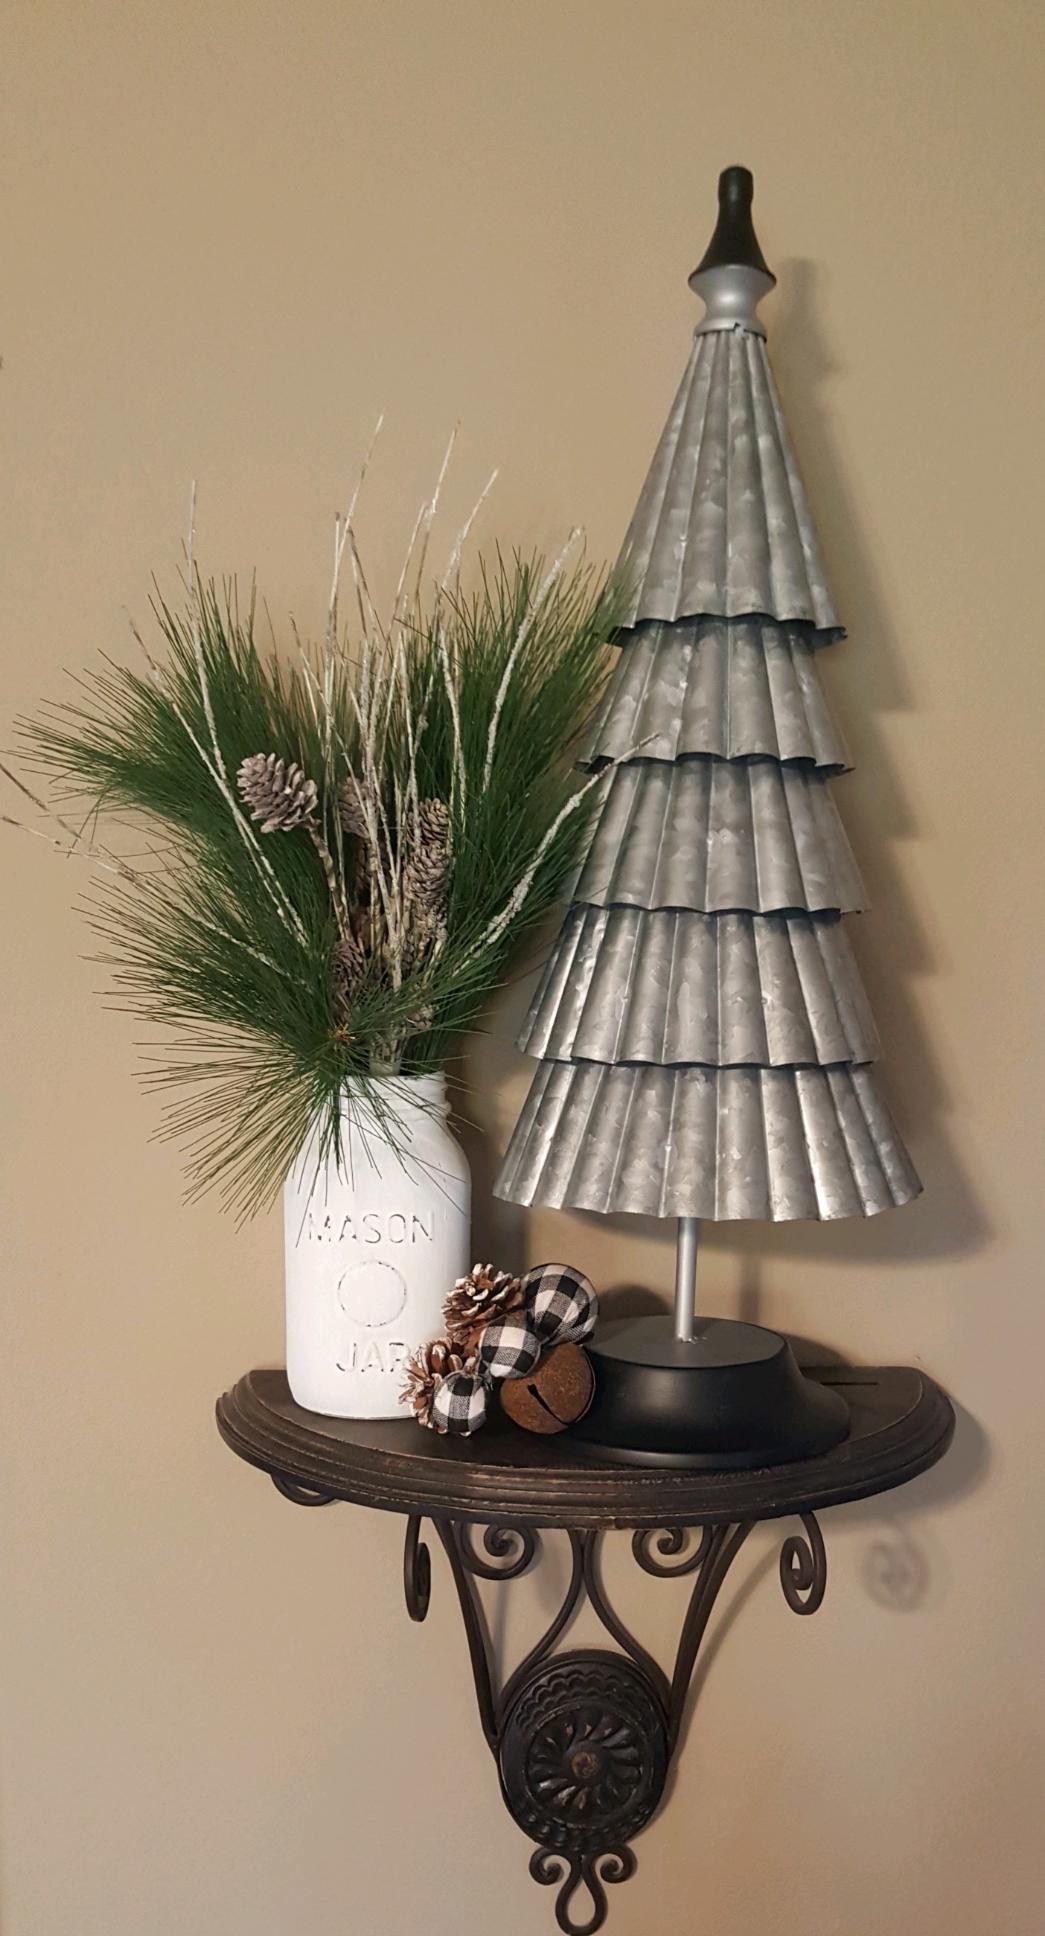
Having an infant on the move, my friend wanted to utilize some higher spaces in her home to place décor that her baby could not get into. She had two shelves on either side of her fireplace/tv area that she wanted to fill, and we also needed to figure out something for her tree to make it somewhat baby friendly.
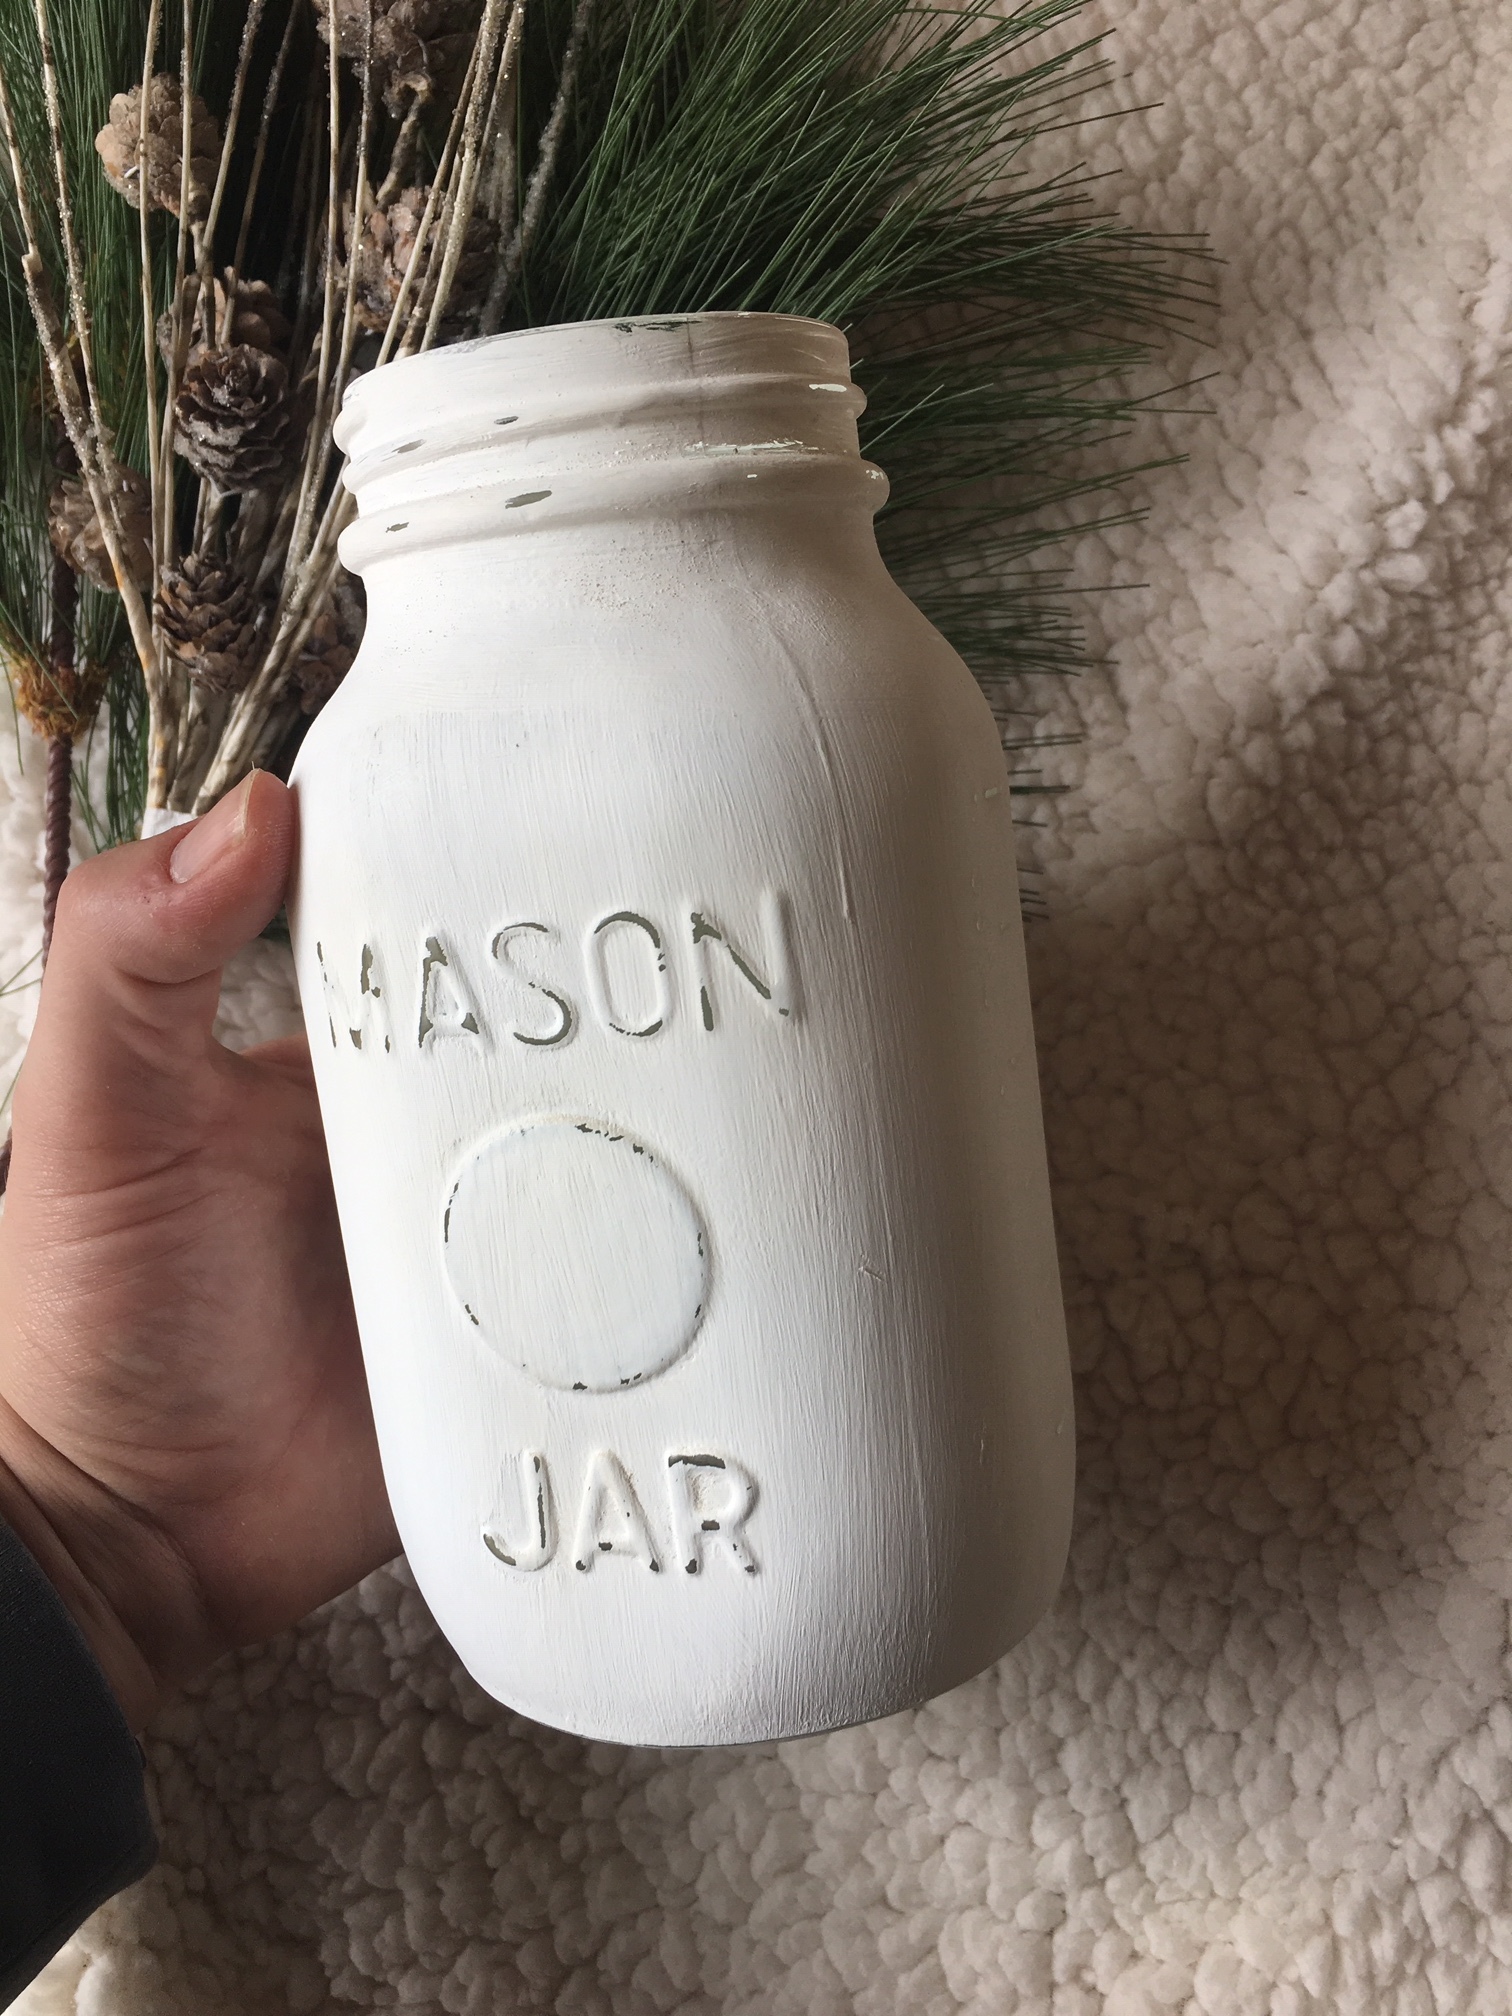
We tackled the shelving first, and to do so we needed to paint a few mason jars white to go along with her Christmas theme this year. If you need a DIY tutorial on how we did it, click here.
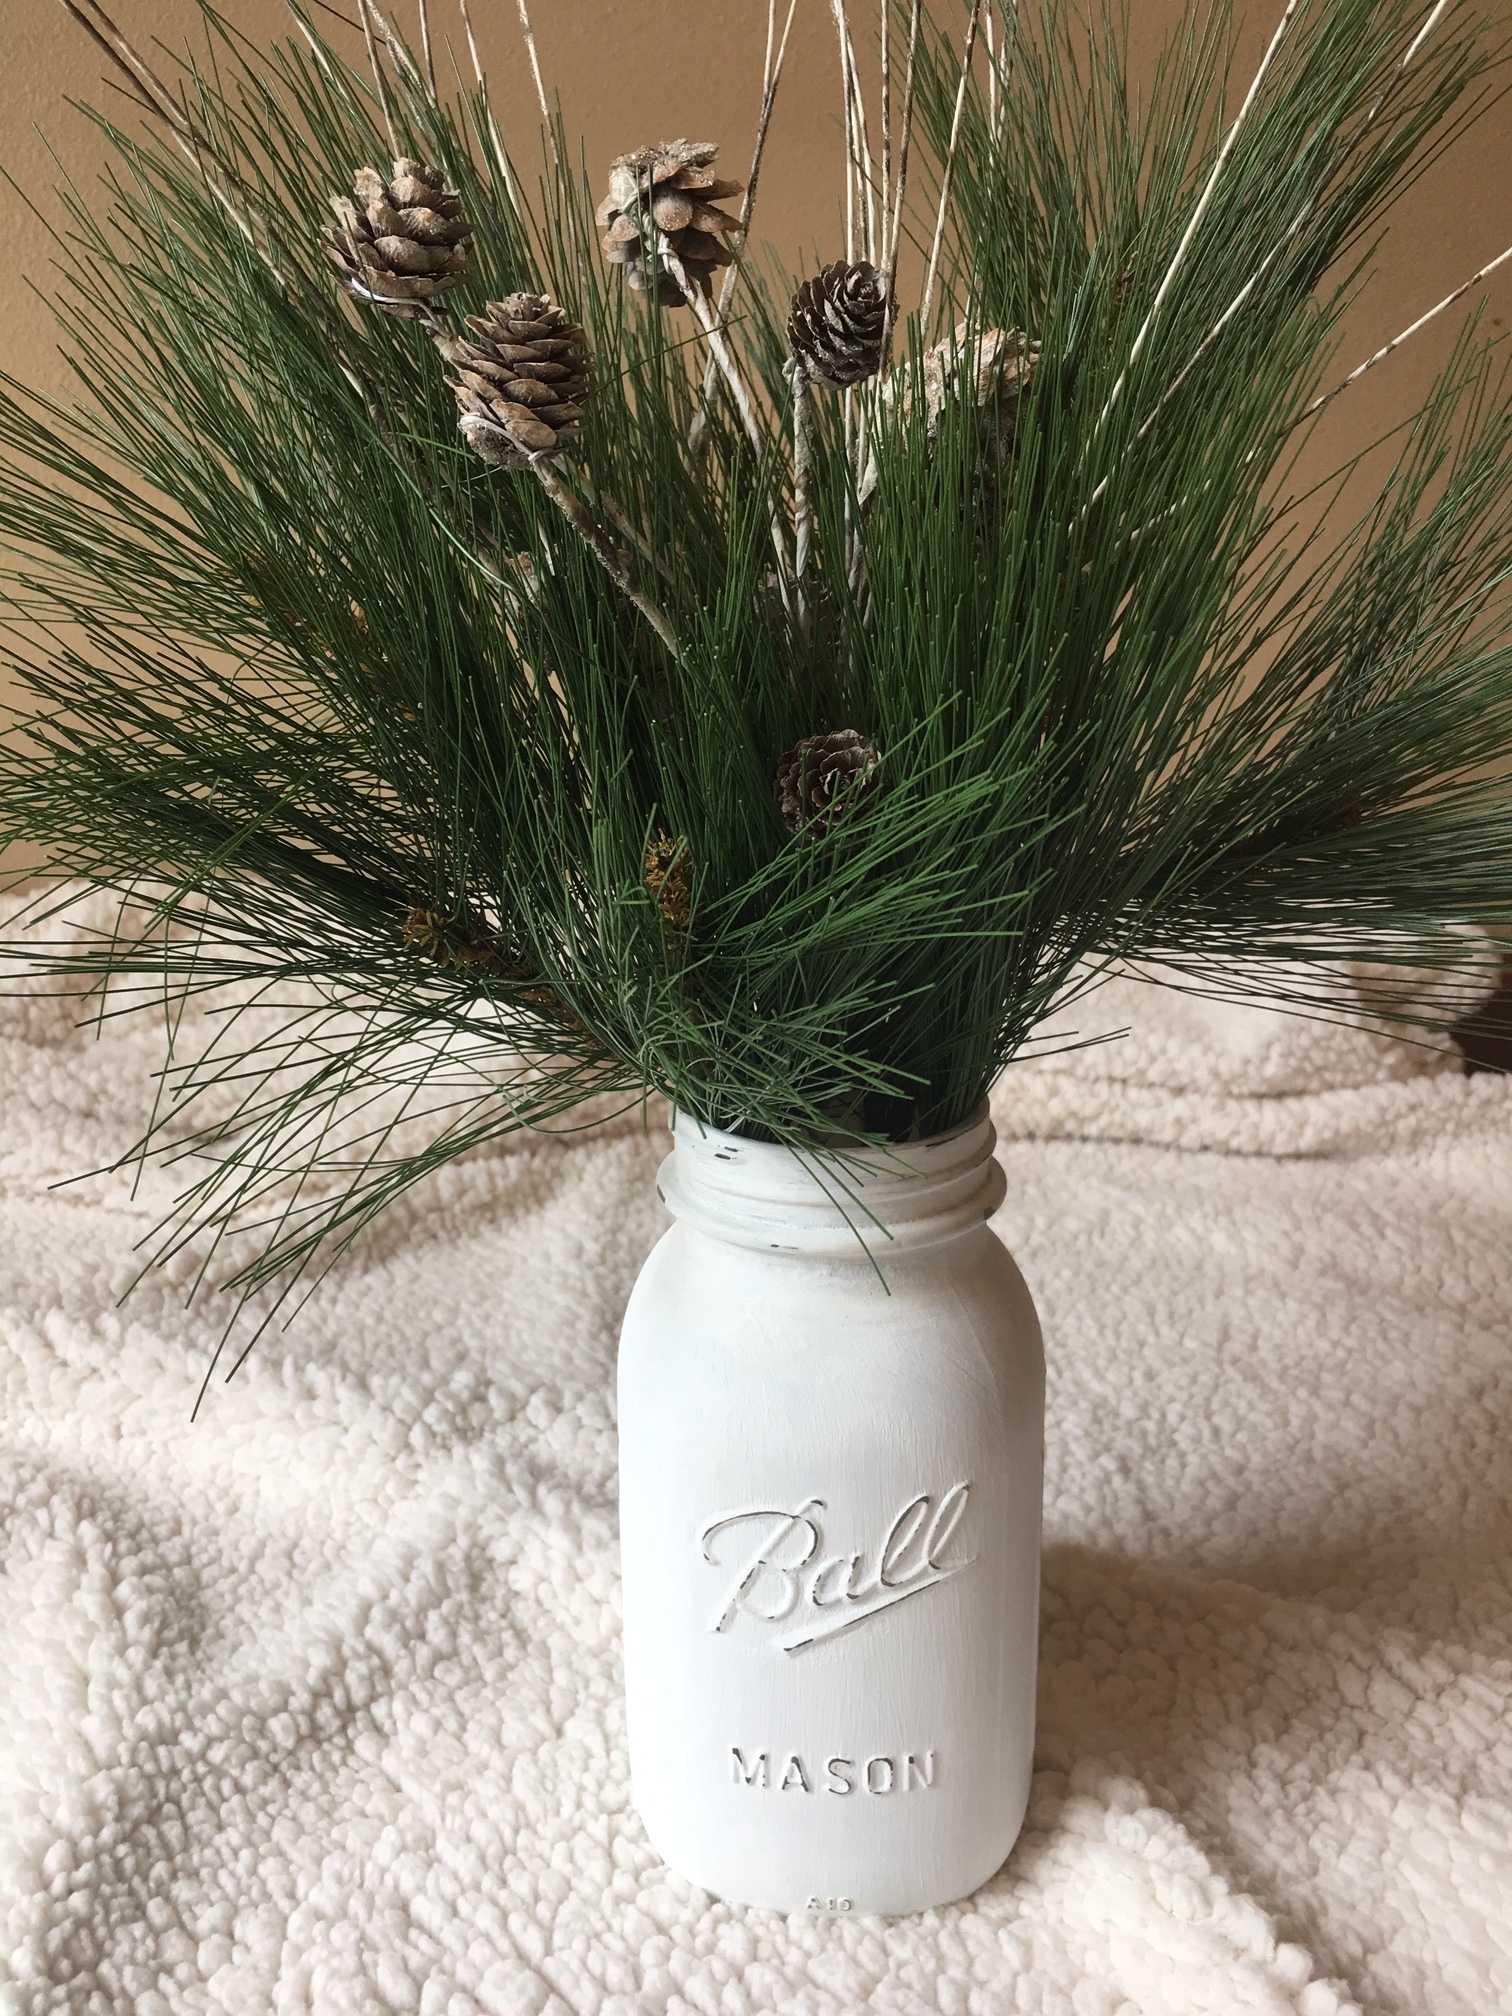
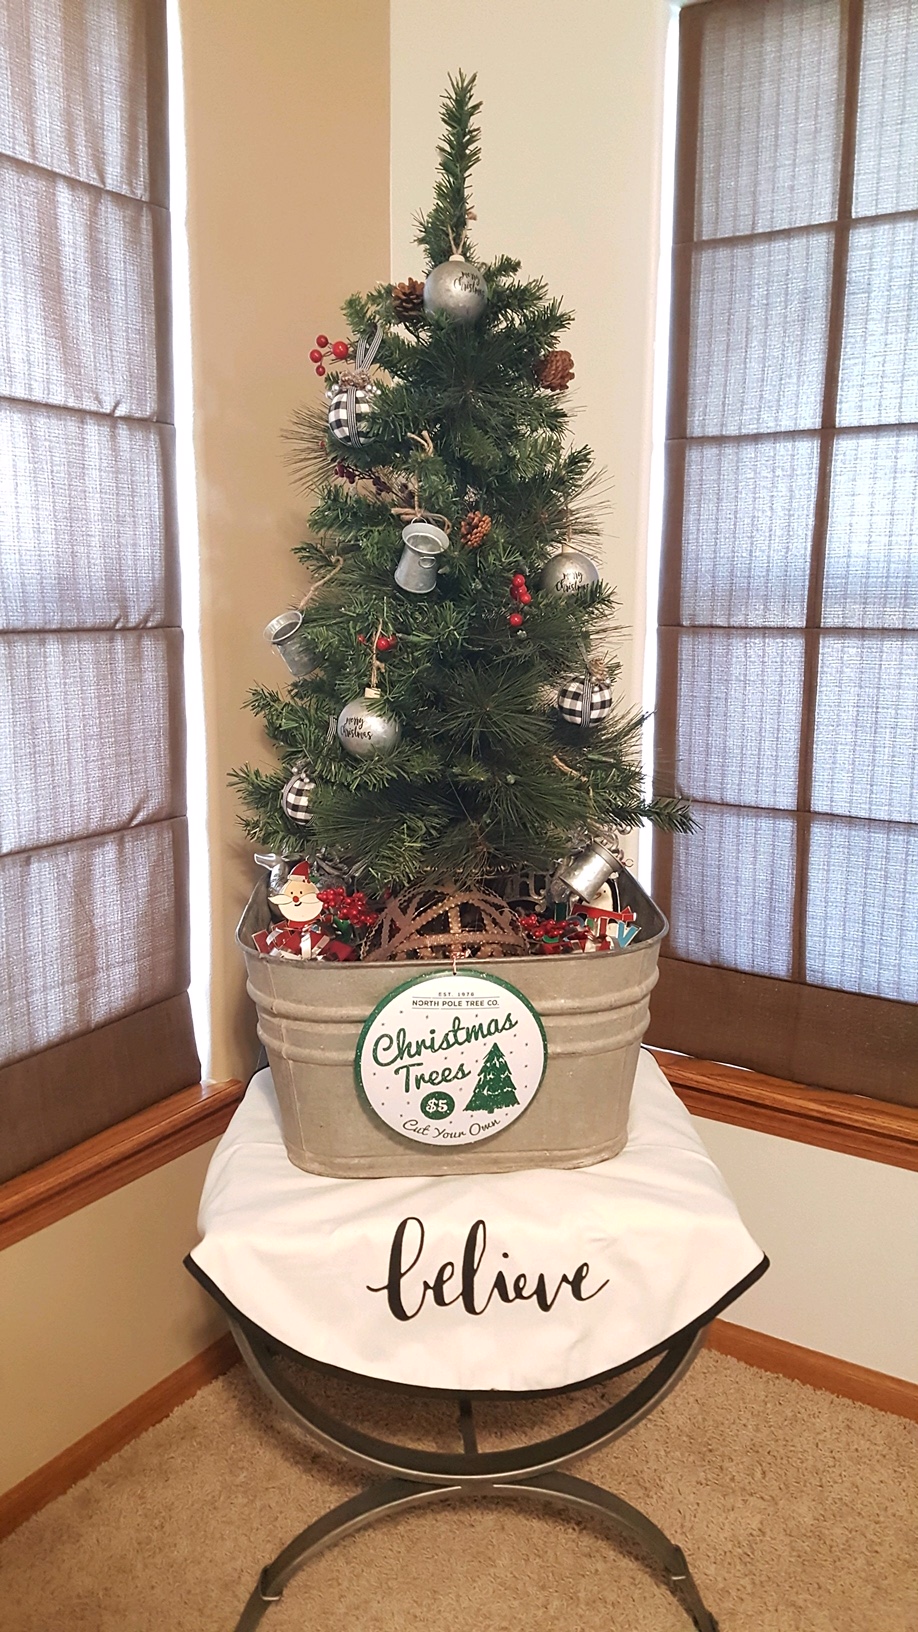
Next, we needed to figure out how to keep the little one out of the Christmas tree. To do this, we used a smaller, 'planter’ style tree that would normally be used on a front porch or as an accent tree. I trimmed most of the red ‘berries’ off of it, since red wasn't really in the color scheme this year. We snagged a $3 tree skirt from the Target dollar spot, an old metal tub that I had laying around, and got to work!

The tree base looked a bit ‘empty’ in the large wash bin by itself, so we gathered up other items (ornaments, stocking holders, random things) and filled the wash bin until the base of the tree was no longer visible.
We placed the whole thing on top of an end table, out of reach of little hands.
We finished the look with a metal Christmas tree sign, which was another Target dollar spot deal.
The dollar spot is on point this season!
We had a great time decorating while catching up and spending some time with each other, after all, that's what this season is all about!
Here are some pictures of our finished products! Happy decorating!
1st Annual Budget Friendly Holiday Farmhouse Decor Guide
*Note: This post uses affiliate links, click here to see my full disclosure.
It’s the most wonderful time of the year, and that means all things plaid, burlap, and little red truck inspired!
It’s November, and at this house the Christmas décor has started to creep out of the basement. I haven’t dug deep into it yet, I have just been going through things and seeing which lighted items no longer work or need new batteries and so on. However, I did bust out the red paint, and if you missed my DIY Christmas Lantern craft you can find it HERE.
If you are an overachiever and have everything decorated and the cookies out for Santa, (can you believe I already received a Christmas card?) then this post is probably not for you!
HOWEVER, if you are like me and want to get started decorating but also want to keep things easy and budget friendly, then you will want to grab some coffee and a notepad (or pin this post for later)!
I love amazon for many reasons, but most of all for their vast assortment of affordable farmhouse and vintage décor! Here are my top picks under $25 for this year (and these make great gifts too!)
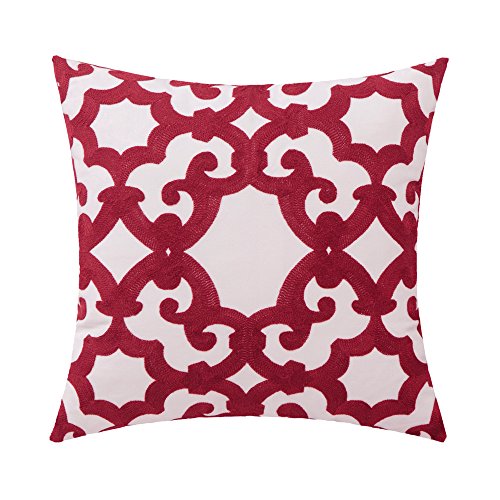
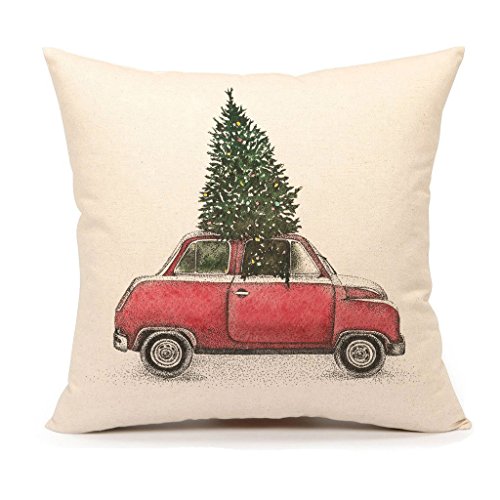
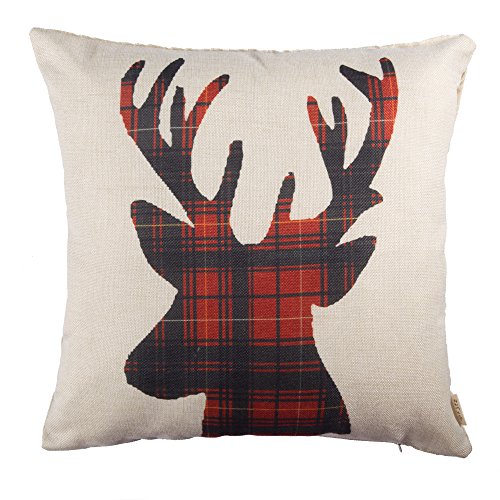
Pillows are so easy to decorate with, and these covers are not only affordable, but they are super easy to store since they lay flat and don’t have the bulk of whole pillows. Added bonus, the black and white buffalo check can be used for fall too!*
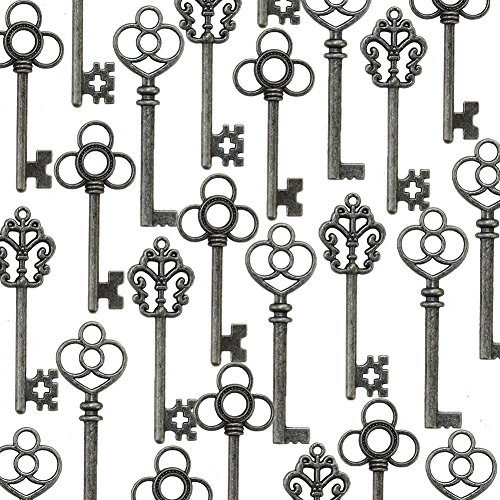
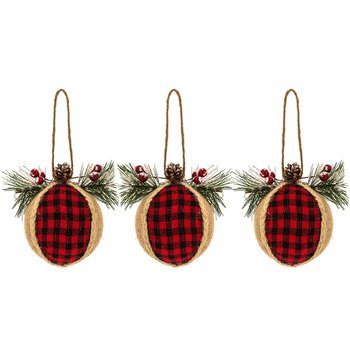
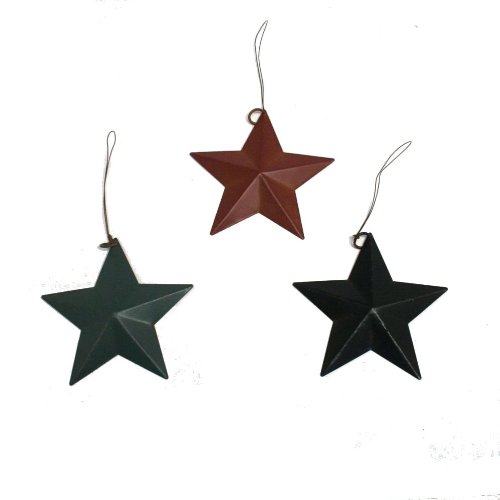
I love using ornaments as a package topper, or just giving them as gifts themselves! Here are a few cute examples.*
PS. If you are stressing about gift wrapping already, have no worries I will be posting a simple and cute how-to guide soon!

Next, lets talk table décor!
Arguably the focal point of your holiday decorating, aside from your tree of course, your table décor should flow with the rest of your house but on a more subtle scale. I have always been a fan of the ‘less is more’ phrase for the table, as there is nothing more annoying then having to move decorations so that guests can see each other when seated.
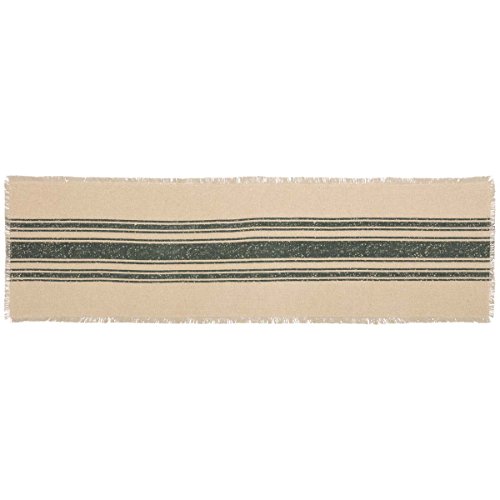
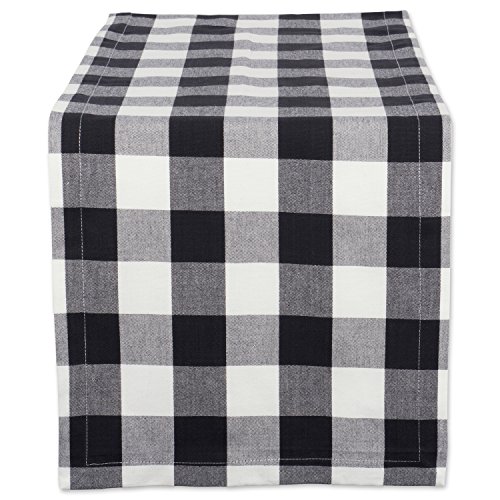
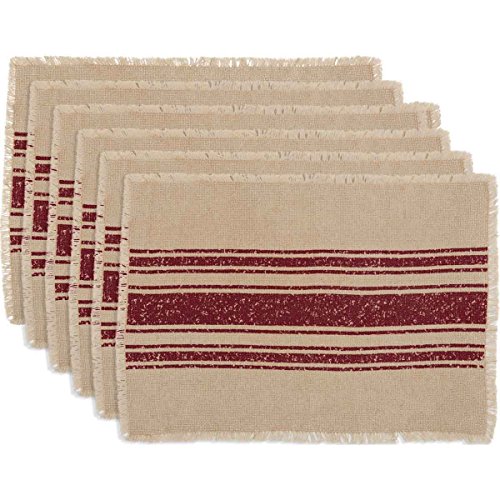
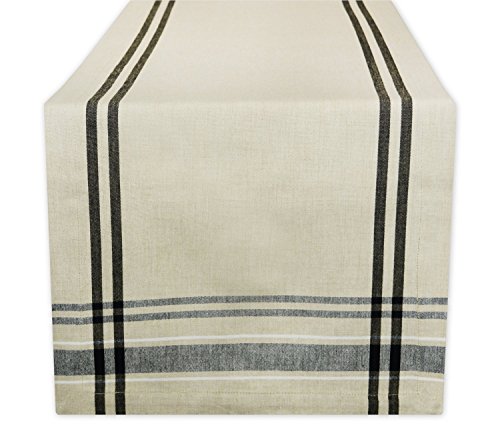
Personally, I just have a simple runner with a short tray (its actually an old metal chicken feeder) that I put down the center of the table and I fill it with different items for each holiday/season. For the holiday season (fall and winter) I use a simple black and white buffalo check runner.
Ok, enough chatter, let’s get to the good stuff.*
Finally, the finishing touches. These are items that don't necessarily go with a particular collection in your home, but pop up now and then on a bathroom counter or laundry room floor or anywhere you like to add a little touch of Christmas. Personally, I like to purchase a couple of these ‘random’ items a year, that way I can build my Christmas décor and also stay on budget!
I have put together several of my favorite items below, and remember everything in this post is under $25!*


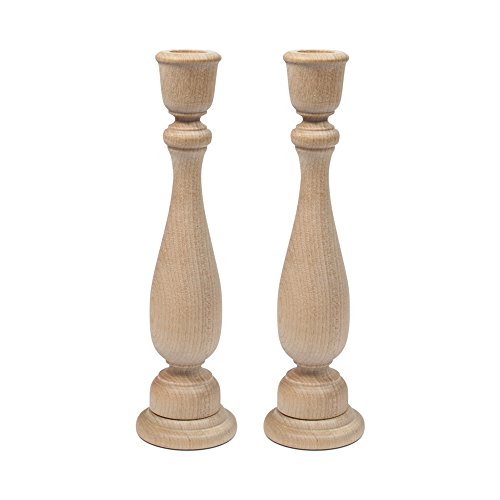
Note: If you are looking for an easy guide to chalk painting these unfinished candlesticks, check out my tutorial here
Ok, you might be thinking where are the Christmas trees? Garland? Wreaths?
Well it turns out I have expensive taste in those items, but I will link a few of my favorites below for those of you looking to splurge on an item or two.
*Remember, these are affiliate links, and you can read my full disclosure here.