Coffee, Tree Trimming, and Christmas Decorating
Hi! Can you believe next week is already Thanksgiving? I still cannot wrap my brain around it. Either way, Christmas decorating is in full swing at my house and while I’m not quite ready to share what I have done so far, I did help a dear friend decorate her home yesterday over some much needed Starbucks, and wanted to quickly share what we did in case some of you are planning on whipping out your holiday items on Thursday night.
You all know I love everything budget friendly, and holiday decorating is no exception. While I do often buy a small item here or there, I reserve most of my décor shopping for after the holiday (or season) to take advantage of those steep discounts. As a result, I often forget what I have from the year before when it’s time to dig it all out of storage again, and this is why I prefer to get all decorations spread out in one place before beginning to place them throughout my home. I often reuse items in a new way than the year prior, or simply put them in a different room to give the illusion of ‘new’, without going over budget.
Ok, lets get to it!
Having an infant on the move, my friend wanted to utilize some higher spaces in her home to place décor that her baby could not get into. She had two shelves on either side of her fireplace/tv area that she wanted to fill, and we also needed to figure out something for her tree to make it somewhat baby friendly.
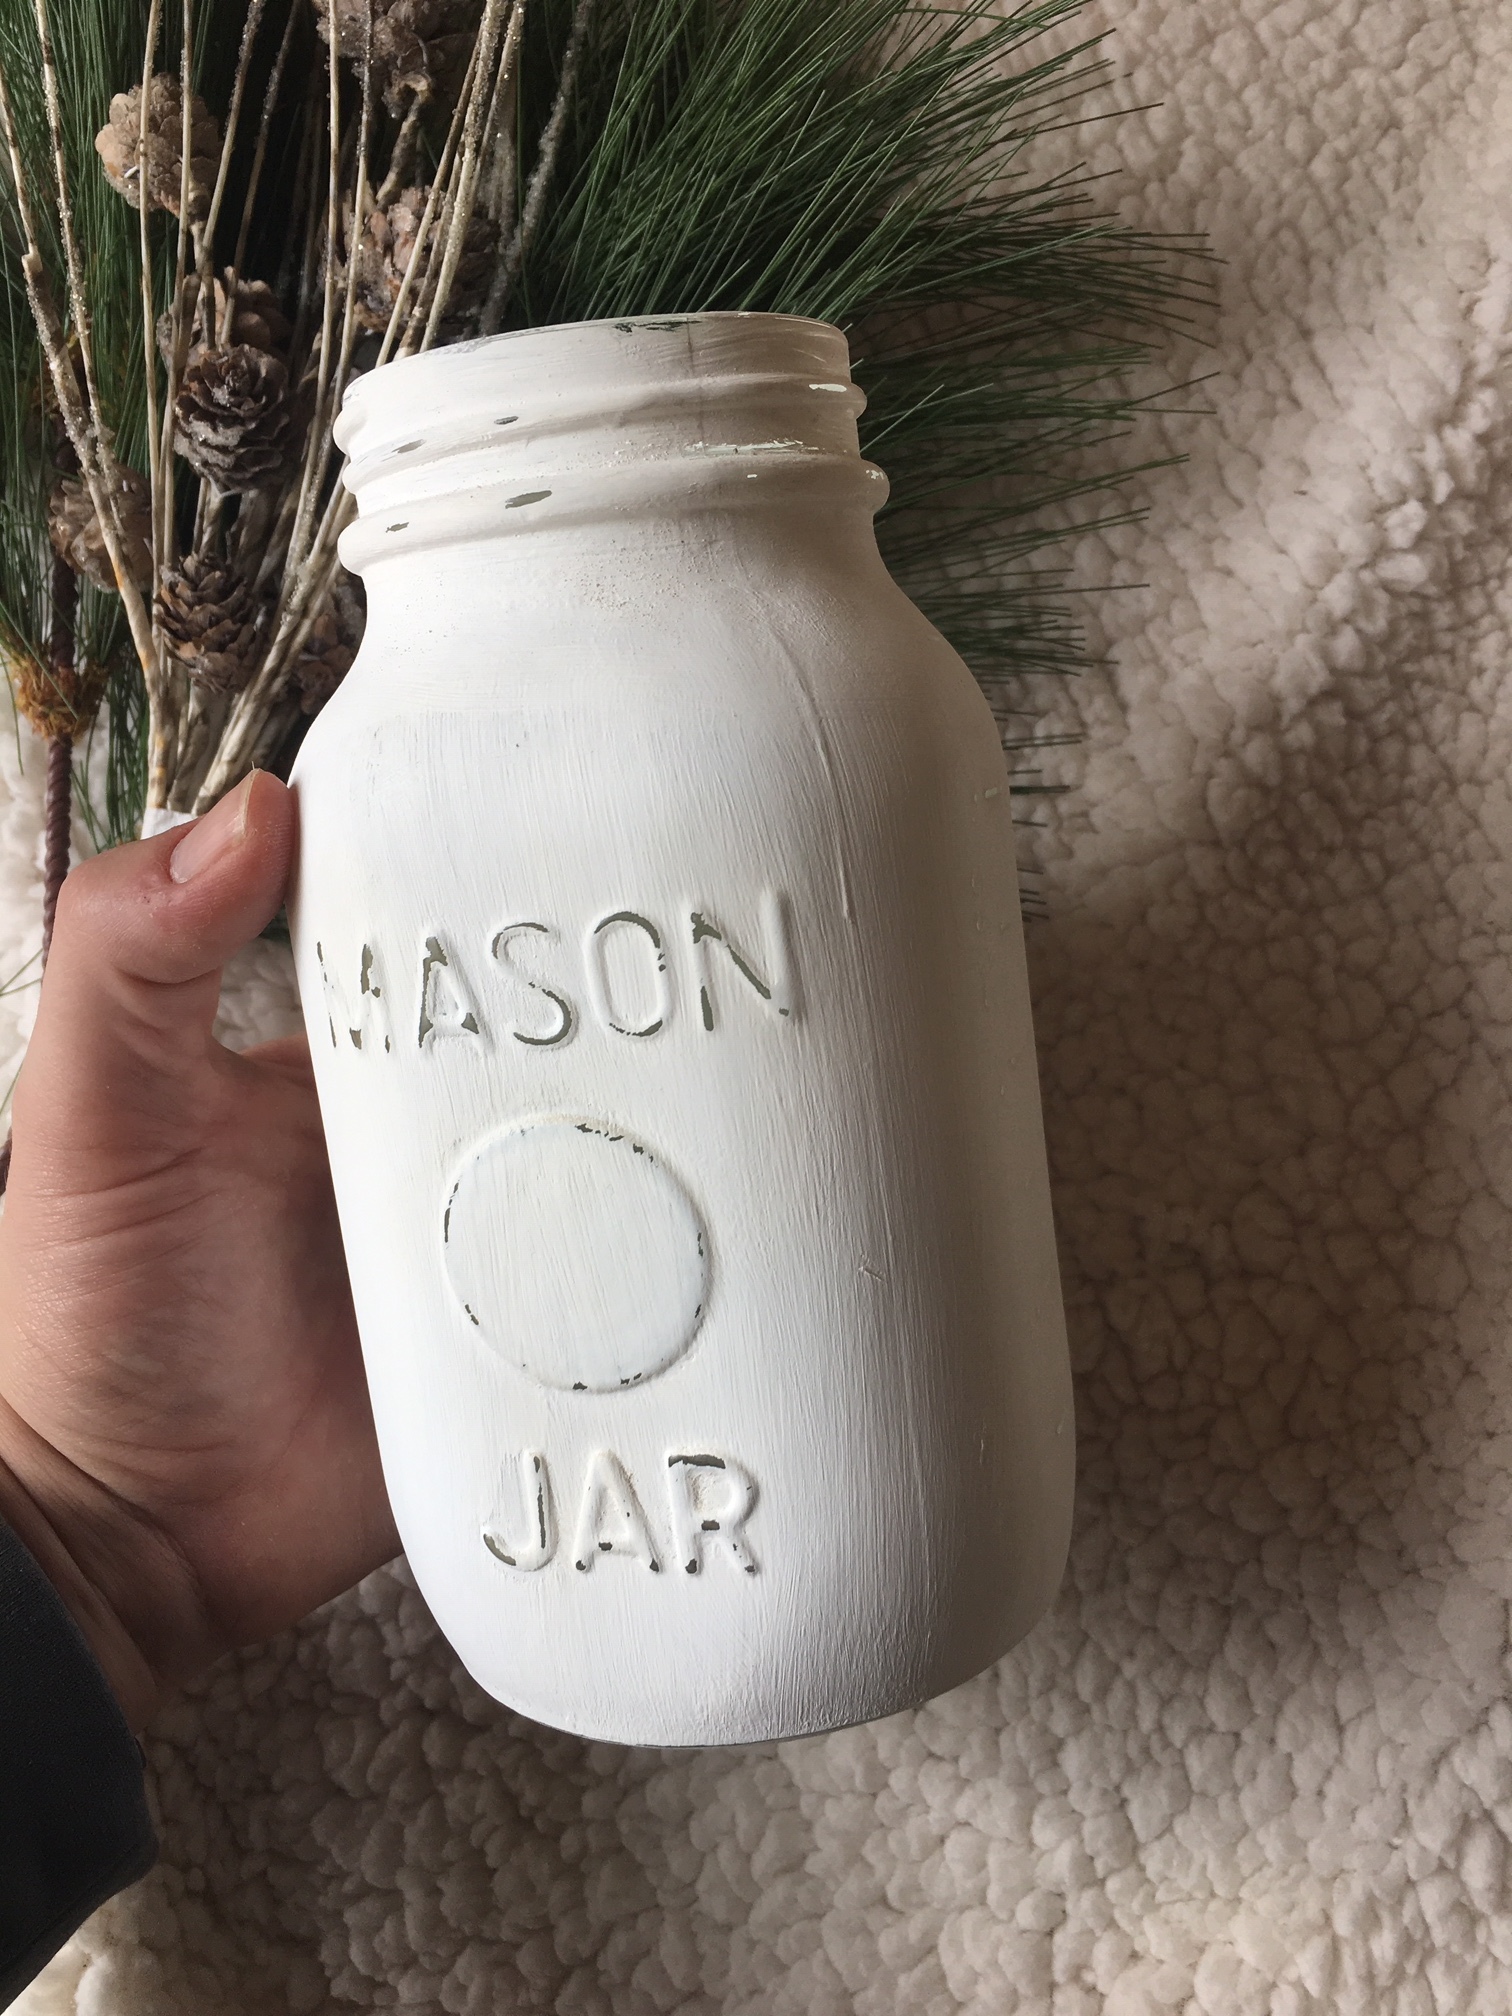
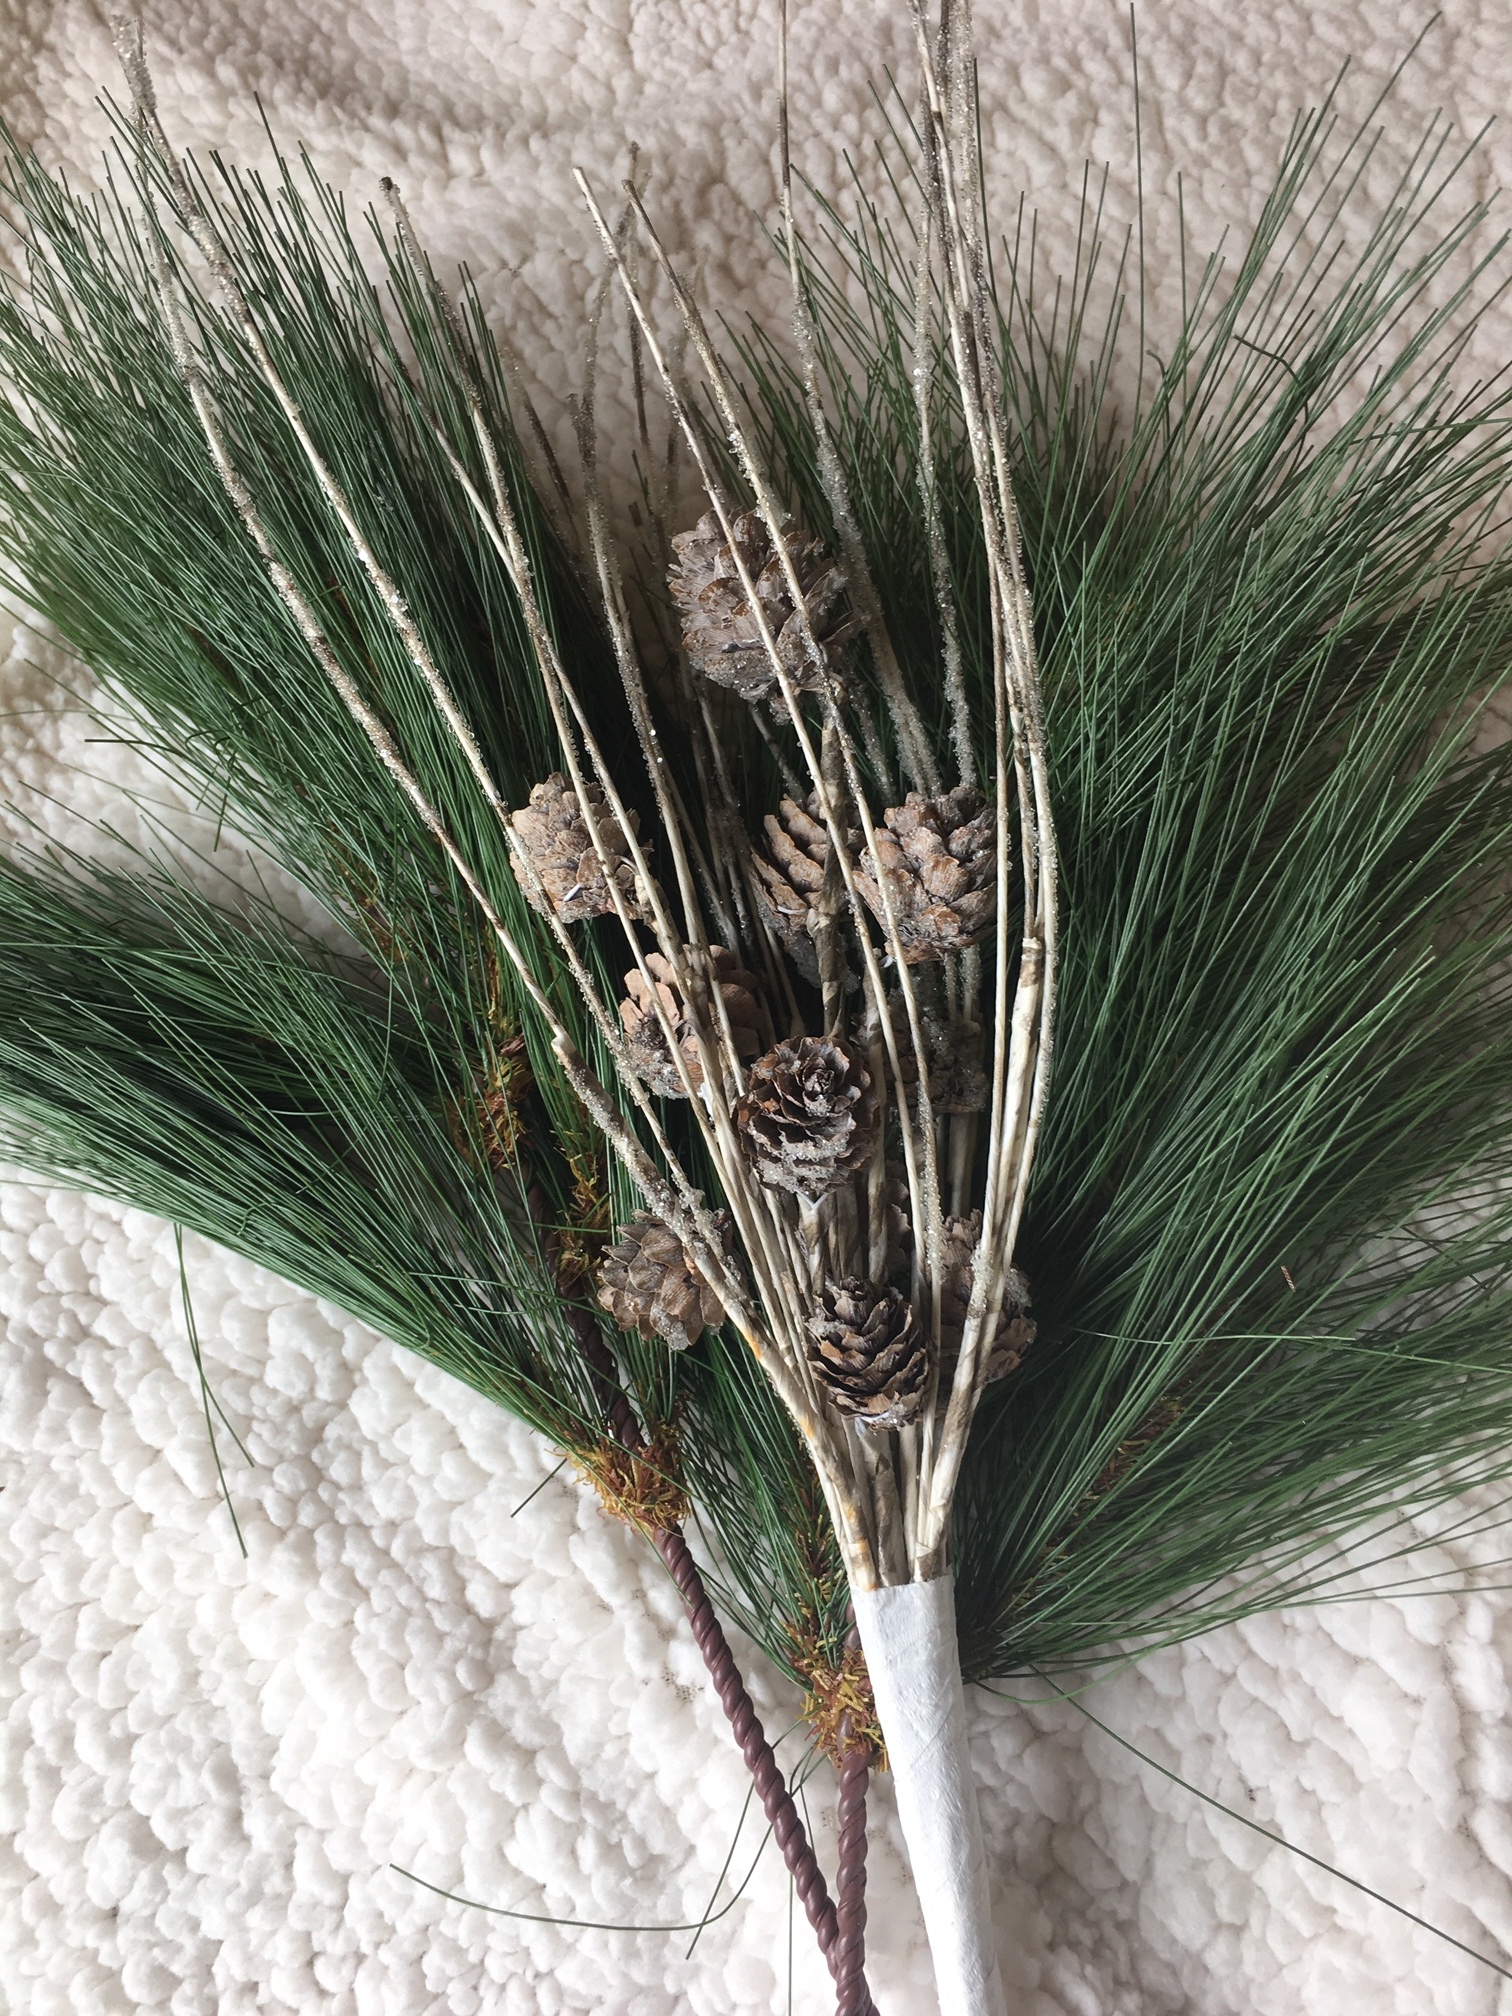
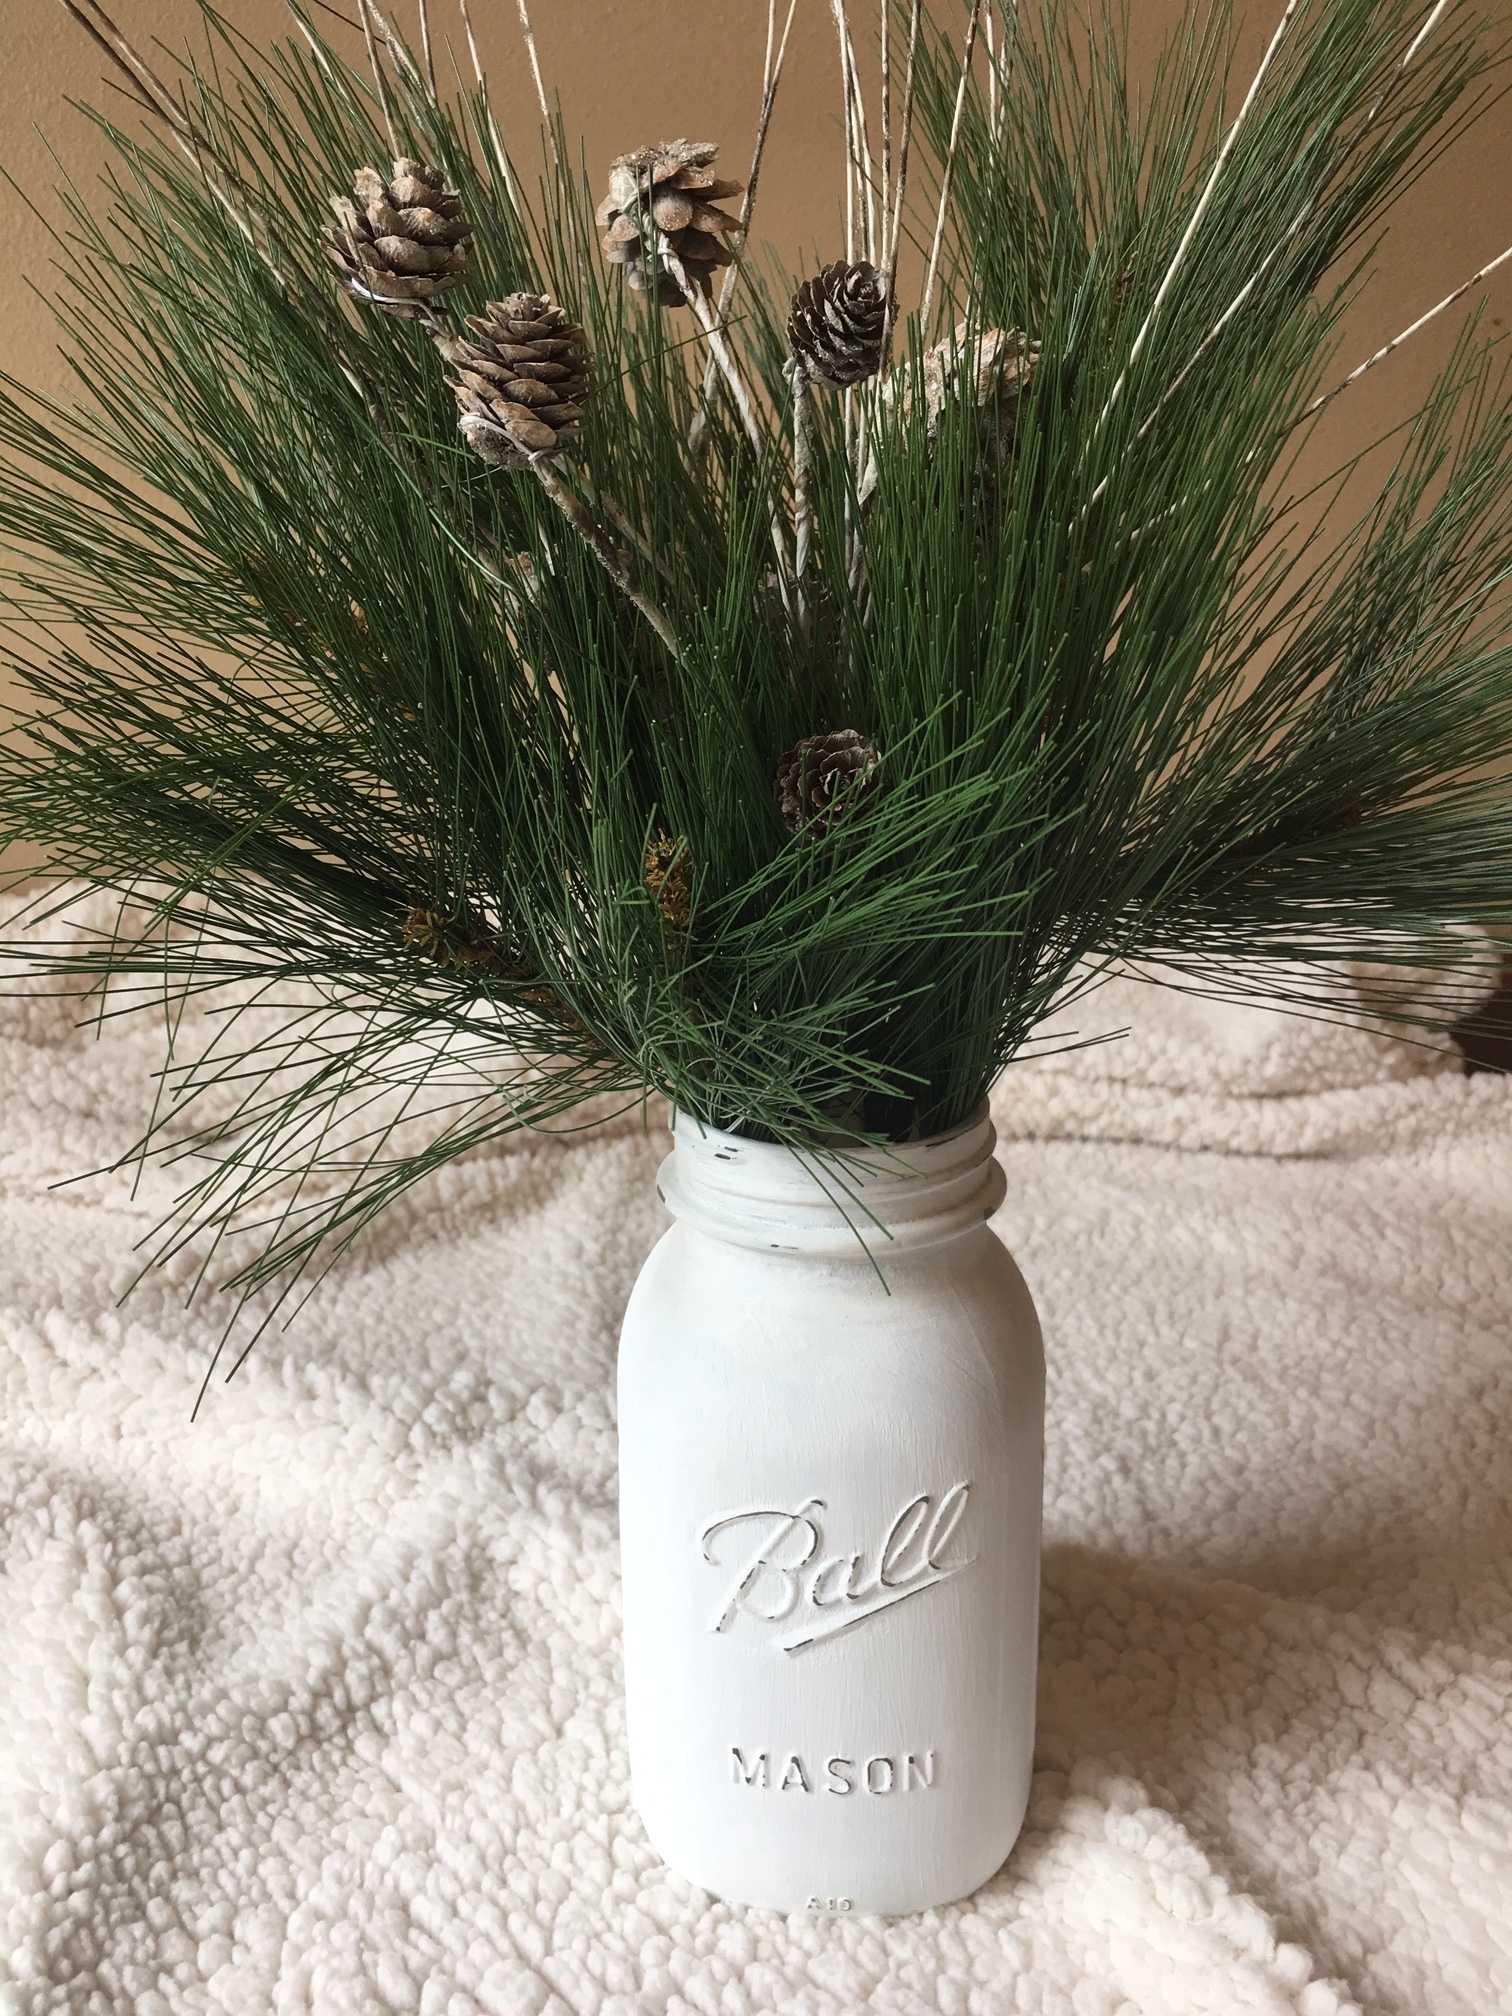
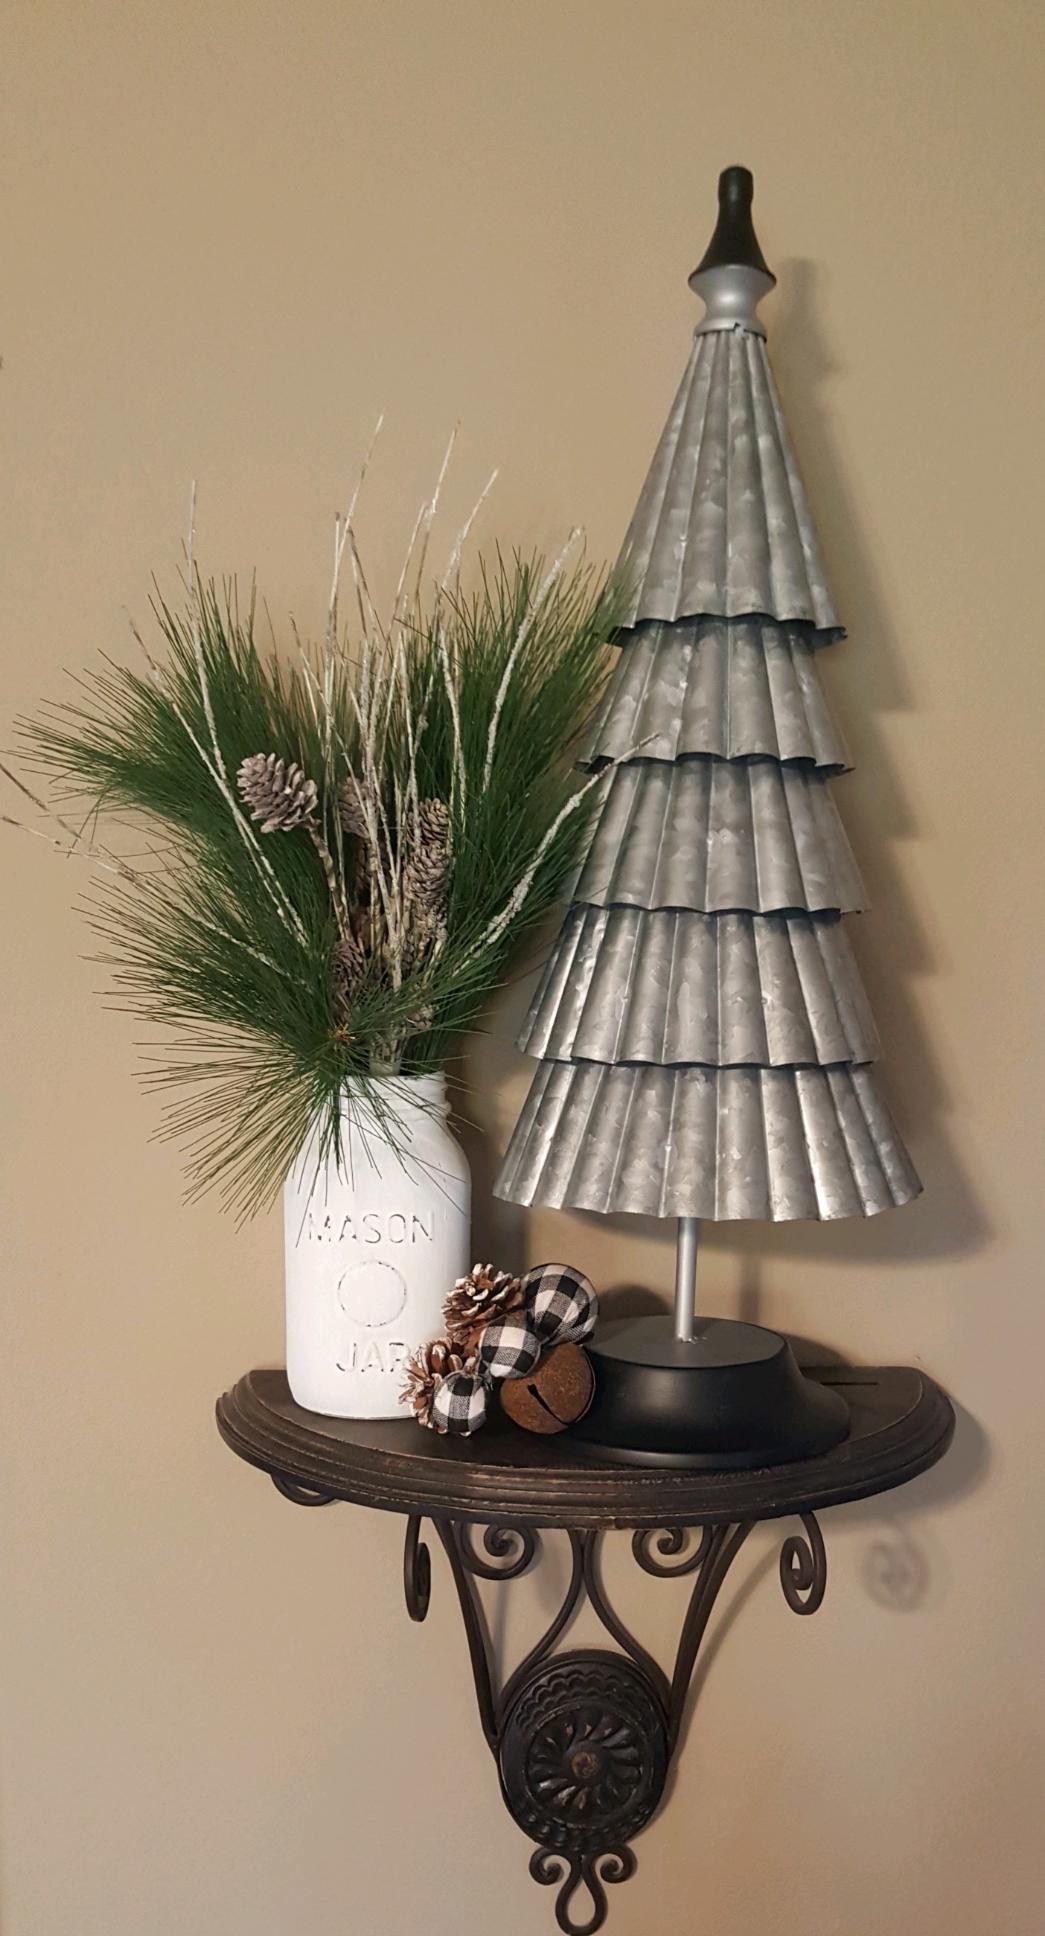
We tackled the shelving first, and to do so we needed to paint a few mason jars white to go along with her Christmas theme this year. If you need a DIY tutorial on how we did it, click here.
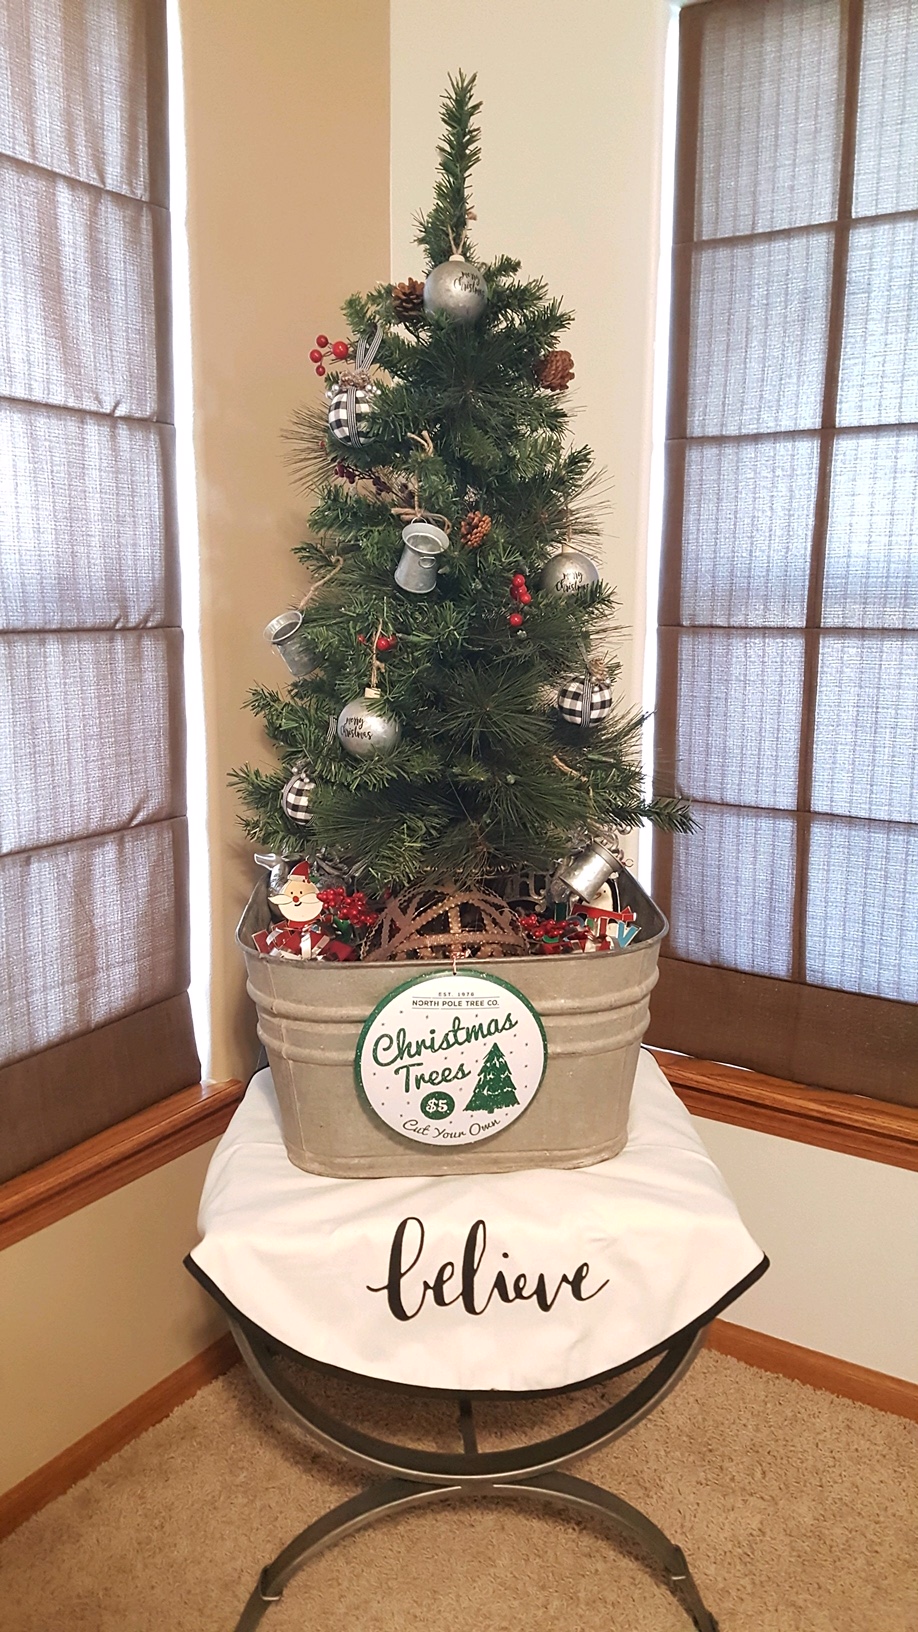
Next, we needed to figure out how to keep the little one out of the Christmas tree. To do this, we used a smaller, 'planter’ style tree that would normally be used on a front porch or as an accent tree. I trimmed most of the red ‘berries’ off of it, since red wasn't really in the color scheme this year. We snagged a $3 tree skirt from the Target dollar spot, an old metal tub that I had laying around, and got to work!

The tree base looked a bit ‘empty’ in the large wash bin by itself, so we gathered up other items (ornaments, stocking holders, random things) and filled the wash bin until the base of the tree was no longer visible.
We placed the whole thing on top of an end table, out of reach of little hands.
We finished the look with a metal Christmas tree sign, which was another Target dollar spot deal.
The dollar spot is on point this season!
We had a great time decorating while catching up and spending some time with each other, after all, that's what this season is all about!
Here are some pictures of our finished products! Happy decorating!
1st Annual Budget Friendly Holiday Farmhouse Decor Guide
*Note: This post uses affiliate links, click here to see my full disclosure.
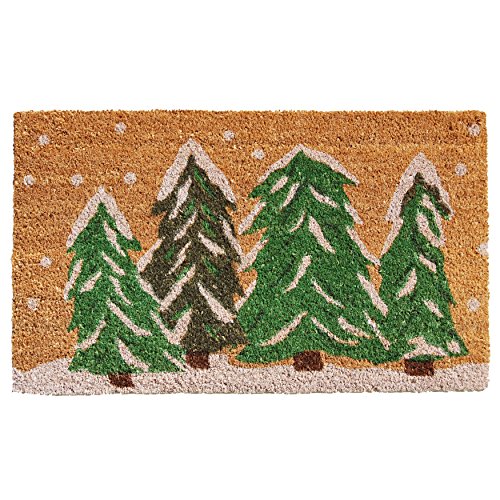
It’s the most wonderful time of the year, and that means all things plaid, burlap, and little red truck inspired!
It’s November, and at this house the Christmas décor has started to creep out of the basement. I haven’t dug deep into it yet, I have just been going through things and seeing which lighted items no longer work or need new batteries and so on. However, I did bust out the red paint, and if you missed my DIY Christmas Lantern craft you can find it HERE.
If you are an overachiever and have everything decorated and the cookies out for Santa, (can you believe I already received a Christmas card?) then this post is probably not for you!
HOWEVER, if you are like me and want to get started decorating but also want to keep things easy and budget friendly, then you will want to grab some coffee and a notepad (or pin this post for later)!
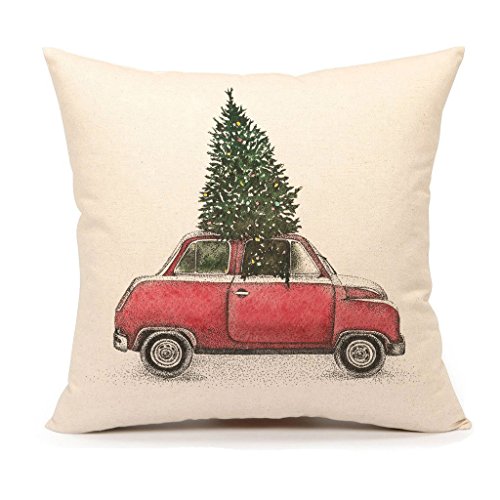
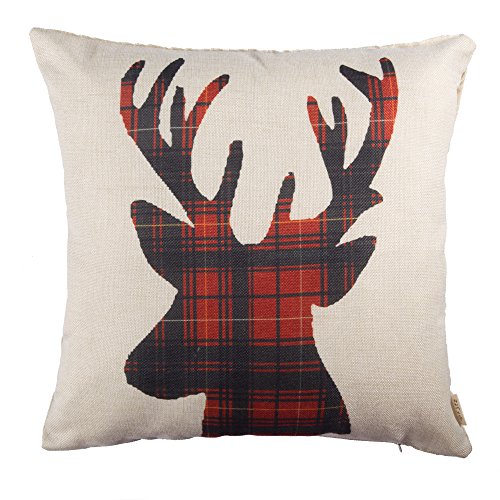
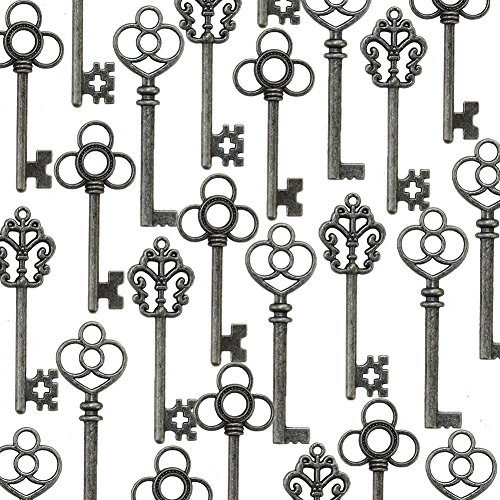
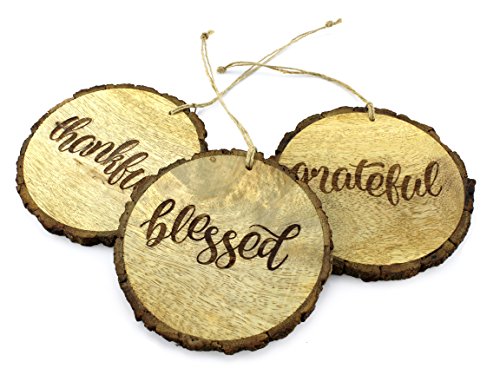
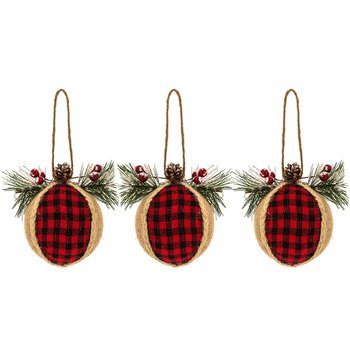
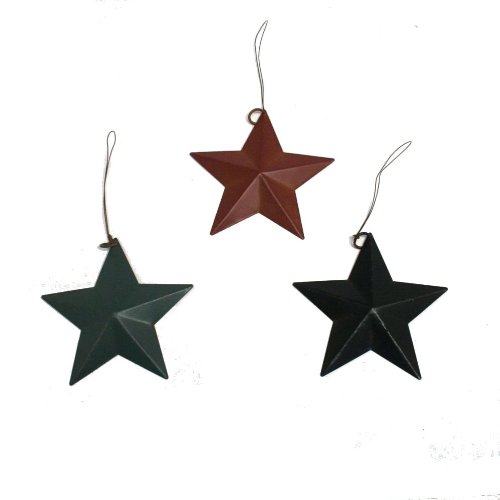
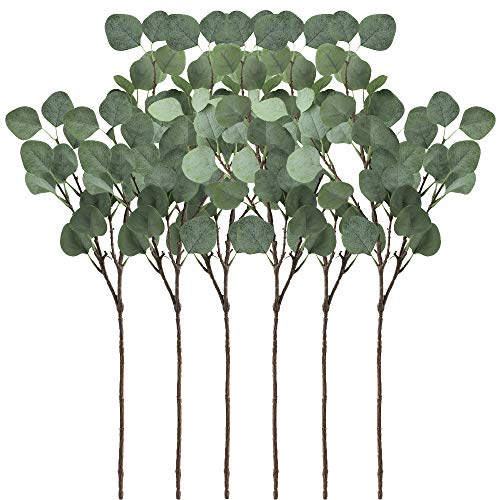
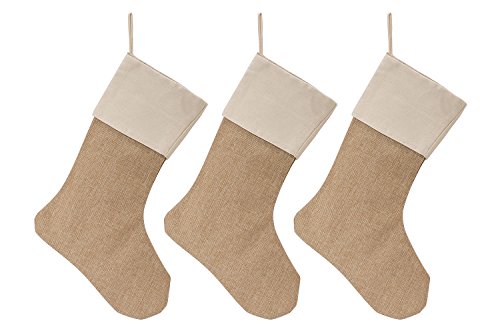
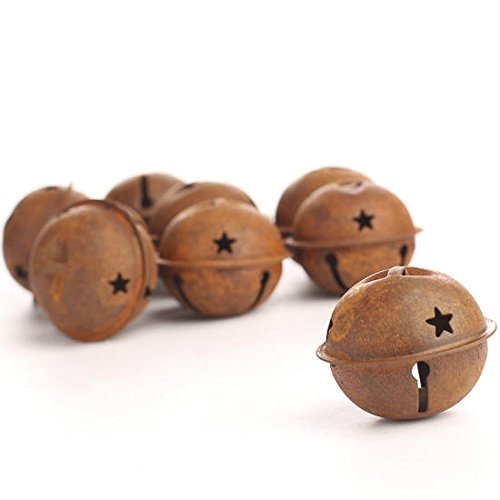
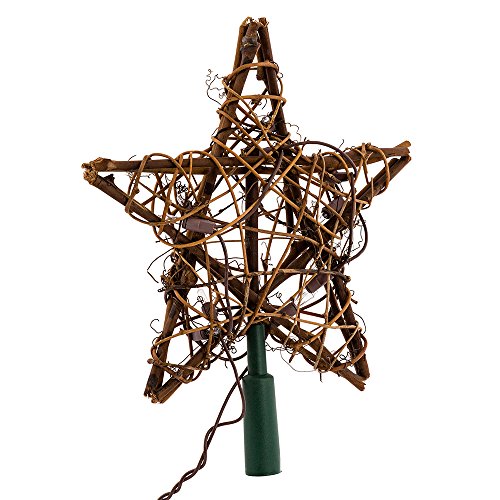
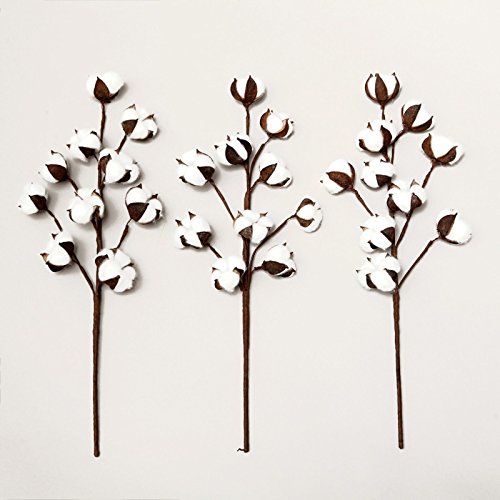
I love amazon for many reasons, but most of all for their vast assortment of affordable farmhouse and vintage décor! Here are my top picks under $25 for this year (and these make great gifts too!)
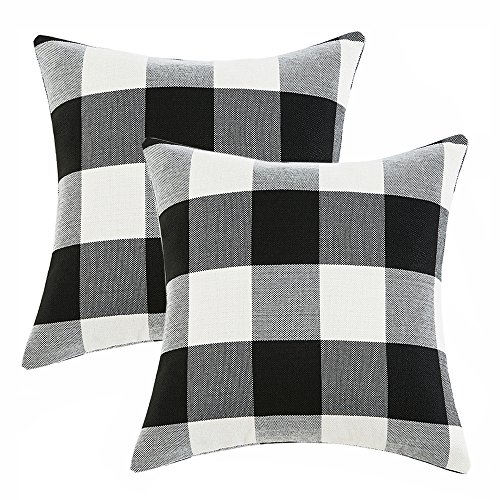
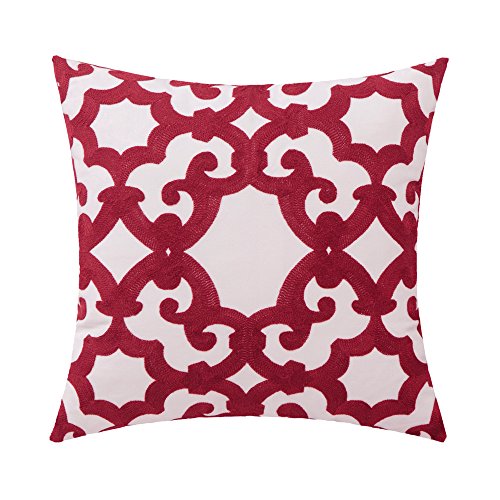
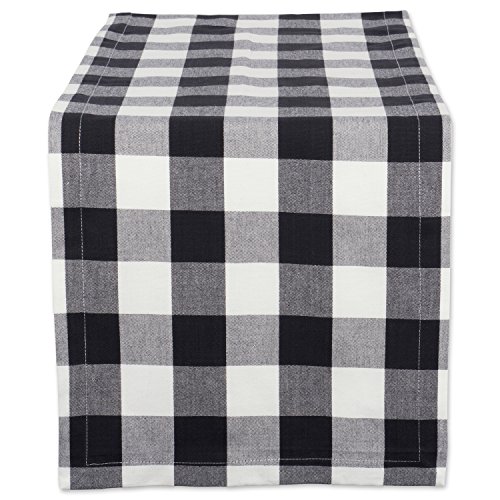
Pillows are so easy to decorate with, and these covers are not only affordable, but they are super easy to store since they lay flat and don’t have the bulk of whole pillows. Added bonus, the black and white buffalo check can be used for fall too!*
I love using ornaments as a package topper, or just giving them as gifts themselves! Here are a few cute examples.*
PS. If you are stressing about gift wrapping already, have no worries I will be posting a simple and cute how-to guide soon!
Next, lets talk table décor!
Arguably the focal point of your holiday decorating, aside from your tree of course, your table décor should flow with the rest of your house but on a more subtle scale. I have always been a fan of the ‘less is more’ phrase for the table, as there is nothing more annoying then having to move decorations so that guests can see each other when seated.
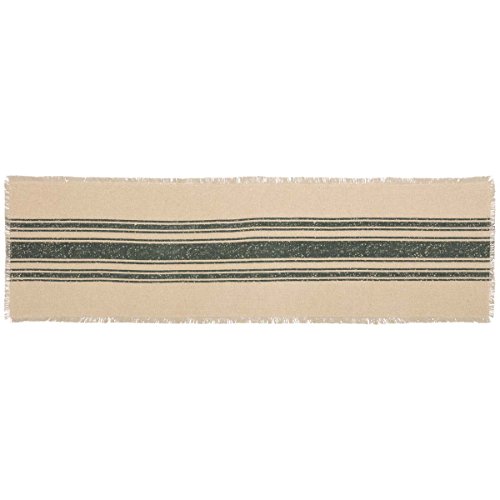
Personally, I just have a simple runner with a short tray (its actually an old metal chicken feeder) that I put down the center of the table and I fill it with different items for each holiday/season. For the holiday season (fall and winter) I use a simple black and white buffalo check runner.
Ok, enough chatter, let’s get to the good stuff.*
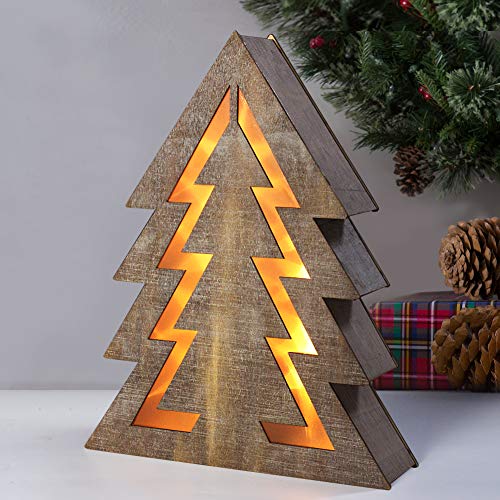
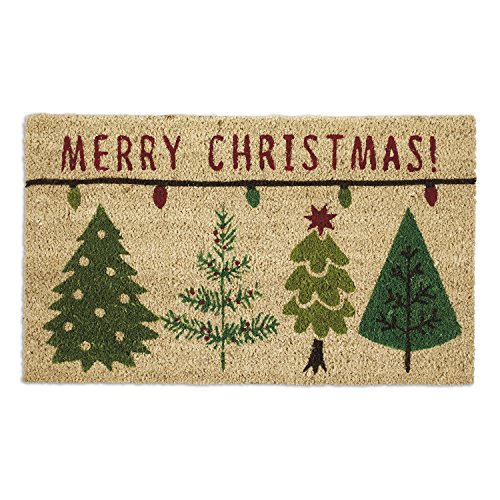
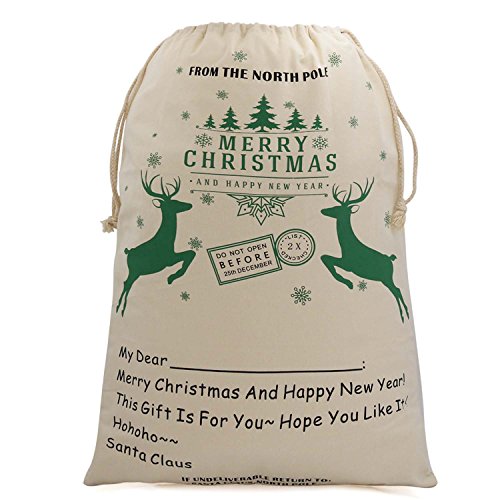
Finally, the finishing touches. These are items that don't necessarily go with a particular collection in your home, but pop up now and then on a bathroom counter or laundry room floor or anywhere you like to add a little touch of Christmas. Personally, I like to purchase a couple of these ‘random’ items a year, that way I can build my Christmas décor and also stay on budget!
I have put together several of my favorite items below, and remember everything in this post is under $25!*

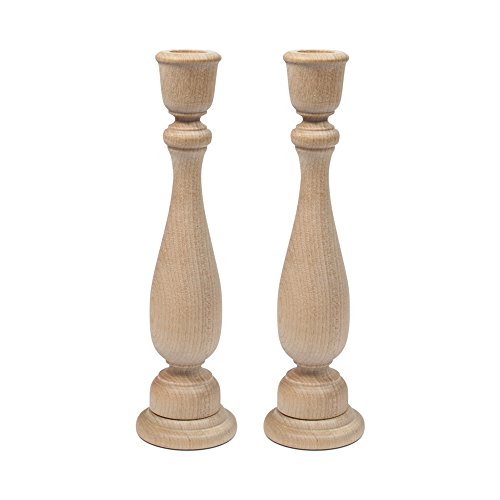
Note: If you are looking for an easy guide to chalk painting these unfinished candlesticks, check out my tutorial here
Ok, you might be thinking where are the Christmas trees? Garland? Wreaths?
Well it turns out I have expensive taste in those items, but I will link a few of my favorites below for those of you looking to splurge on an item or two.
*Remember, these are affiliate links, and you can read my full disclosure here.
I hope this post was able to inspire you to start thinking about your holiday decorating, and dont forget to sign up for our mailing list so you are notified when my budget friendly gift wrapping (like a pro!) tutorial is posted!
See you soon!
xo,
Rachael
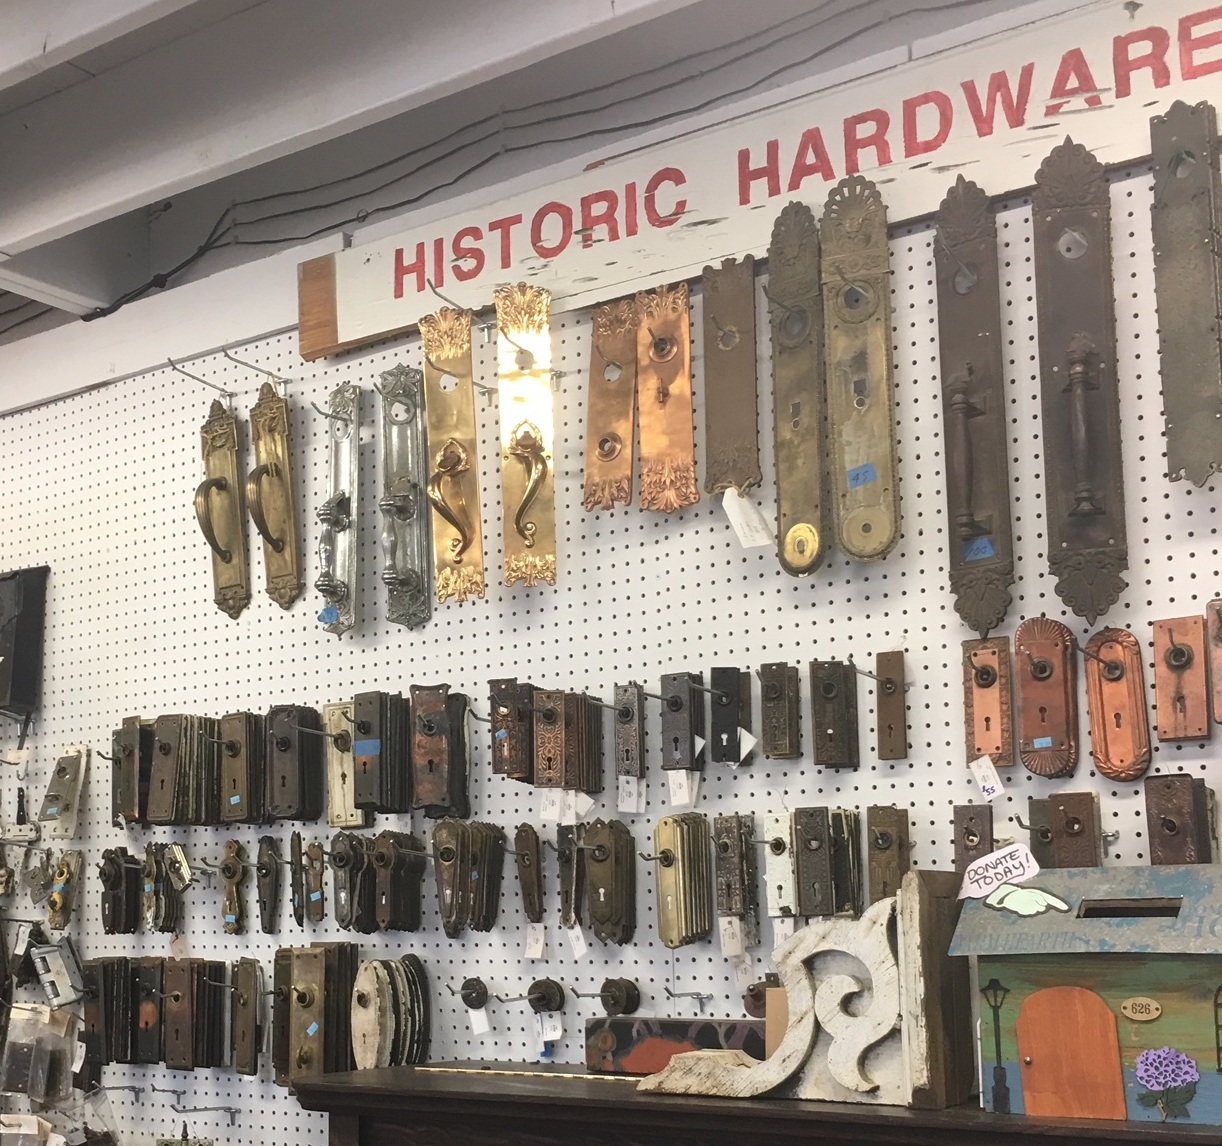
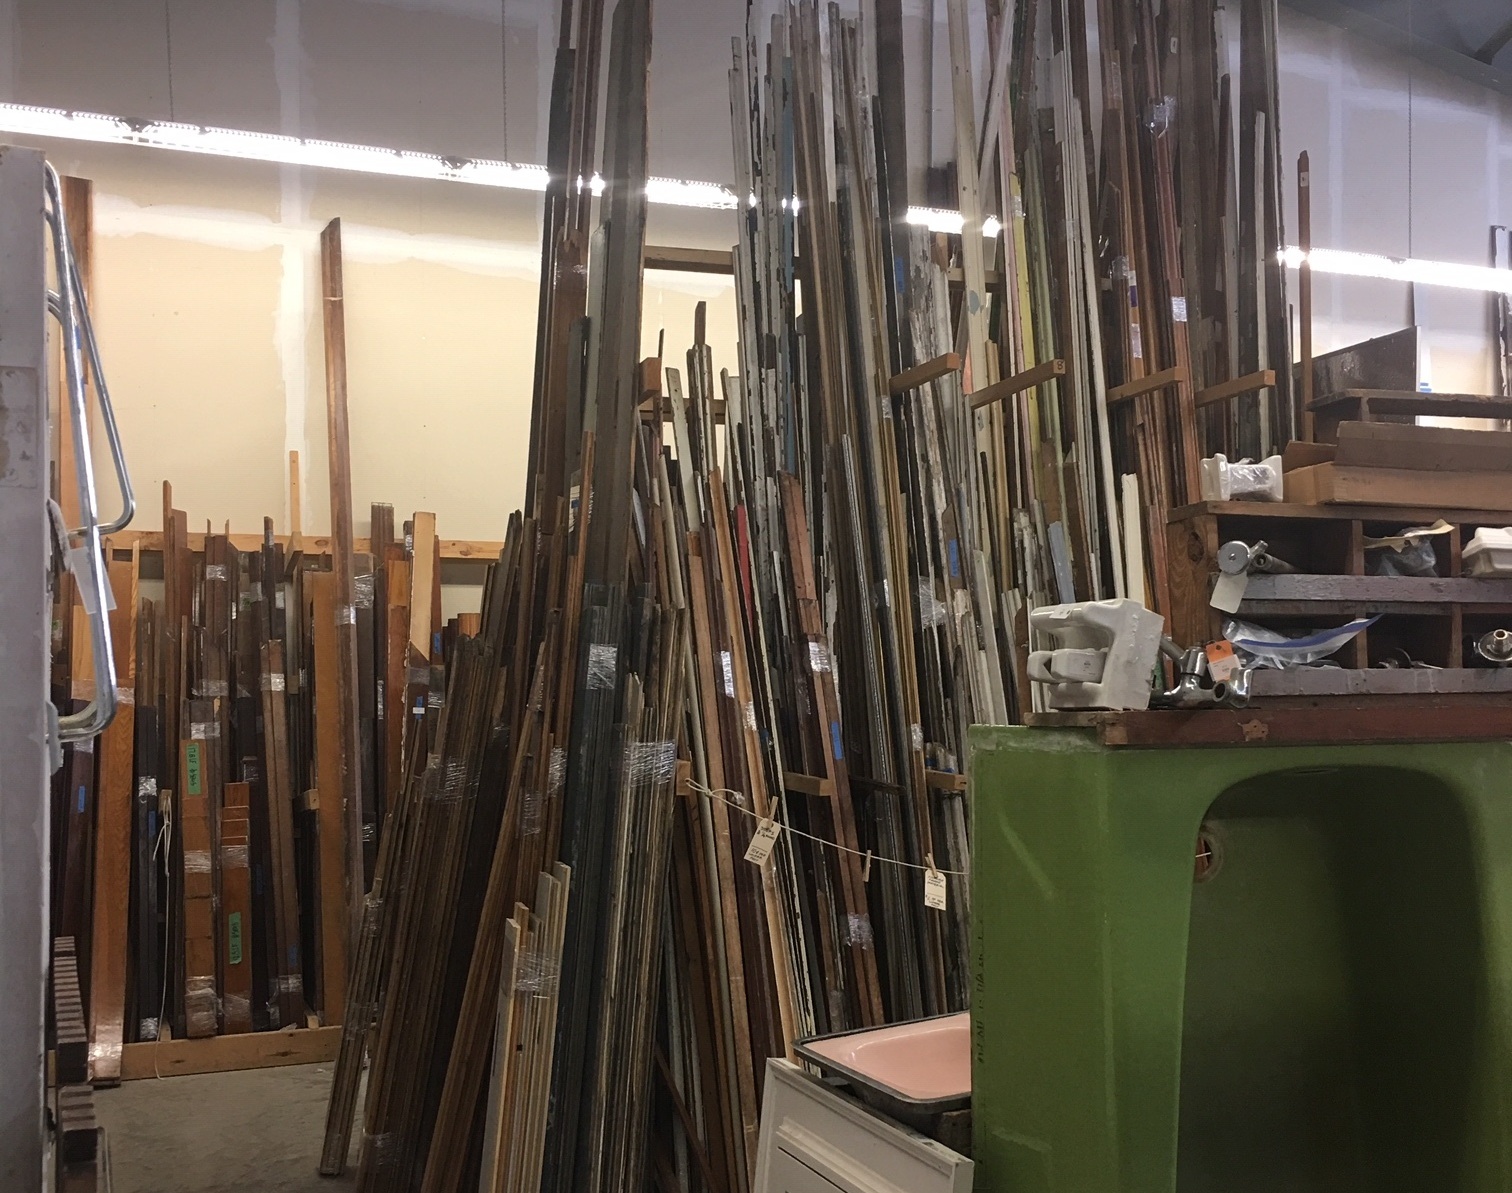
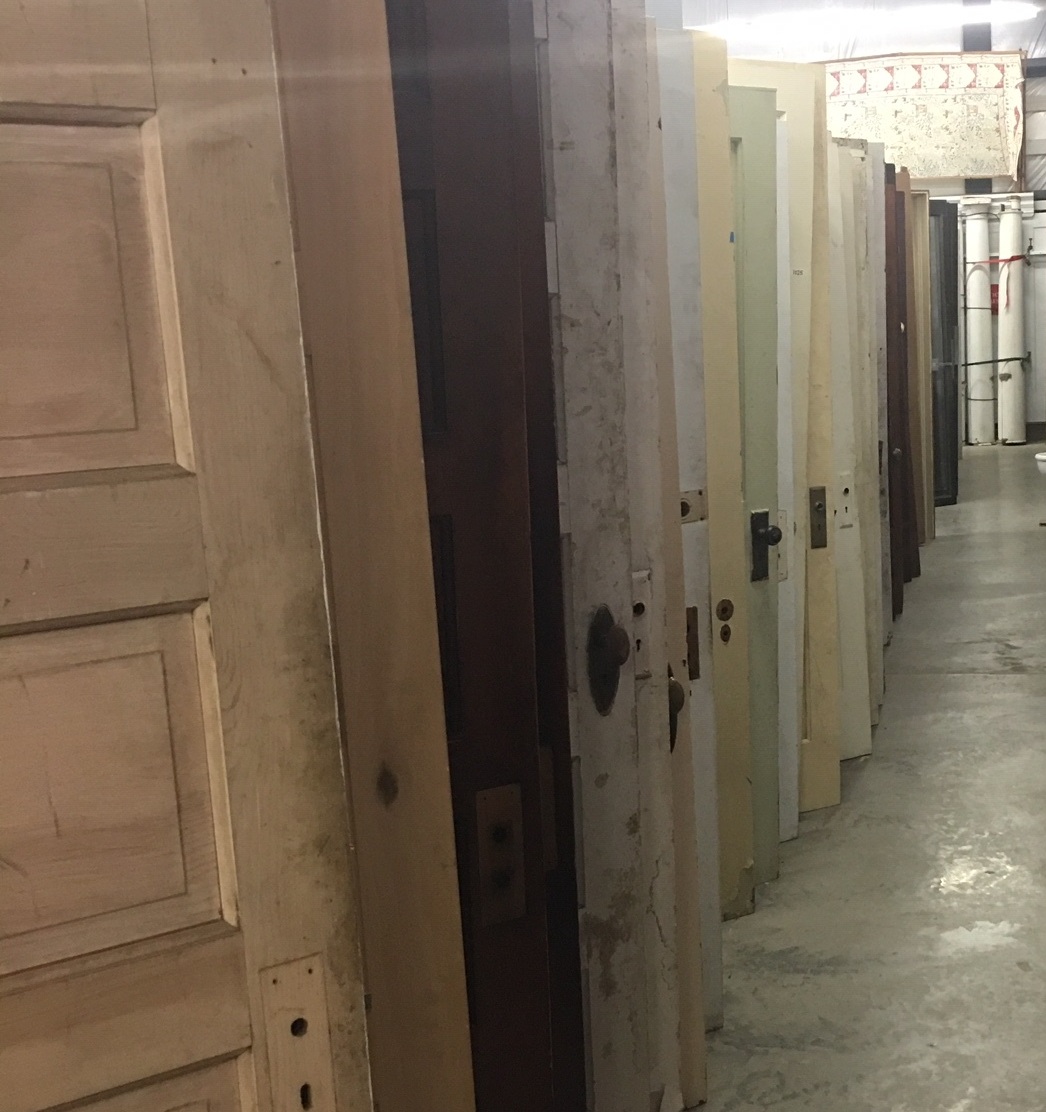
Thrift Store Thursday!
I have a passion for decorating with repurposed, old salvaged items whenever possible and I often find myself imagining what stories a piece might share with me if it could.
Would a former 4 square farmhouse front porch column tell me about the generations of children it watched lean up against it as they waited for the school bus? Or the epic thunderstorm from decades ago that took out the neighbor’s house? Would a vintage bathtub share the names of all the family pets that were washed in it over its lifetime?
Even though these items cannot share their stories, I still seek out their history and showcase their story as much as possible when I am designing or decorating.
And this is precisely why I love thrift and salvage shopping!
So much history packed into one place!
I won’t share what all I purchased just yet, I have to get crafty first. But if you are like me and enjoy the historical aspect of old vintage and salvaged items, enjoy some of the pictures I snapped today.
Do you have an item with a story? Feel free to share in the comments, I would love to hear about it!