The Final Porch Photo

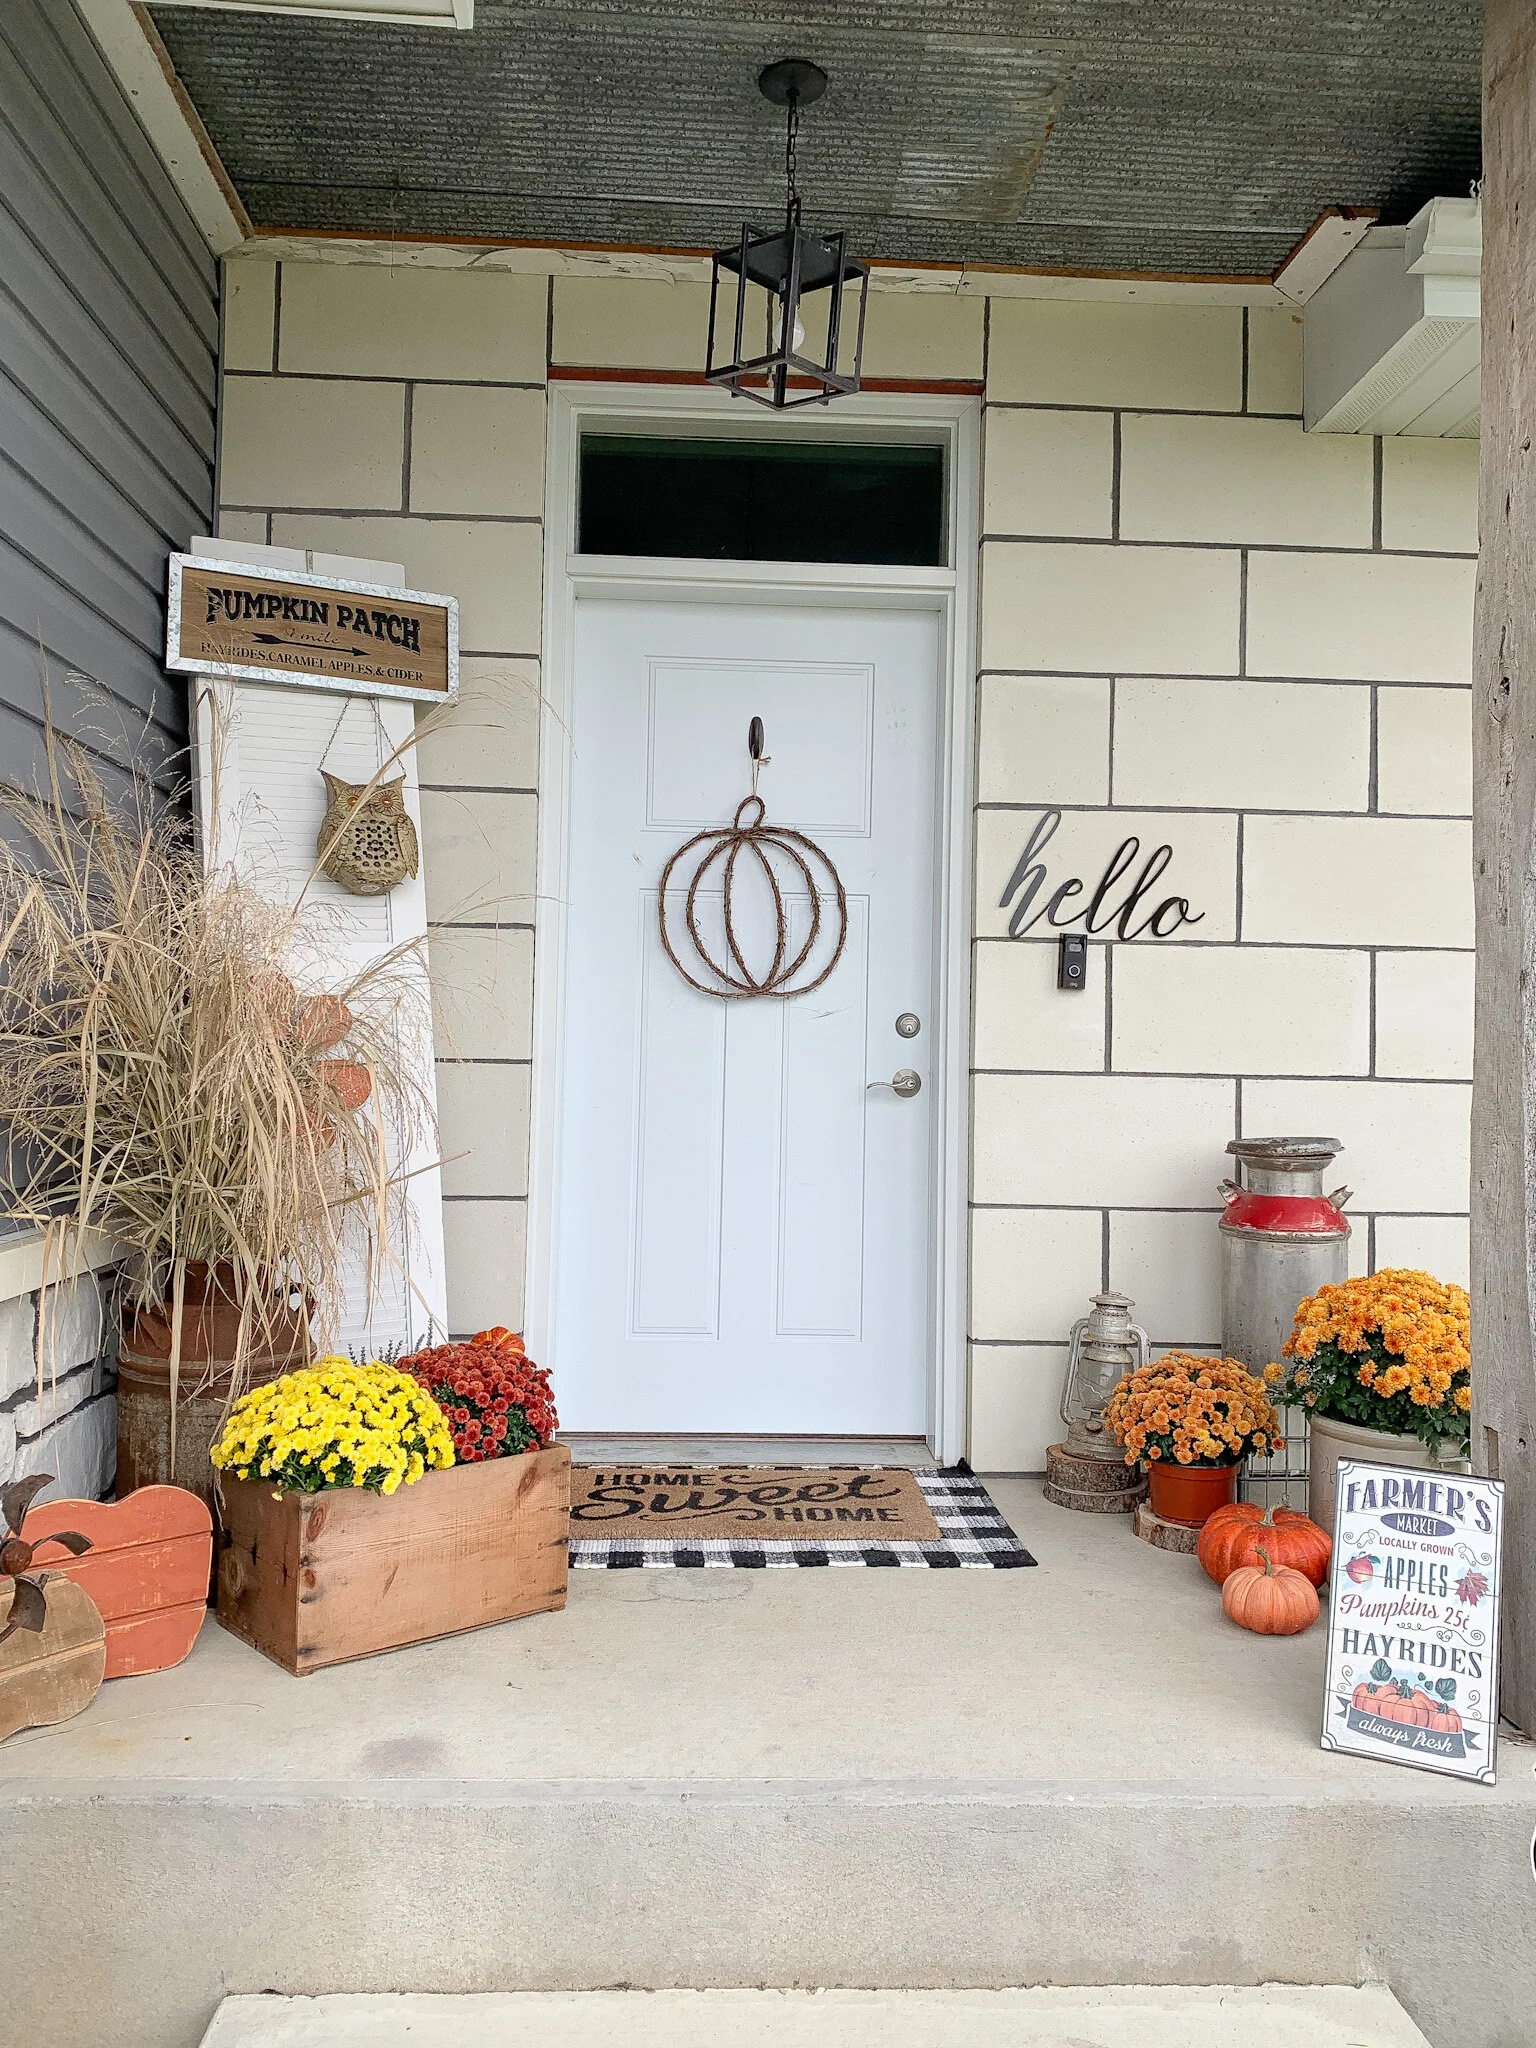
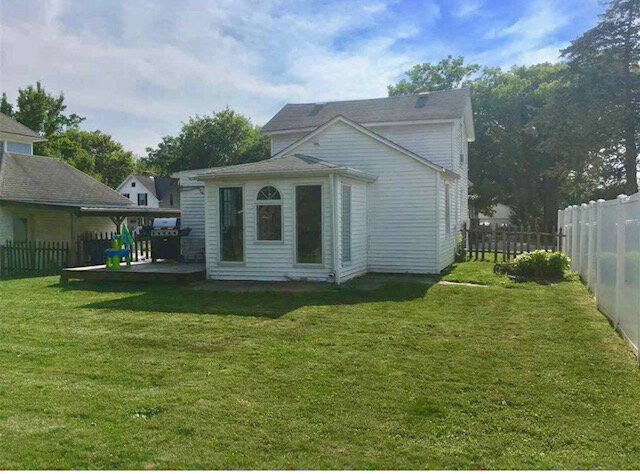
It’s been about a week since we visited our home for the last time, picked up the final items, and took one last photo on the front porch.

The last porch pic!

The last porch pic!

It’s been a bittersweet experience, leaving the first home we built together from the ground up, our child’s first home, our beloved dog Mia’s last home.

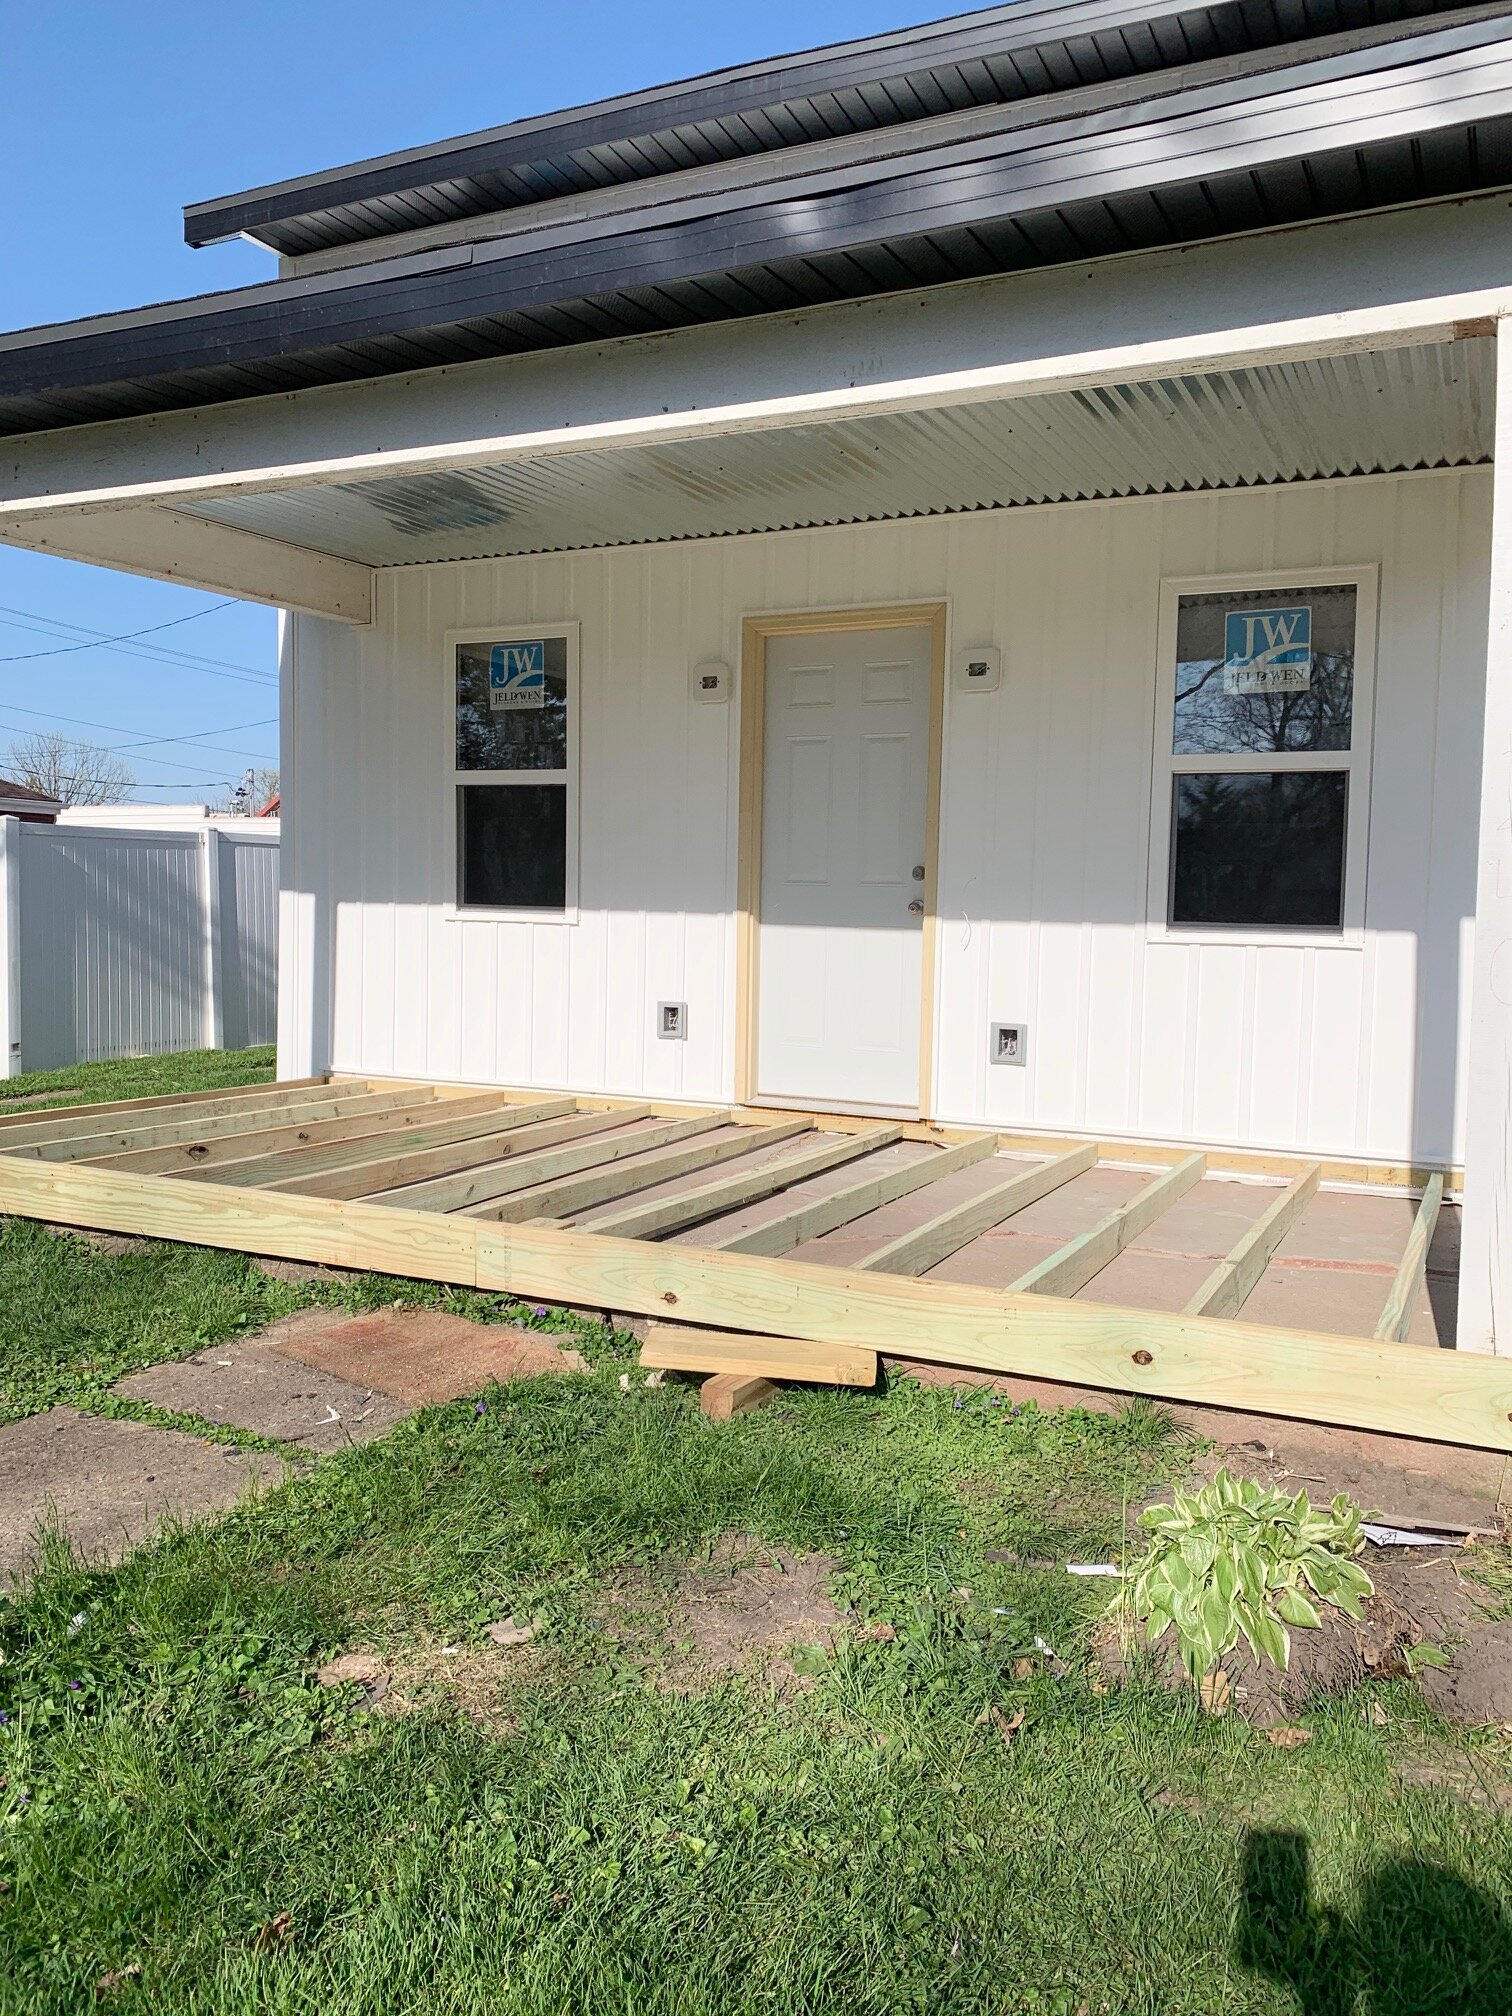
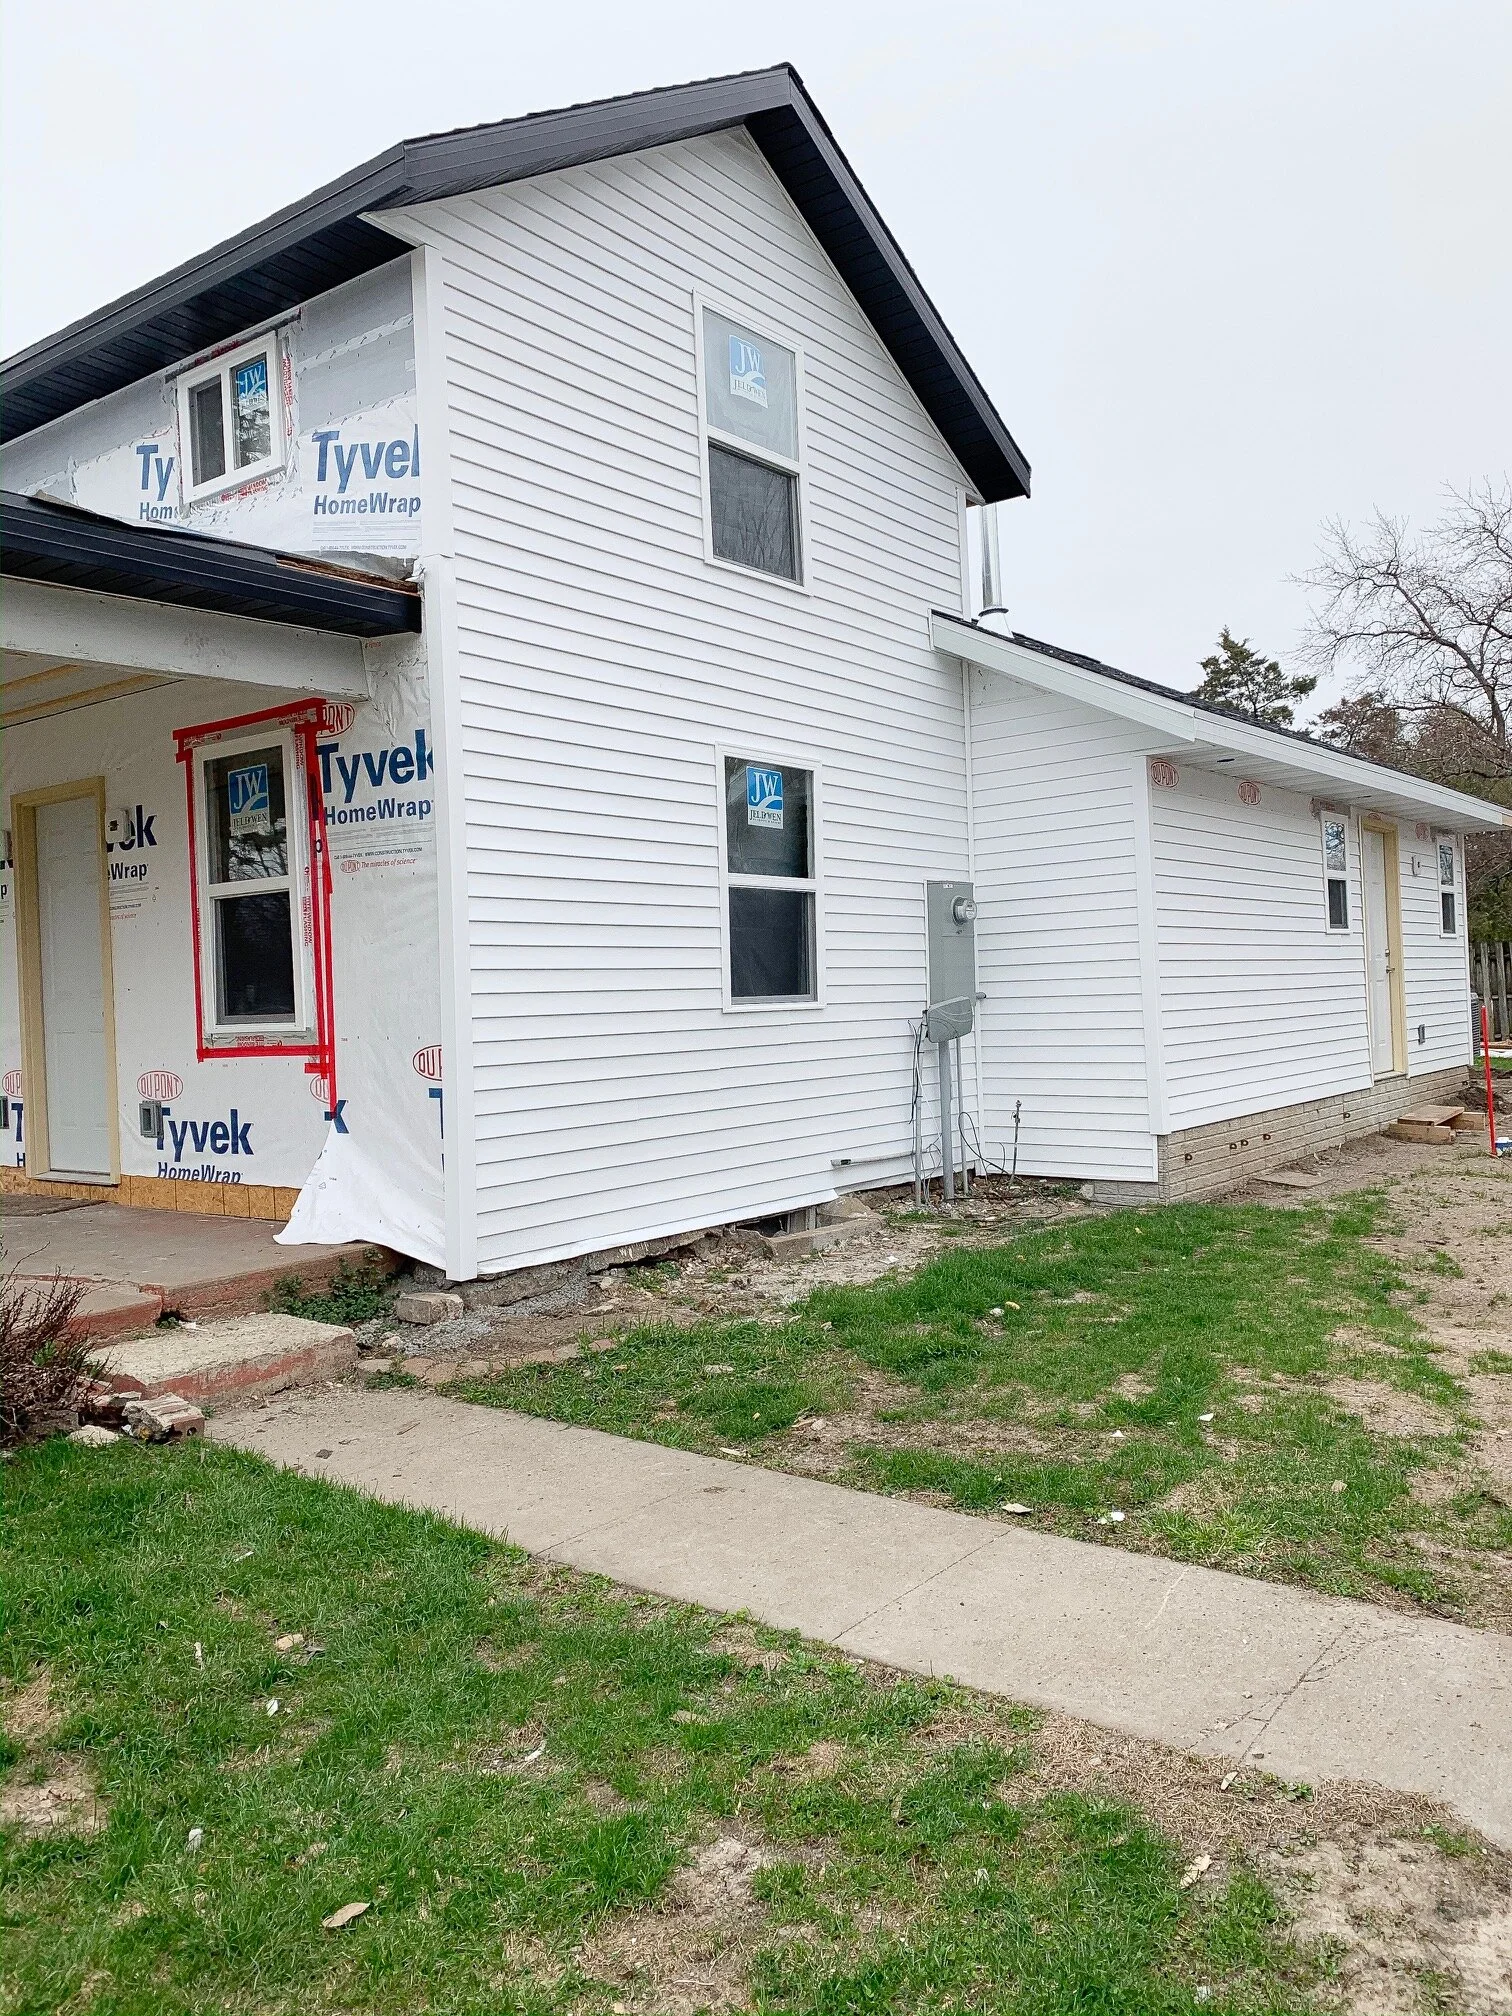
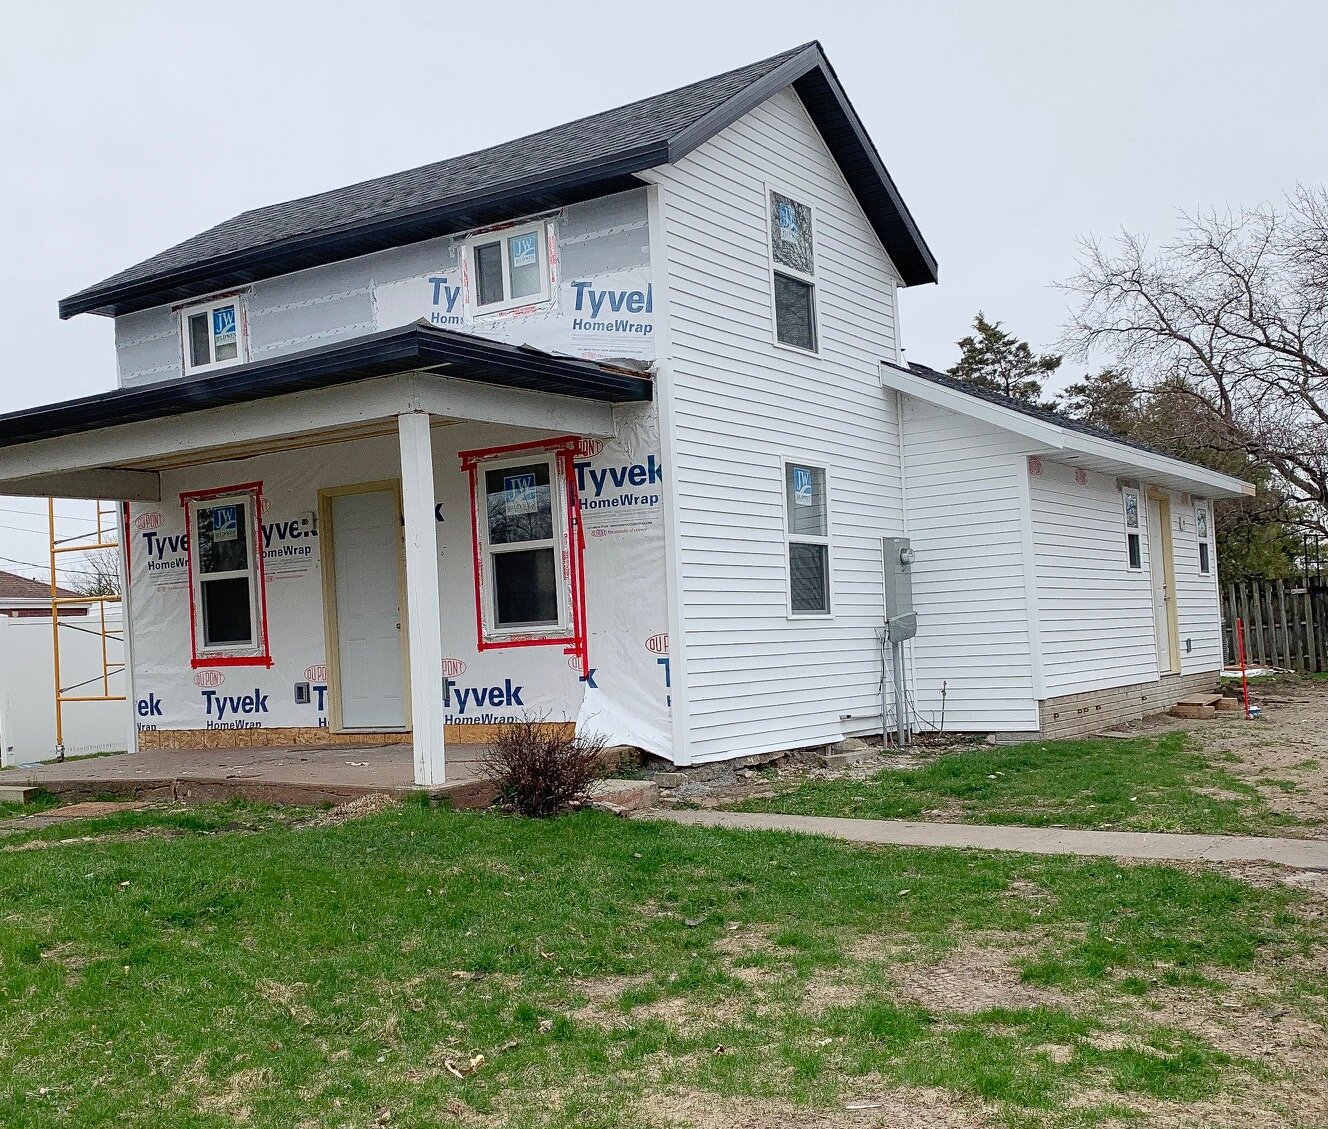
We are excited to move on to our acreage and spread out…to watch the summer sunset’s with sweet tea and fireflies…to chase chickens, play in the creek, and enjoy the wildlife. I mean, first we have to build a house out there, but we will get started on that soon.

Whatever it is, the way you tell your story online can make all the difference.

We have plenty of exciting projects this summer, and I can’t wait to start sharing them with you. Now that we have a bit more time (and aren’t in the middle of moving) I will be catching up.

We’ll chat soon!

-Rachael

Our First Renovation Video

Today I have something a little different!

I put together a video of our renovation project we did over the last year, that we titled ‘The Farmhouse Project’. It’s a pretty short video, but I think it captures the behind-the-scenes pretty well.

This is the first time I have ever tackled something like this, so it’s no professional production, but hey, we have to start somewhere! Just click on the photo below (or here) and it should take you to the video.

I hope you enjoy it!!

-Rachael

My Budget Friendly Fall Front Porch

Since it’s now October, I thought it was time to take down the Spring décor from the front porch. Somewhere in there I completely skipped over Summer, which is not like me, but hey it’s the year of ‘anything goes’!

I made it to the storage unit and hauled all the Fall bins home, and found quite a few items I had previously forgotten about (my favorite part about decorating for a new season). It’s still randomly hot here in Iowa, so I am holding off on any real pumpkins as my porch faces the west and they just bake in the afternoon sun.

Y’all know I am all about budget friendly decorating, and especially free! I have some decorative grass in the front of my house that we cut down each year about this time, and I saved some of it for my front porch.

IMG_8562.jpg

I have a large milk can that I stuffed full of the cut down grass, and as it dries out it will look really nice and fall-ish (and even better since its free). In fact, the only portion of this porch project that cost any money, are the fresh mums I picked up from the nearby grocery store. They were only $6 each, so I feel pretty confident that I won’t be devastated if they don’t last too long, due to my inability to keep plants alive. Here’s a closeup of these huge (and cheap) mums!

Everything else was from my stash of things I already had, I mean I collect super inexpensive vintage things all year round for these precise moments! Here is how it turned out!

IMG_8924.JPG
IMG_8966.jpg

I hope you enjoyed my budget friendly front porch project! As always, thanks for stopping by the blog, we really appreciate all of the support!

See you soon!

-Rachael

Farmhouse Renovation: Month 6 Update

It’s a new month, and that brings a new farmhouse update!

This will be the last update before the finished project reveal, which will be sometime in June. Originally we had planned on this project only taking 6 months, but as we know a pandemic had other plans. We have tried to remain as flexible as possible and just log some extra hours when we can (between essential jobs).

My favorite part of this month’s update is the vertical siding on the front of the home, which is something we have never done prior to this project. The cost of this type of siding is significantly greater than traditional horizontal siding, and I am not sure why other than increased demand due to current trends. Anyway, it looks great! Here’s a close up…

IMG_6041.jpg

Another addition to the front porch is the tin ceiling, which will naturally rust over time and look older/more original. We also are in the process of installing a deck over the existing porch cement slab, which will level it up and overall just look nicer. Here are a couple photos of the front exterior.

IMG_6136.jpg
IMG_6135.jpg

Note: Final door and frame are not installed yet!

Another exciting install this month was central air conditioning, which was never previously installed in the home. I’m not sure how anyone survived for the last 120 years of sweltering Iowa summers without central air, but we have officially solved that problem!

A/C for the win!

A/C for the win!

Equally exciting is the addition of attic access and blow in insulation. Iowa is an extreme weather state (extremely hot and extremley cold) so proper insulation is key to managable utility costs. Anyone else get excited about insulation? Just me? Ok…

Attic access in the hallway!

Attic access in the hallway!

That’s all the photos I can share for now, as I need to save some for the final reveal. I’m really looking forward to these next few weeks of finishing touches, and I will probably have a few sneak peek’s over on Instagram.

I hope wherever you are reading this that you are able to stay safe and healthy during this unprecidented time. I am looking forward to finishing this project, for the simple fact of having one less iron in the fire during all of this uncertainty. As always, thank you for stopping by the blog today, it really does mean a lot!

Unitl next time,

Rachael

Farmhouse Renovation: Month 5

If you are new here, we are in the process of renovating a c.1900 Iowa farmhouse that we purchased about 5 months ago, and to be honest I thought we would be pretty much done with this project by May 1st. Well, as you all know, a world-wide pandemic came along and threw everyone’s plans for 2020 out the window.

I was torn on even writing this update, I mean there are much more important things you could be reading right now. Ultimately I decided to proceed, to try and provide a sense of normalcy for myself and maybe a 5 minute break from reality for my readers.

Over the last month, we have made huge progress on the outside of the house, installing new siding, sofitt and fascia. You will notice the black sofitt (overhang of the roof) on the old section of the house, and white on the new section. We also have white vertical siding for the front of the home, which is actually going up tomorrow, weather permitting. Here is a close up photo of the sofitt, so you can see the difference.

IMG_5945.JPG

I really wanted to do something different for the original section of the home, to make it stand out, and I think the contrast of the black sofitt is exactly what was needed. I really wanted to install vertical siding on the entire house, but it’s so much more expensive than horizontal, and wasn’t really in the budget. Either way, the home will look amazing with an all new exterior.

In fact, I dug up an old photo of the house that we took right after we bought it and I will add it below for comparison. There’s quite a difference from a few months ago!

IMG_5946.JPG
This was taken right after we closed on the house!

This was taken right after we closed on the house!

With the completion of the vertical siding on the front of the house this week, all that remains for exterior work is the front decking and posts. And of course some landscaping, but this is Iowa so we can’t do much of that until late May. Maybe some flower shops will be open by then!

Well that is all i have for this update. Again, thank you for taking time out of your day to stop by the blog, we really appreciate seeing all of your support. Wherever you are in the world, I hope you are staying safe and healthy.

Until next time,
Rachael

Farmhouse Renovation: Month 4 Update

If you are new here, we bought a c.1900 Iowa farmhouse roughly 4 months ago and promptly took a bulldozer to a large portion of it. Over the last couple of months we have completely updated what remained of the original structure, and added on a large addition (for some much needed square footage).

I have posted several updates thus far, but this is the one I have been waiting for!

This is the first update where the layout of the house is easy to understand, since the walls are complete with drywall. Not everyone can look at a room full of stick walls and picture the final product, and I have tried to take that into account when posting in the past, but now everything will be quite easy to picture!

Ok lets start in the kitchen….

Here’s a throwback photo of the previous kitchen. Adam is 6 foot 4 in tall and he could barely walk underneath the pendant light fixture in the middle of the room without hitting his head. This was due to a significant bow in the trusses, as they could not support the proper amount of weight. Also, check out how close the top of the door frame to the bathroom is…just an inch or two!

IMG_4469.JPG

Below is a picture of the new kitchen, with a properly installed 8 foot ceiling! The opening on the far left is the same door to the bathroom pictured above, however this time around it has over a foot of clearance between the top of the door frame and the ceiling.

IMG_5672.JPG

Moving on to the stairs….

You will notice that new the steps are no longer steep, and are also a normal size. In addition, we have a large window at the top of the stairs now, that provides a source of natural light but also serves as an added safety function, should someone need to evacuate out of the second floor for any reason.

IMG_5671.JPG

I recently caught a photo of our mini inspector checking out the window at the top of the stairs…

IMG_5686.JPG
IMG_5673.JPG

The last photo I have for you is of the new master bathroom. The original structure had no master suite, so I have no before photo to share! And while this bathroom is not extravagant by any means, it adds value and much needed space.

Alright, that’s all I have for you today! I am excited to see what the next update brings, as we can start putting our personal touch on the project with paint and flooring, etc. Since we work on the farmhouse in our spare time, and both have other full time jobs and 2 year old child, sometimes things take longer to finish than we would prefer. It’s all about balance, and we are still figuring that out as we go.

Thank you for stopping by the blog today, and we look forward to catching up with you again soon! In the mean time, feel free to follow us on Instagram or Facebook :)

Until next time,

Rachael

Farmhouse Renovation: Month 2 Update

Two months!

It’s been a little over two months since we purchased a 1900’s farmhouse, and then promptly took a bulldozer to a large section of it. We have since added back a large addition (almost 600 sq feet), to replace the torn down section and add some space.

Out with the old…

Out with the old…

In with the new!

In with the new!

Since our last update about two weeks ago, we have the addition completely closed in from the Iowa elements, thanks in part to some amazing December weather. Now if we could just request some daylight after 430 pm…ha!

Now that the new part is enclosed, we were able to open up the wall separating the original section from the new addition, and it was the first time I had seen the old part since we boarded it up! Here are a couple photos…

View inside the new part

View inside the new part

Looking into the original part of the farmhouse

Looking into the original part of the farmhouse

Opening up the walls and ceiling of the original section of the home presented it’s own challenges, including 120 years of dirt and grime. Oh and about 3 layers of ceiling in the old living room! Here are a couple before shots…

IMG_5182.JPG
IMG_0214.JPEG

Tearing into this section was not exactly in the original plan, but in order to update the electrical correctly and put new heating and air duct work in we decided to take it all down. There’s always that one moment in the home improvement shows where something goes wrong, and the owners are left with a decision on how to proceed, and for us it was this ceiling and what was underneath it.

I already mentioned there were a ton of layers to the ceiling, and this left us with quite a mess, but a more alarming issue was how the second floor was being (sort of) supported. The picture below on the right shows ONE board, that is kind of in a notch, and that was what held the floor joists for the second floor. One board, folks!

Lots of layers to the ceiling here!

Lots of layers to the ceiling here!

IMG_5179.jpg

That one board might have made it the last 120 years, but Adam didn’t feel comfortable leaving it one more day, so we had to handle that immediately. Let’s just say that this load bearing wall will soon be almost 12 in thick to provide much needed support to the second floor. Definitely a scary moment, but I am glad we found it when we did!

In other news, you can see in the photo on the above left that there should be some original flooring upstairs underneath the carpet! The second floor will be where our daughter, who we call the ‘inspector’, will have her bedroom and play room. She likes to visit from time to time to sweep and pick up trash, and we will take any help we can get!

Inspector, doing some inspecting

Inspector, doing some inspecting

Well that’s all I have for today! Soon we will be getting into the fun part of a renovation/build, when the rooms really start to take shape. Don’t forget to follow along on Instagram and Facebook, for some fun video updates of Adam working, and the Inspector inspecting!

Until next time…

-Rachael