


Farm Share Friday - Week 5
Hello friends!
It’s Friday and that means we have not only made it to the end of the week, but it’s also time for #farmsharefriday! Today’s post is going to be super quick since I don’t have any new recipes to share with you from last week’s box and I am on a time crunch this afternoon while writing this (can we say last minute?). Again, these posts are not sponsored and just my personal experiences and opinions with a local farm share program.
Alright, let’s get to it!
This week’s box contents:

1 doz eggs
2 heads of lettuce
1 bag of spinach
1 very large bunch of basil
Radishes
Beets
Now I consider myself a very non-picky eater and will try almost anything several times before determining I do or do not like it, however I can confidently say I am not a fan of beets. We did receive a few of them this week and luckily I have some coworkers that can take them off my hands.
Well speaking of work, I have to get ready and head there this evening. If you follow us on Instagram you occasionally see some story posts from my real job as a 911 dispatcher. I always thought that job title was mysterious so I try and share as much as I can about it to those curious.
See you soon friends!

Homemade Insect Repellent
Hello friends! It’s finally sunny and dry here in Iowa, which has been in a bit of a cold and wet weather system for a while now. Hopefully it will stay sunny so my plants and grass can dry out!
Today I am bringing you a homemade recipe for natural insect repellent, which is just as necessary as sunscreen during the warmer months! I often joke the mosquito should be the state bird of Iowa! But in all seriousness, the diseases that mosquitoes and ticks carry make me cringe at just the thought, especially with a very curious 1 year old that will not accept being indoors when the weather is nice. In addition, traditional bug spray often has harsh chemicals that I would prefer to keep off of my child and pets.
So, after a bit of research and some testing (because it has to actually work!) I found a bug spray recipe that I really like. Bonus is this recipe is super budget friendly and I already had everything on hand except for the $1 spray bottle.

I have been using this recipe for about a month now, and I regularly spray the covered porch area where my child plays (deck furniture/pillows/etc) prior to her being out there and so far I have not had any issues with pests. When the whole family is outside, I apply to myself and the dog, and usually just give a spritz to my child’s clothing and that seems to work well. Since it’s all natural I don’t mind if it was on her skin, but she normally has sunscreen on and I would prefer not to have a greasy mix of the two!
Well, nap time is almost over and that means it’s time to get ready to head back outside. Thanks for stopping by the blog today and feel free to pin this recipe for future use! Hopefully you can enjoy the sunshine wherever you are located!

Community Supported Agriculture - Farm Share Friday
Hi there! Today I am mixing it up a bit and bringing you some information about Community Supported Agriculture (also called CSA or farm share). If you live in the United States, chances are there is a farm share program in your neck of the woods that you could be benefiting from. How? Let’s dive into it..
What is CSA/Farm Share?
A CSA is a group of people who are supporting a local farm, and in turn sharing the risks and benefits of that year’s growing season.
For example, my local farm asks for a one time fee at the beginning of the growing season, and in turn I receive 17 weekly deliveries of fresh fruits and vegetables throughout the spring/summer/fall. This guarantees fresh, local, and organic food for me, and a steady income for the farm.
There are several varieties of farm share programs, as nearly each farm does it differently, but some offer different pickup or delivery schedules and different varieties of fruits/vegetables/cut flowers, etc. I recommend doing a simple google search for farms in your area that offer a CSA program to find one that works for you.

Benefits
The benefits of a CSA are so many, these are just a few!
Helping a local farmer
By participating in a CSA, you are supporting the farm ahead of time, ensuring they can purchase the necessary items needed to grow and maintain their farm.
Save money
Cost can seem significant up front, however make sure to break ti down over the entire time frame that you would be receiving share boxes. I figure my farm share costs around $30 a week, which is less than I would spend on fruits and vegetables at the store.
Eat Local, Eat Organic
To me, this is very important. Store bought produce often comes from across the country, or even a different country, and was picked over a week prior. Who knows what the sanitary conditions were where it was grown, or how it was transported to your local store. Often times, pesticides and waxes are applied to the food to enhance appearance.
Fresh Food = More Flavor
We all know that garden tomato tastes very different from the one purchased at the store, there’s a reason behind that!
Variety and Quantity
Some people see this as a downfall, if they are not open to trying new/different vegetables, however I look at it as a challenge. Eating what’s in season might require googling some new recipes or cooking techniques, but that’s all part of it. The large quantity of vegetables can also be overwhelming, but sharing with friends and freezing or preserving portions for future use is always an option.

Risks
As with anything, there are risks involved, but I believe the benefits far outweigh them.
Growing Season
A nasty pest or terrible weather pattern can wipe out a crop for the season, and with purchasing everything up front you run the risk of this happening (if no alternate or indoor facilities are used at your local farm).
Vacation/Out of Town
Some farm's will let you choose an alternate date for pickup, but generally if you are out of town or otherwise unable to pickup your weekly share, you miss out. This would be worth looking into when choosing a CSA to support, and usually an alternate person could pickup your share for that specific occasion.

My local farm starts their program next week, and I am looking forward to seeing what is in my share box. I am planning to post photos/information regarding my share box each Friday, along with the occasional recipe for those tricky vegetables. Make sure you are following along on Instagram for ‘Farm Share Friday’, especially if you are interested in learning more about this type of program.
These posts are not sponsored, but I do believe there is a lack of information out there regarding CSA programs and would like to share my experiences.
Well I am off to find a couple rhubarb and asparagus recipes for next week, and do some planting of my own. Thanks for stopping by the blog today!

How To Clean Up Your Vintage Glass Bottles
Today I am writing from SUNNY and WARM (ish) Iowa! I can’t tell you how excited I am to not have to brace my face for the cold every time I open a door. Today’s post goes along with all things ‘spring cleaning’ which is the theme at my house these days! We have been doing all those yearly tasks, cleaning out dryer vents and bathroom fan motors…safety first!
If you have been following along you know I love everything budget friendly, and therefore I find a lot of my decor pieces at thrift shops. I love the hunt for a good deal, and I recently came across a collection of medicine bottles and many were marked $1 . I have a plan to display them in my bathroom (after I re-paint it) and while I love the look of vintage bottles, I noticed some of these had a residue or film on the inside that was taking away from the look.
After a little research, and some trial and error, I came up with a fairly simple method to cleaning some of the residue out of the bottles that didn’t use any harsh chemicals and also didn’t damage them. The end result was not a sparkling clean look, but it’s better than where we started!
Here are a couple before photos to show you what I was working with…

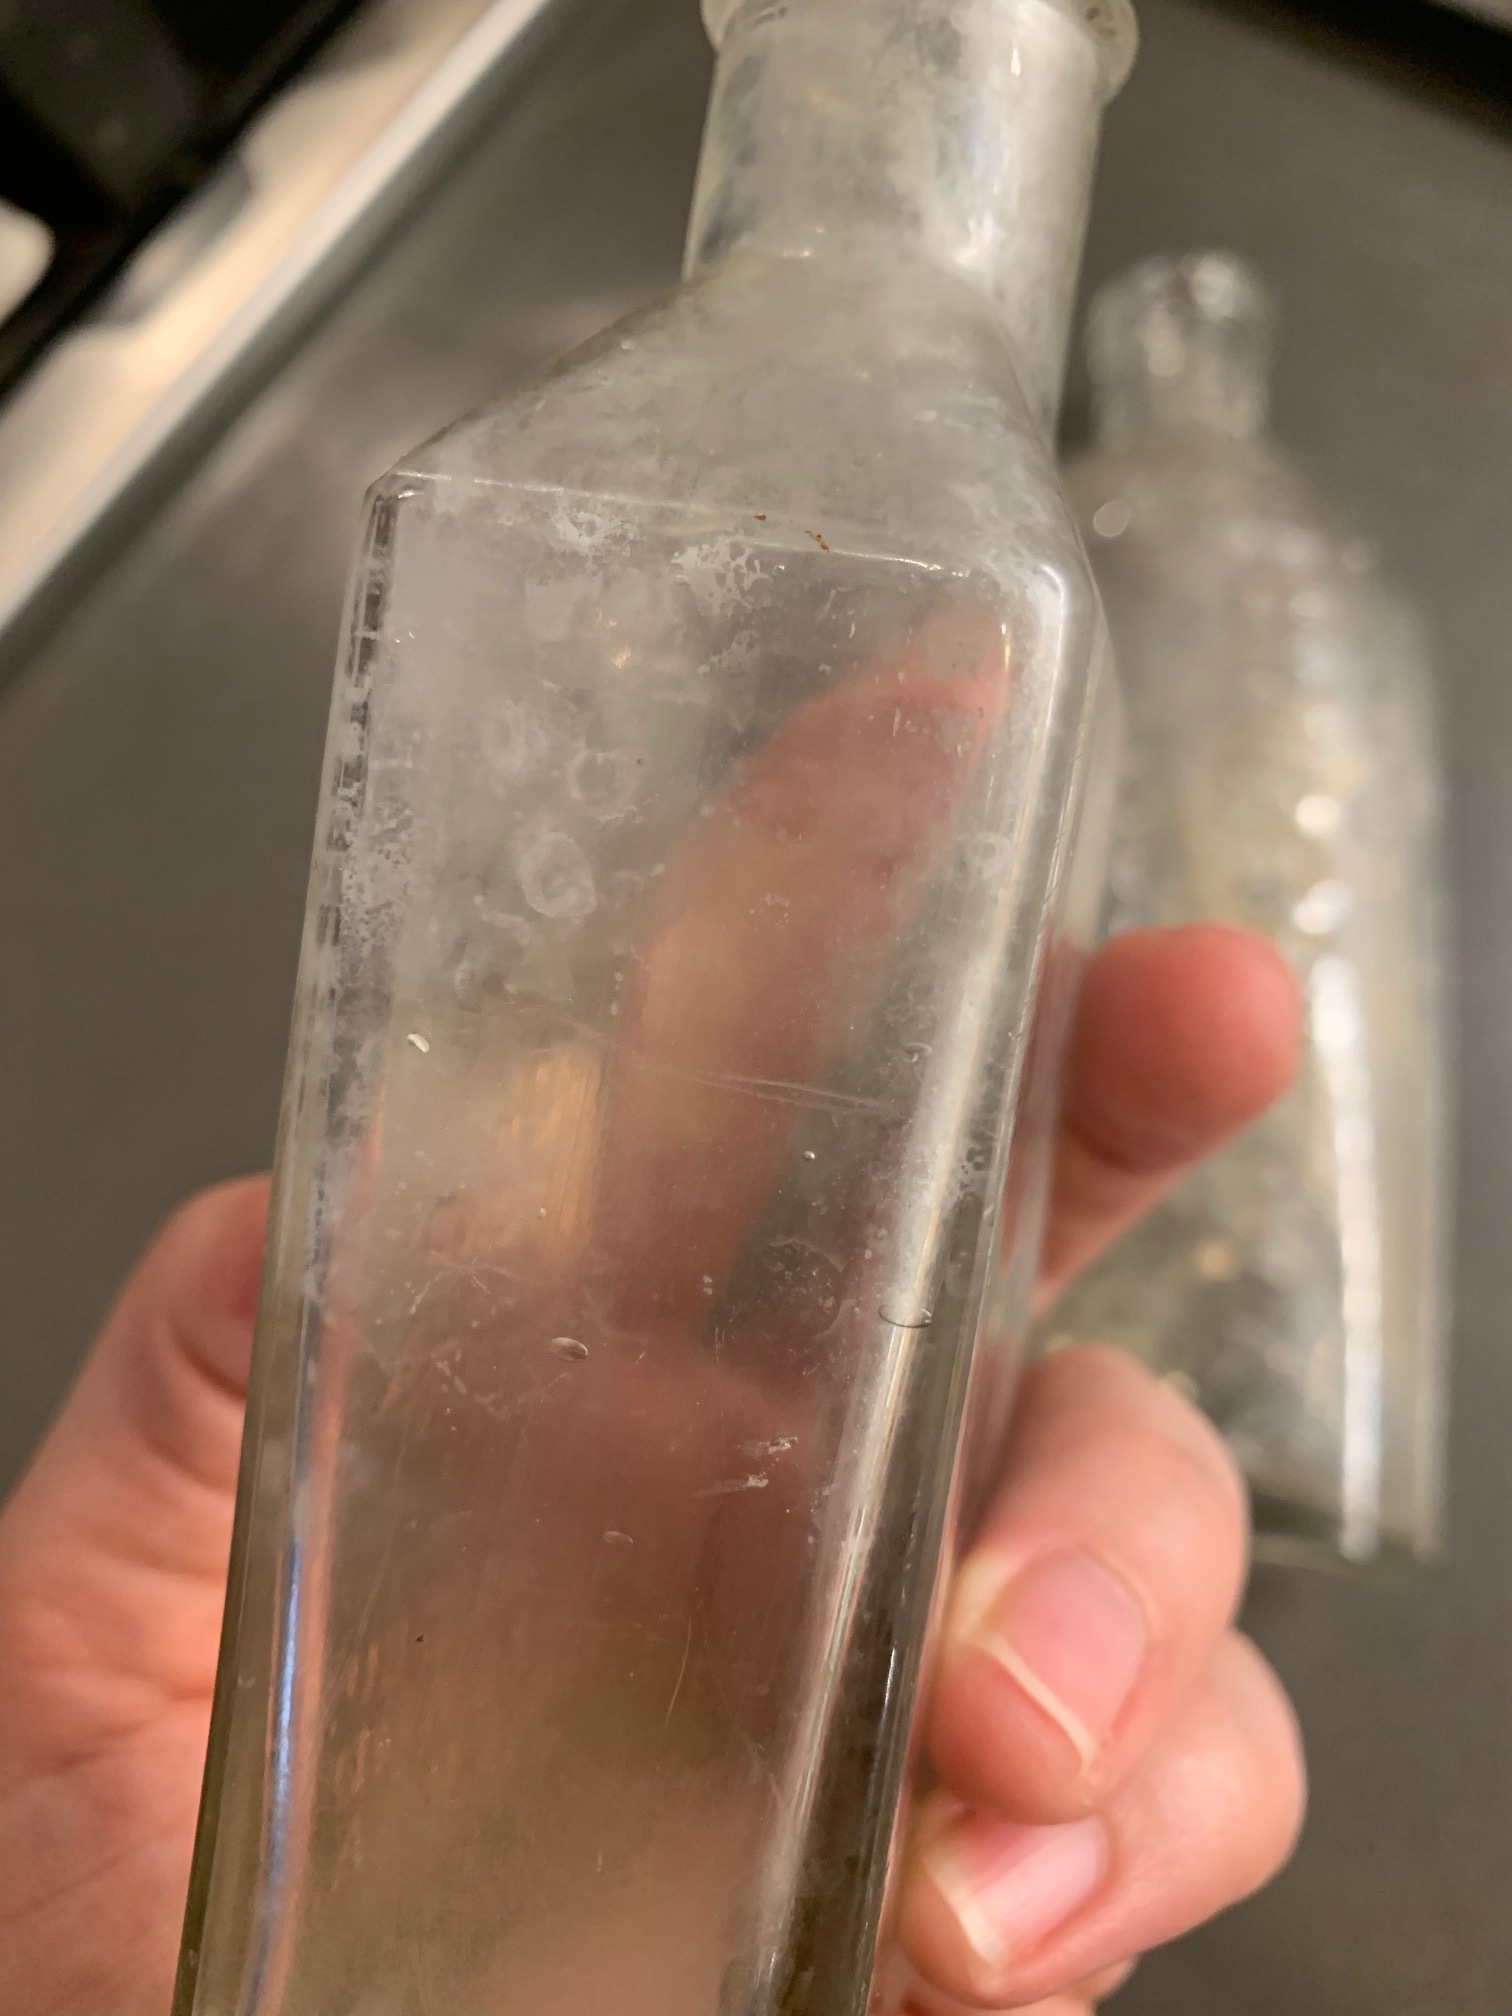
As you can see there was quite a bit of buildup on the inside of these bottles, and it was taking away from their appearance. Here is how I cleaned them up:
Fill them half way with warm water and other half white vinegar
Let them sit on the counter for 24 hours
Rinse well
Fill them completely with white vinegar
Let them sit for another 24 hours
Rinse well and dry


